Tired of the headaches caused by a jumbled inbox? Well it’s time to start using folders in Outlook! Let’s see how these categorize messages from any contact and clean up your inbox.
Creating Your First Folder
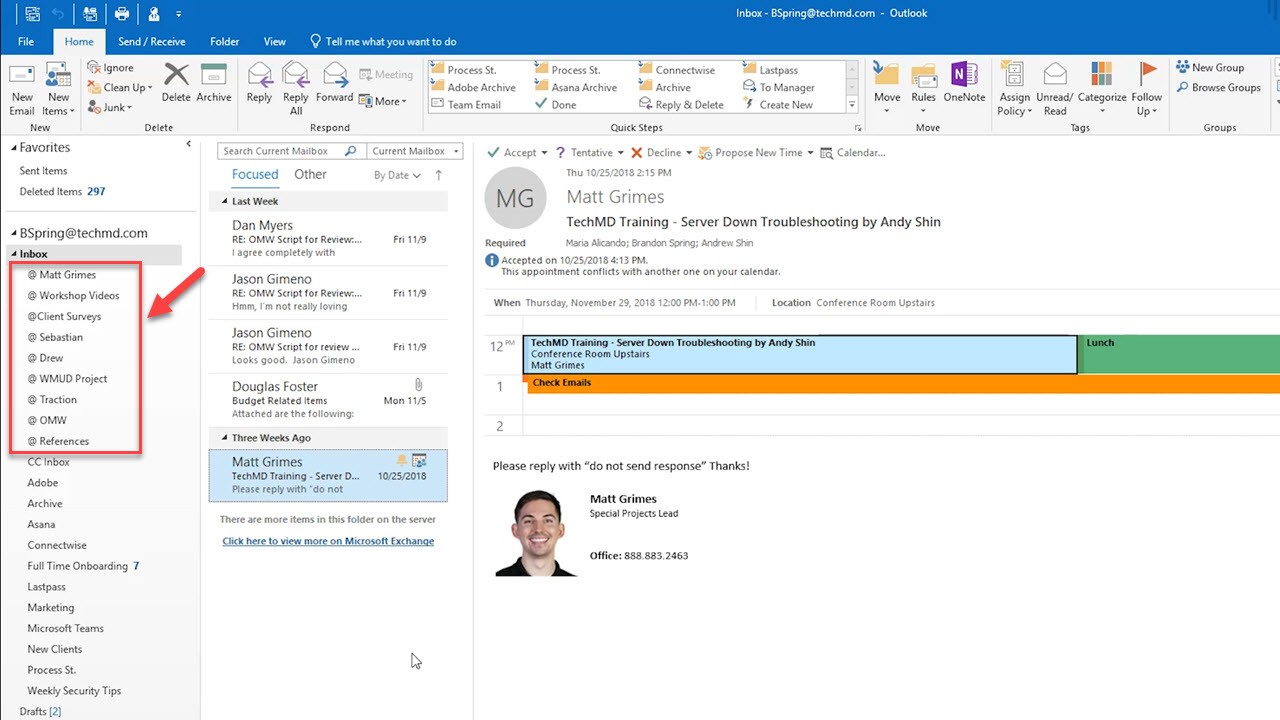
The folders we’ll be creating are different from Search Folders, which we’ve looked at in earlier episodes because they act as destination points for storing messages. You can make them based on customizable categories like contacts, subject matter, projects and more.
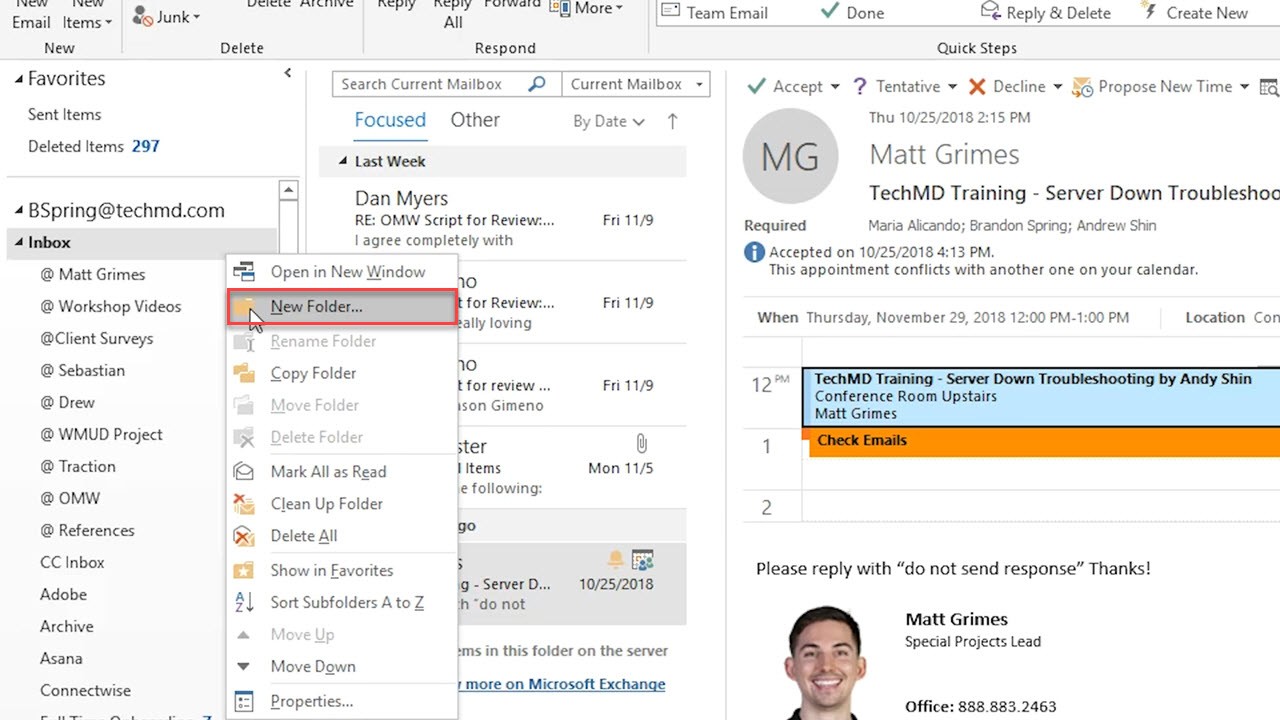
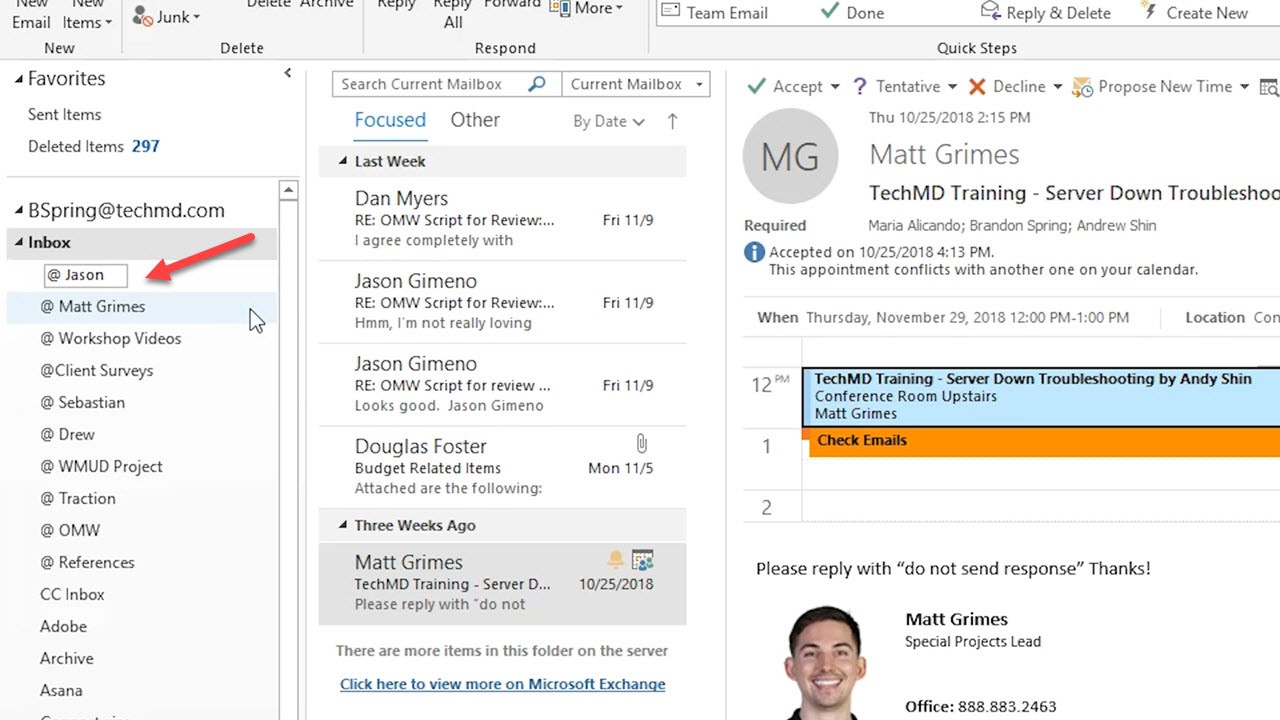
Start by right-clicking on a main folder, like your Inbox, choose “New Folder” and give it a title. This one will contain emails from a team member.
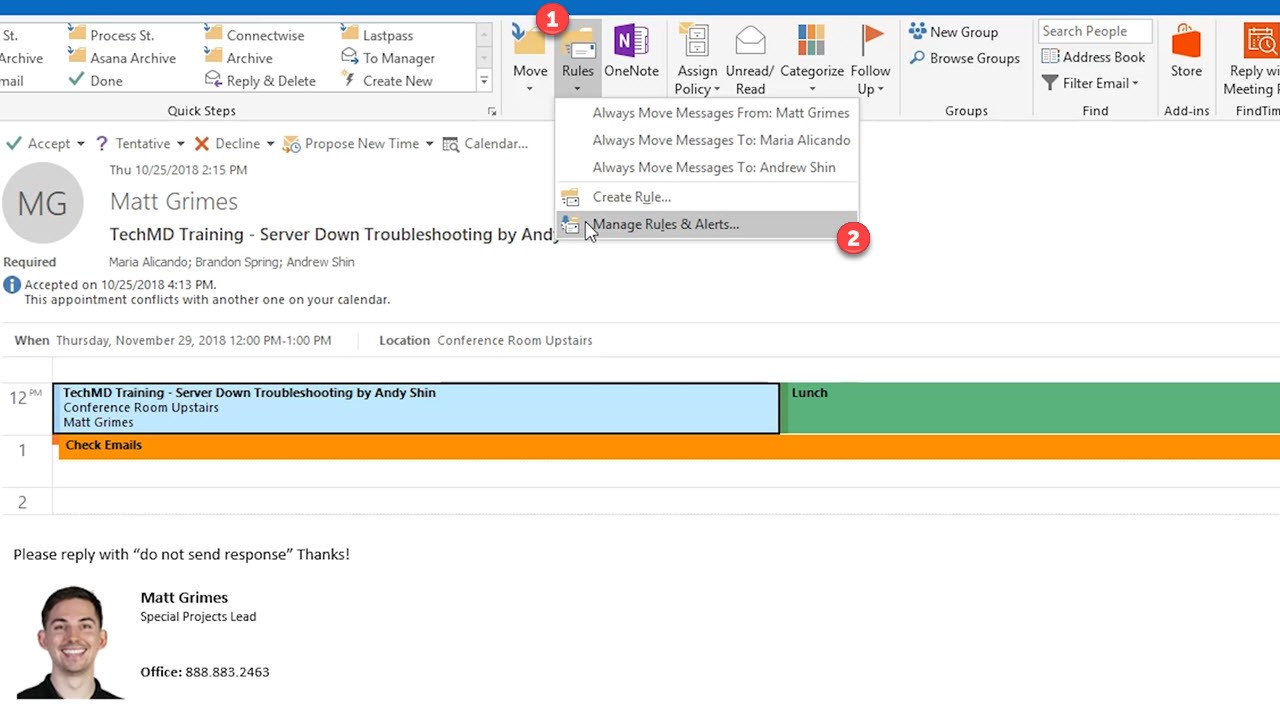
Now we’ll create a rule to make messages from that contact go into the newly made folder. In the Home Tab, click the “Rules” button and hit “Manage Rules & Alerts”.
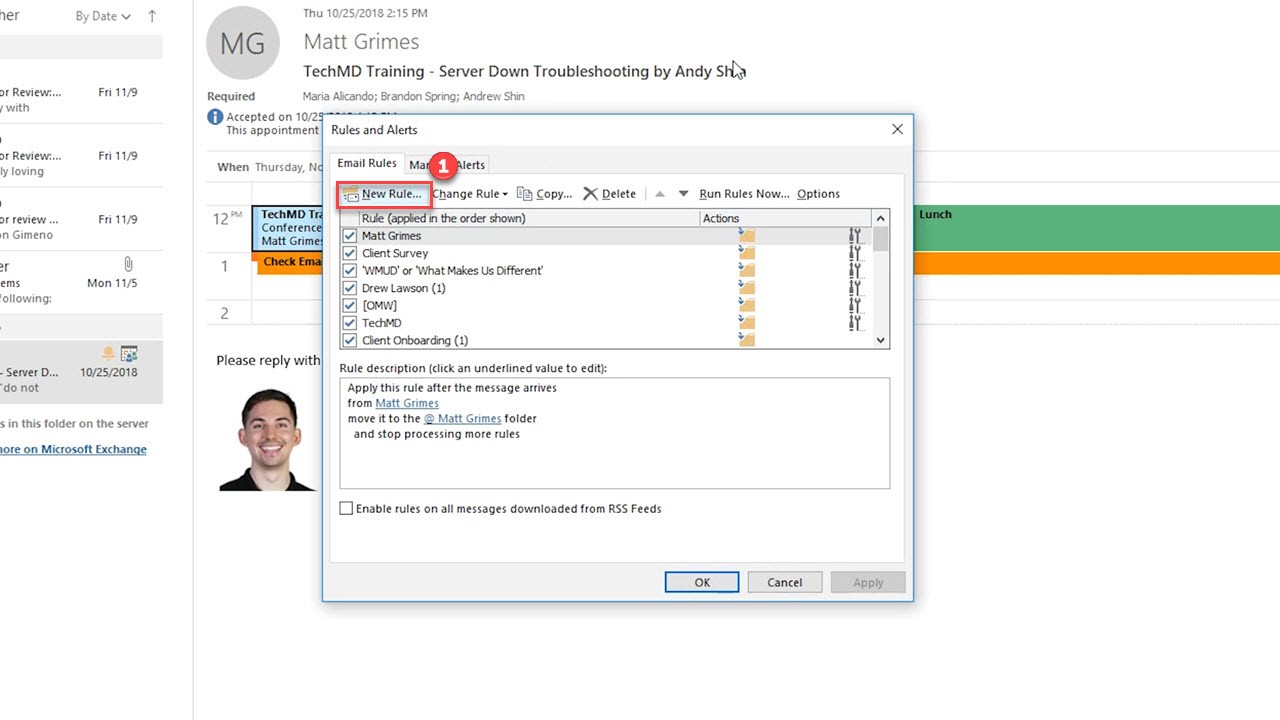
In the dialog box, choose, “New Rule”.
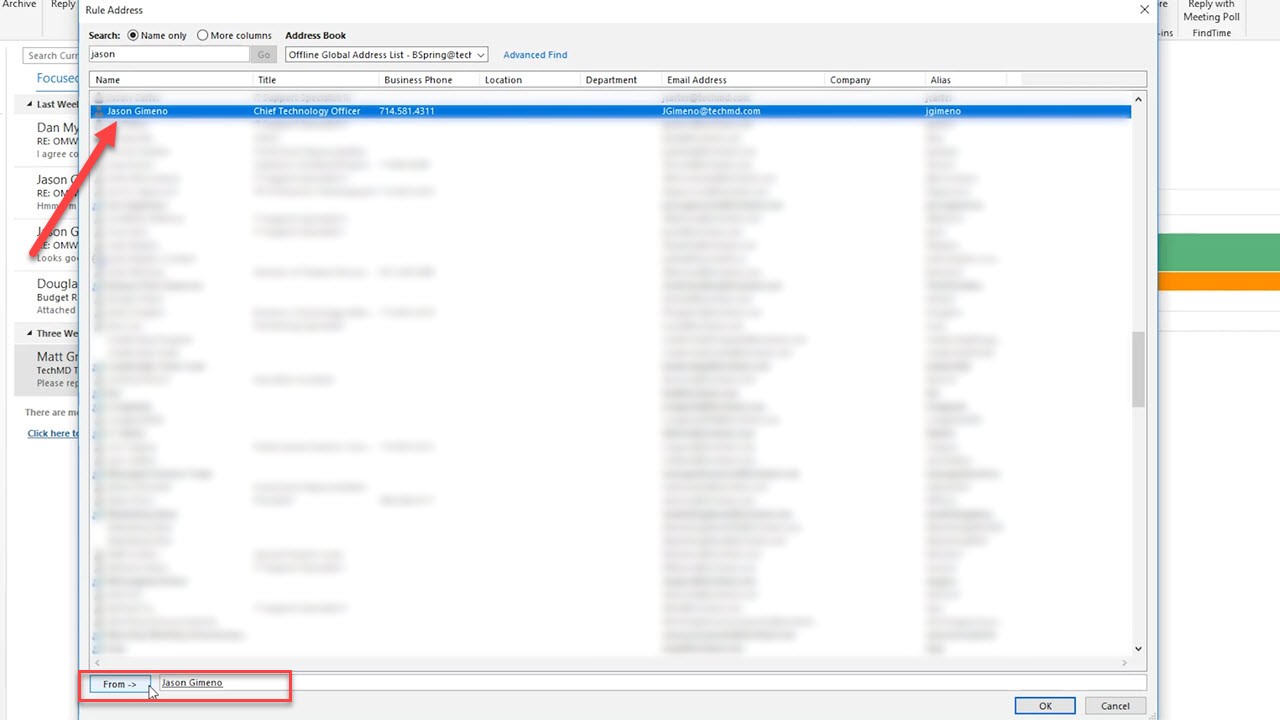
Open the “People Or Public Group” link to then select the name of the contact you want.
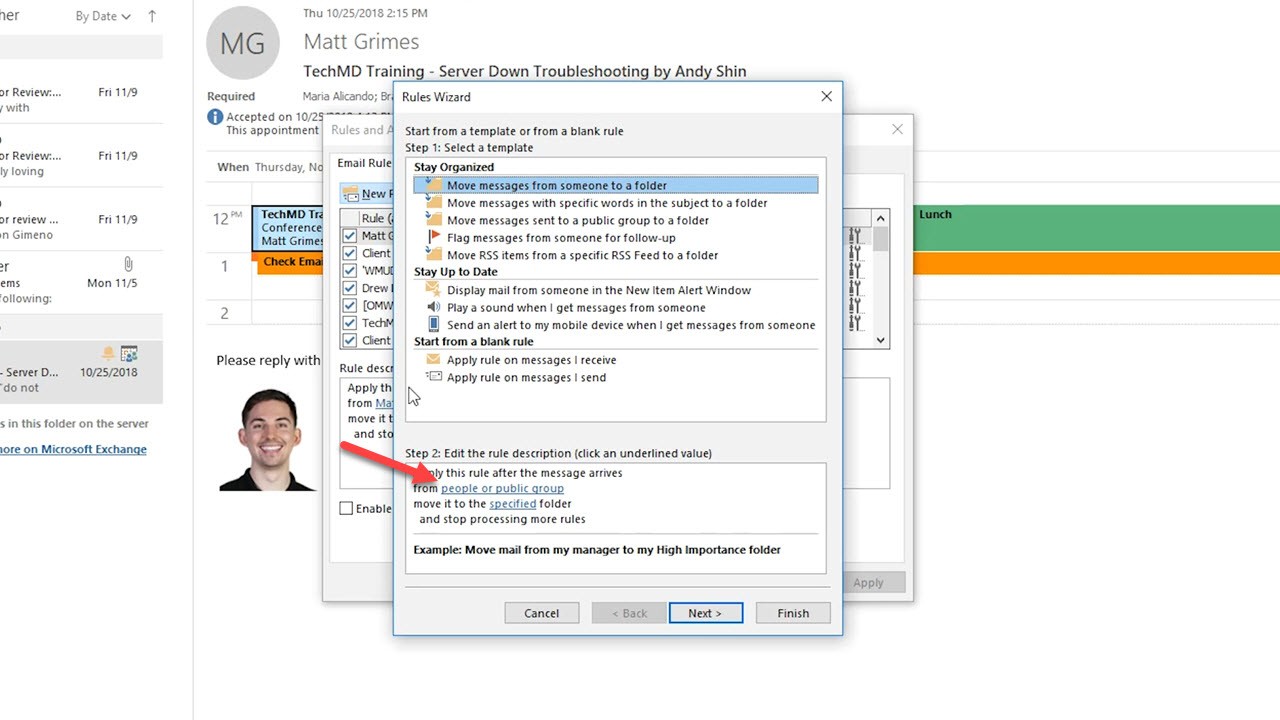
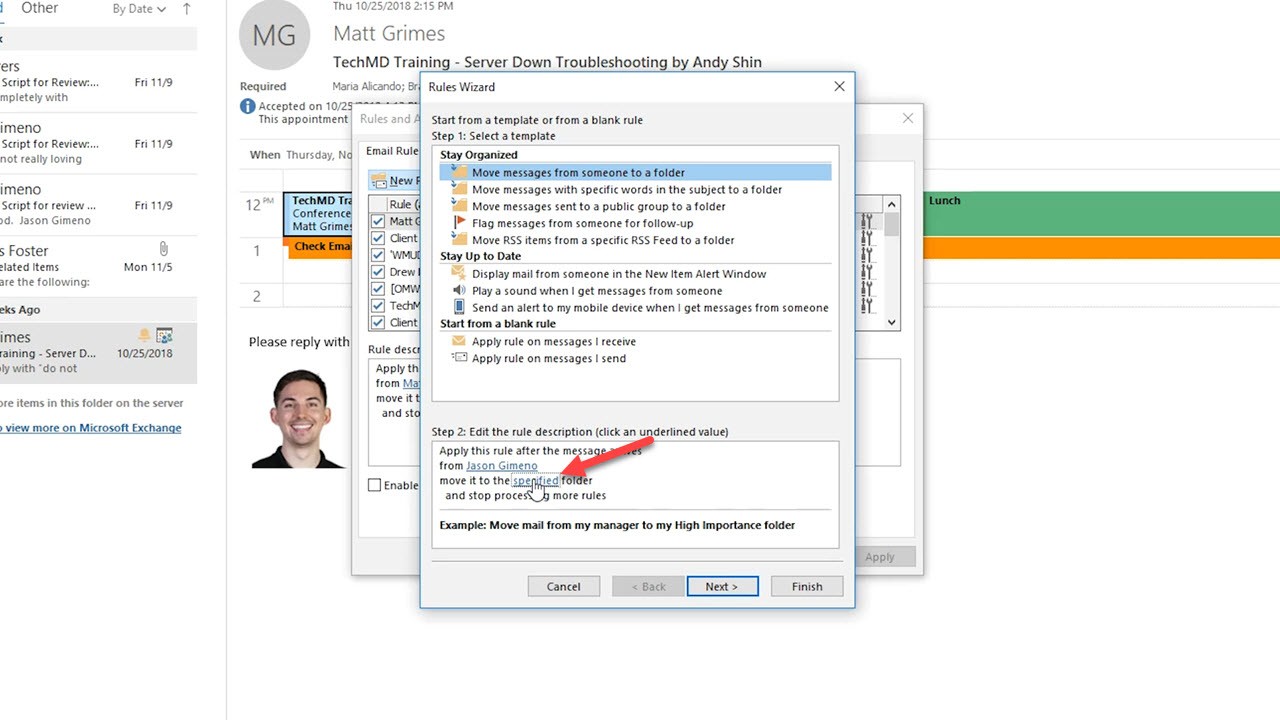
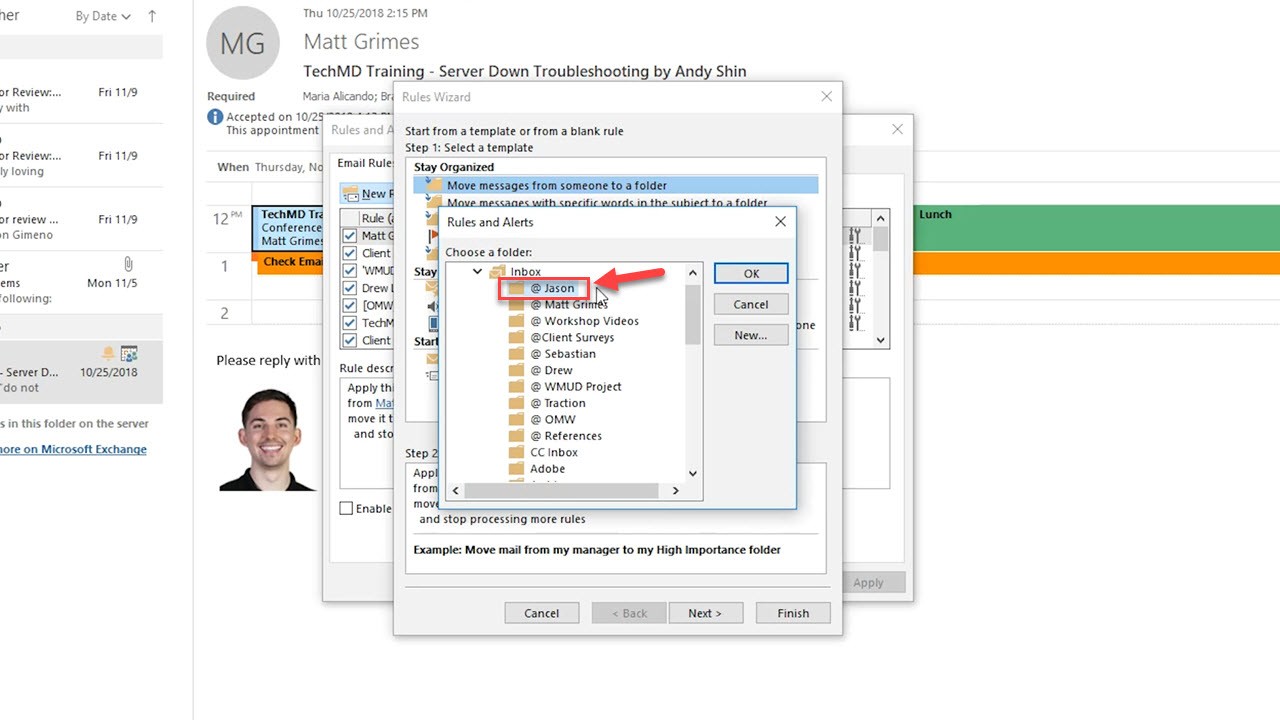
Once that’s done, select our newly created folder as the destination for this rule to work in with the “Specified Folder” link.
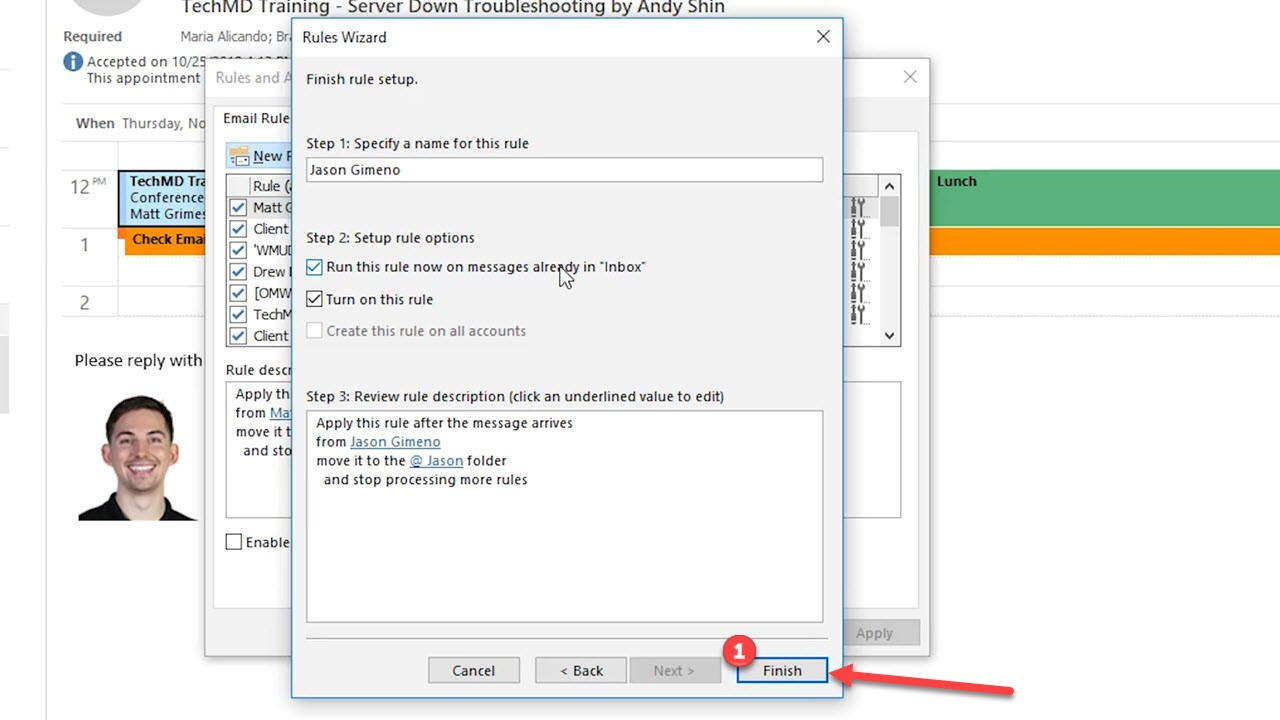
Hit “Next” and then choose “Finish” to finalize everything.
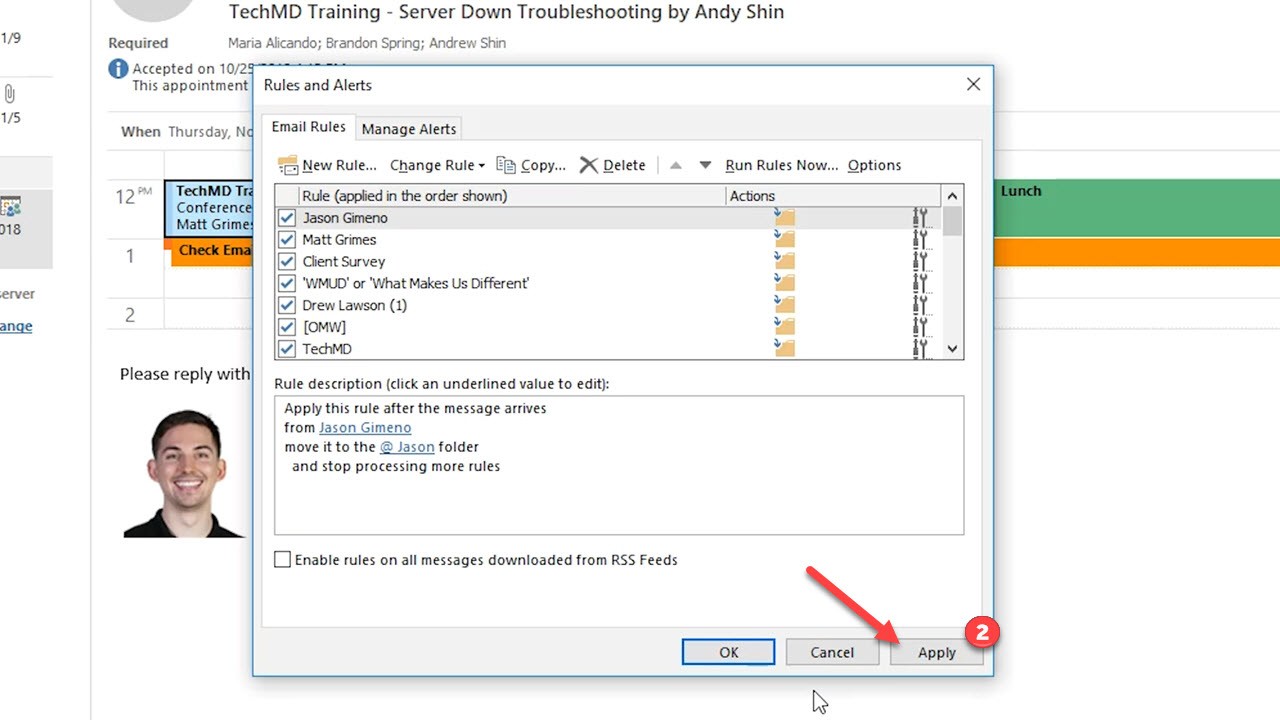
Lastly, hit “Apply”.
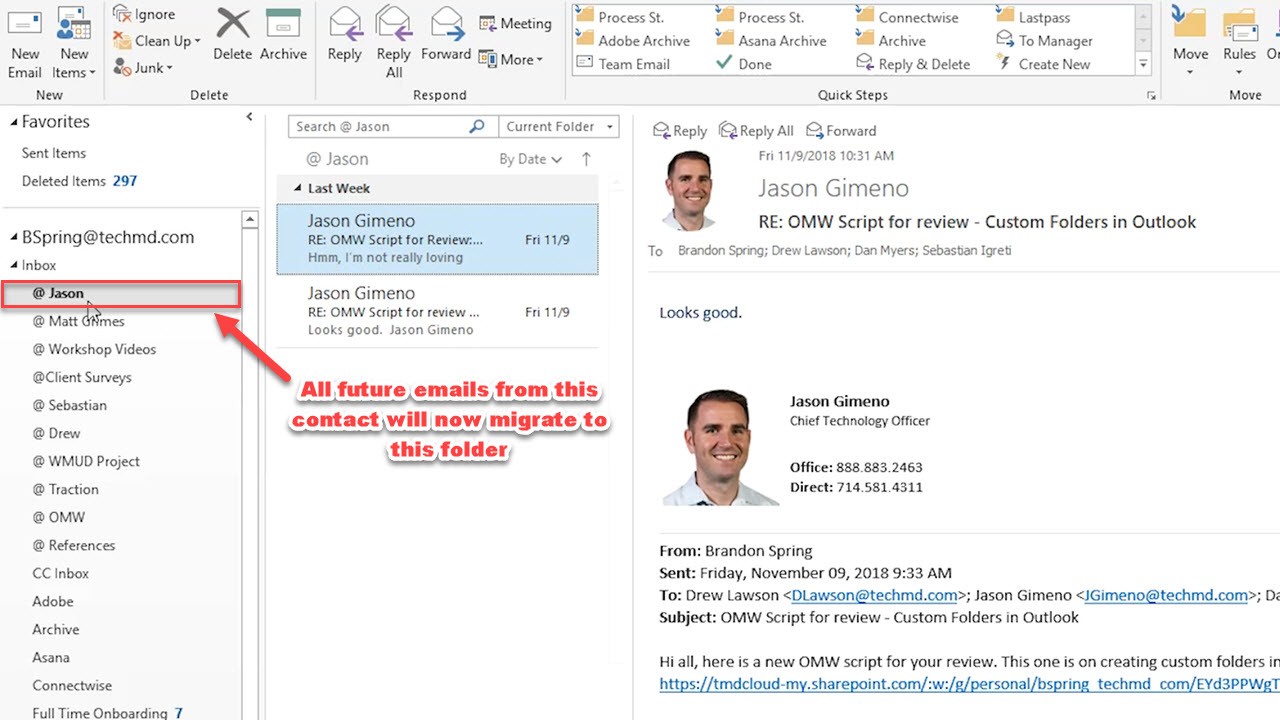
Now, all the messages that come from our chosen sender will automatically migrate to the new subfolder. Try this with a variety of categories to consolidate your messages and remove stress from your experience in Outlook!