Microsoft OneNote is a great tool to use not only for your own work, but also to share and collaborate with others. So today, we’ll dive into how to collaborate in the Office 365 OneNote app.
A Shared Workspace
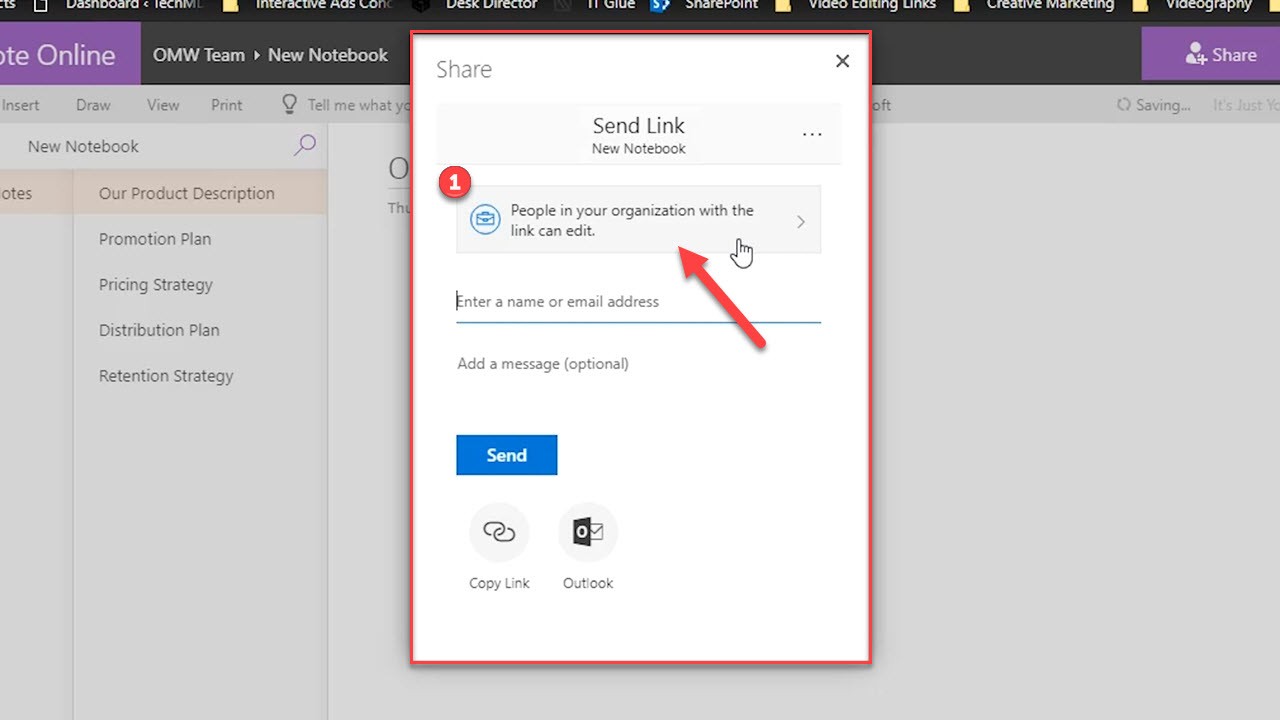
What makes OneNote’s collaboration features so great is that you can get real-time contribution and results within the same workspace. This takes away the need to navigate between multiple apps and channels to get what you need. Start by hitting the Share icon in the top right-hand corner.
![]()
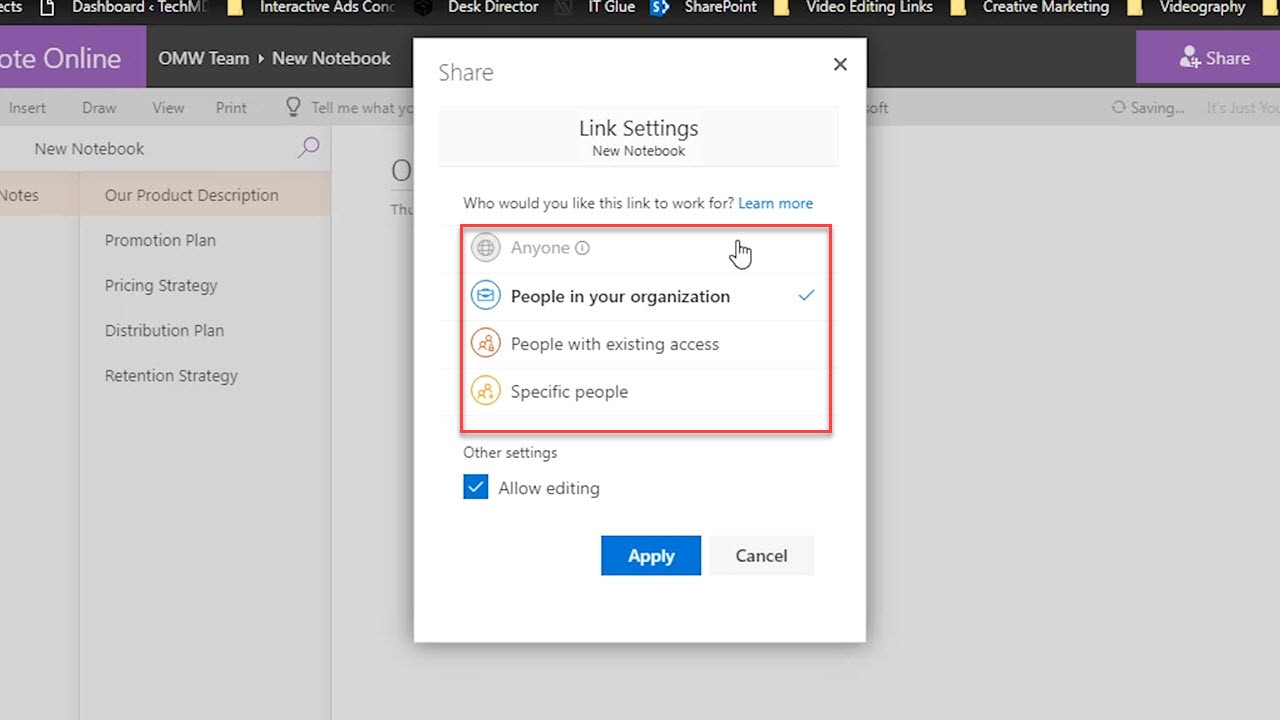
Once clicked, a menu will appear where you can edit access permissions.
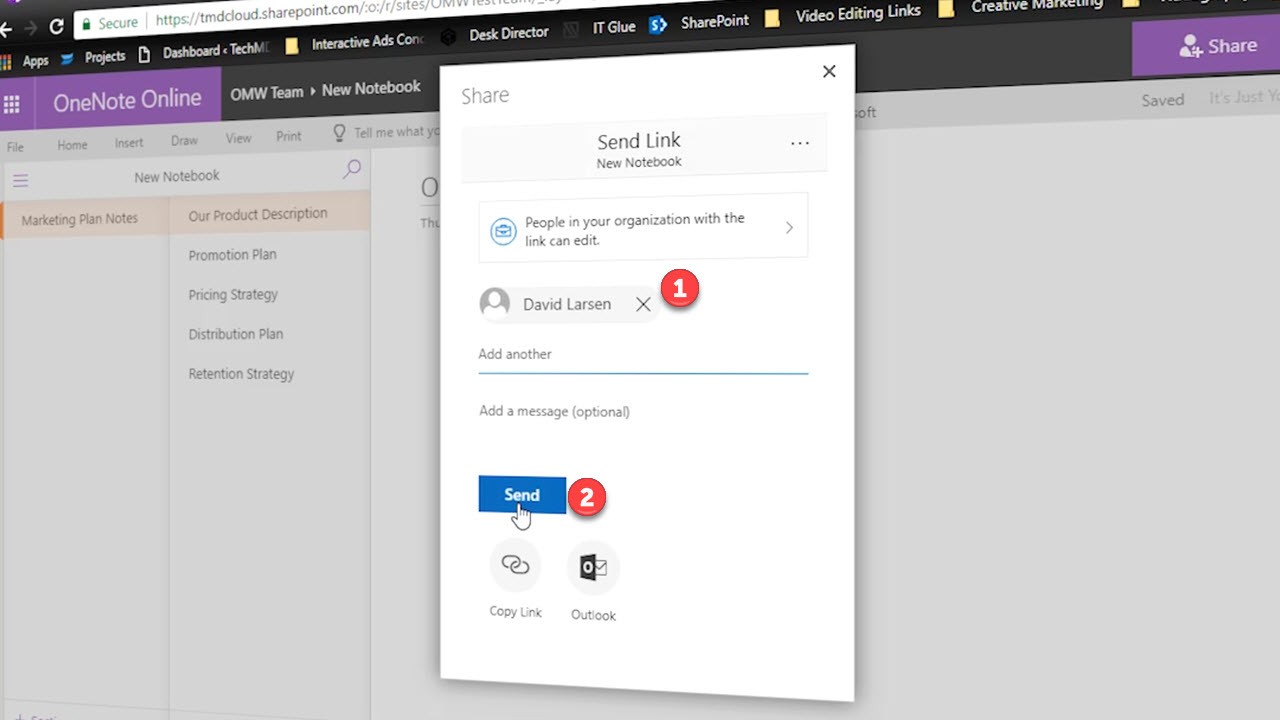
Once your permissions are edited, you can then enter the name or email address of your contact and hit “Send”.
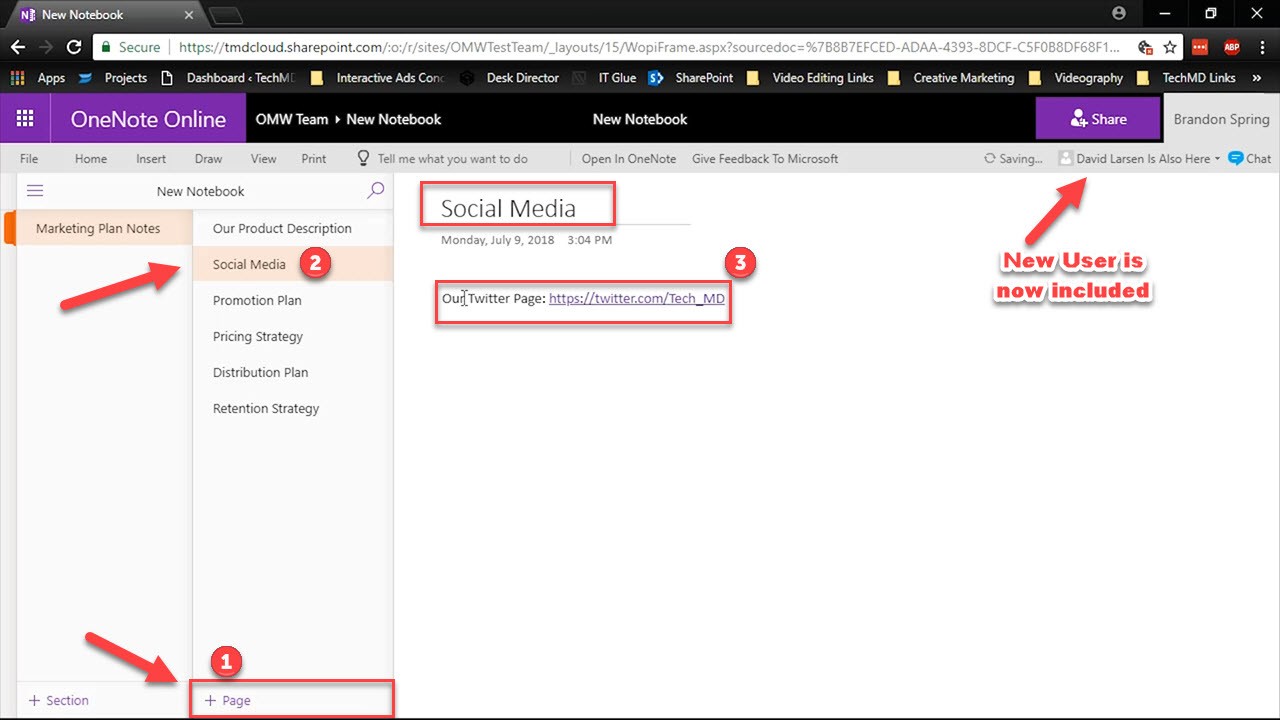
Once the new user is given access they can start adding content and contributing to your project. They can create a new subpage to act as a new category with the rest of the notebook pages (1). Since these pages open blank (2), you and your team member will have to start adding custom content. You can add titles, webpage links (3) and more.
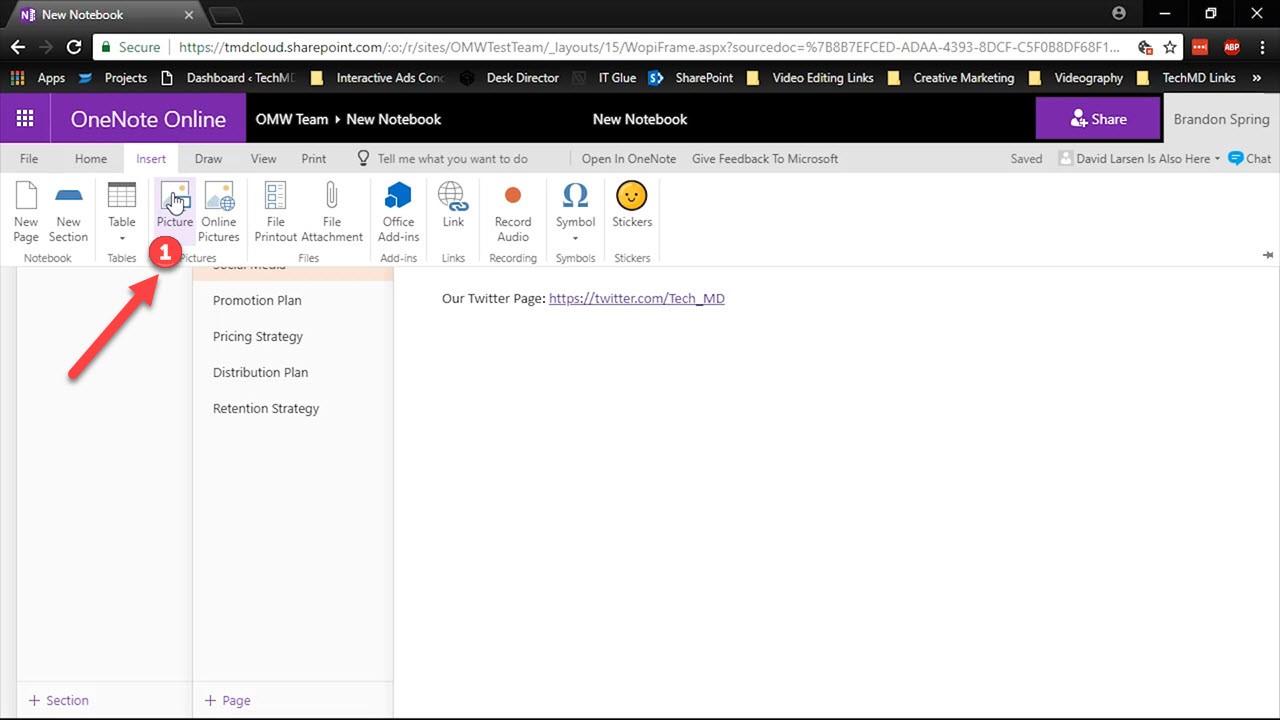
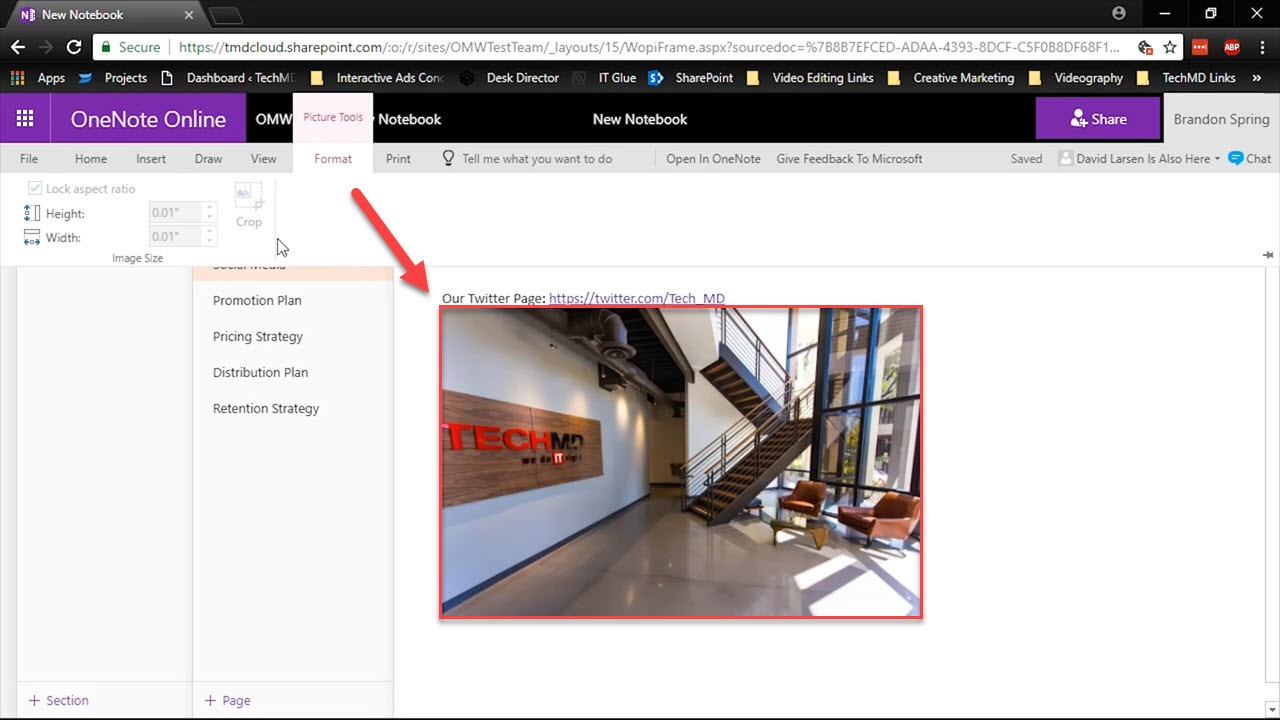
Pictures can also be inserted into the newly created notebook page.
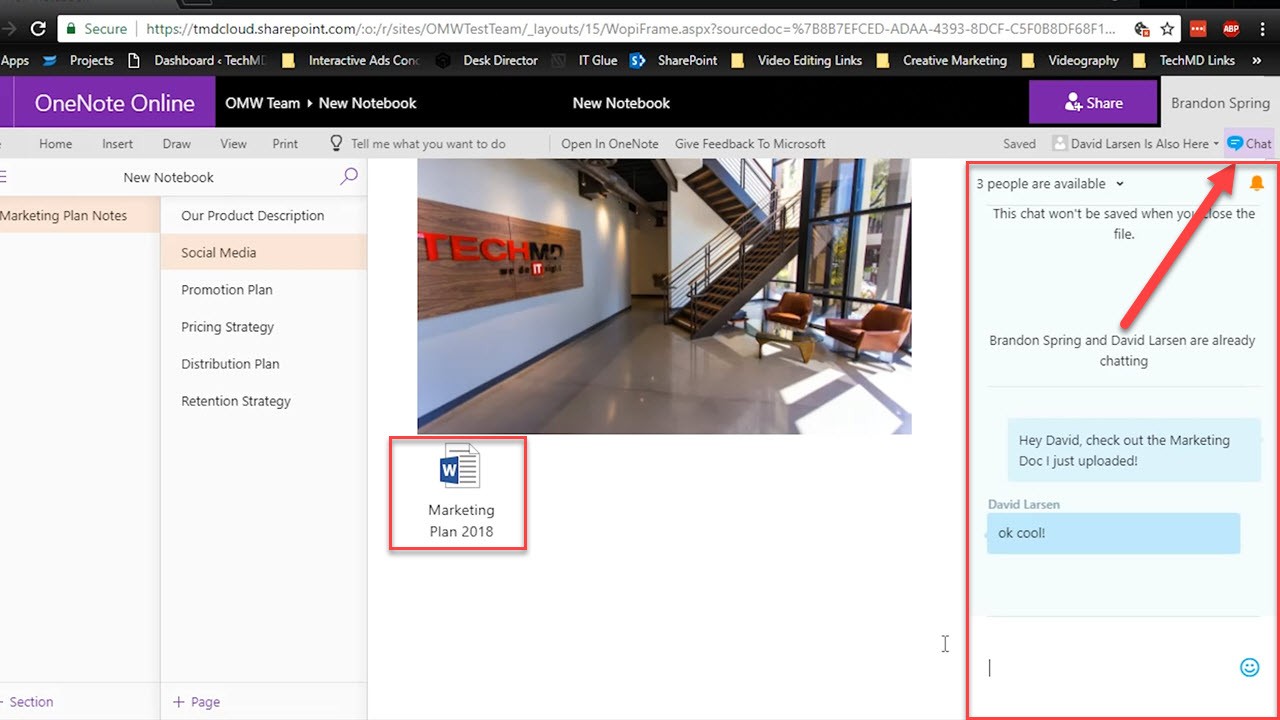
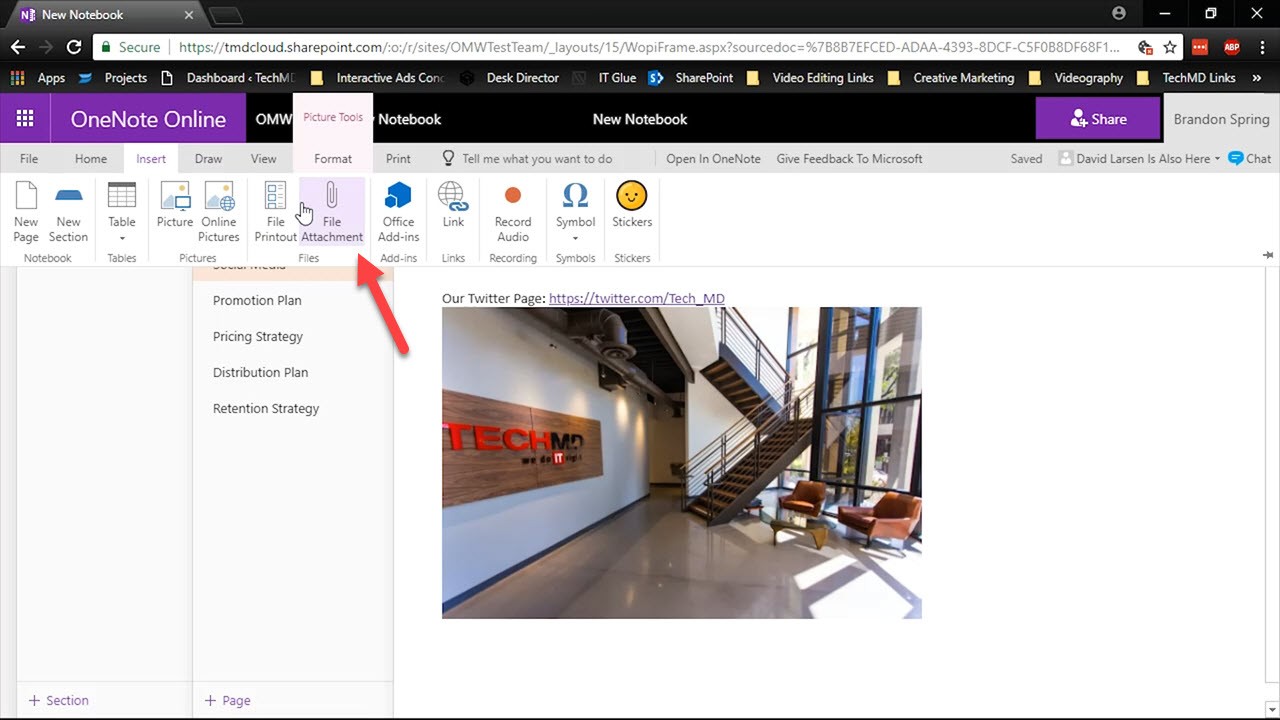
Files like Word Documents can also be attached as well, so you and your partner can bypass email and get what you need directly from within OneNote.
And when you want communicate, OneNote gives you a convenient chat window to message within while simultaneously working within the notebook!