Learn how to customize your view when working in Microsoft Word! On this week’s One Minute Wednesday, Paul Swanson will talk about some of the view options available to you when working in a document. These view options allow you to optimize your workspace and tailor your document display for your needs.
Changing Your View in Microsoft Word
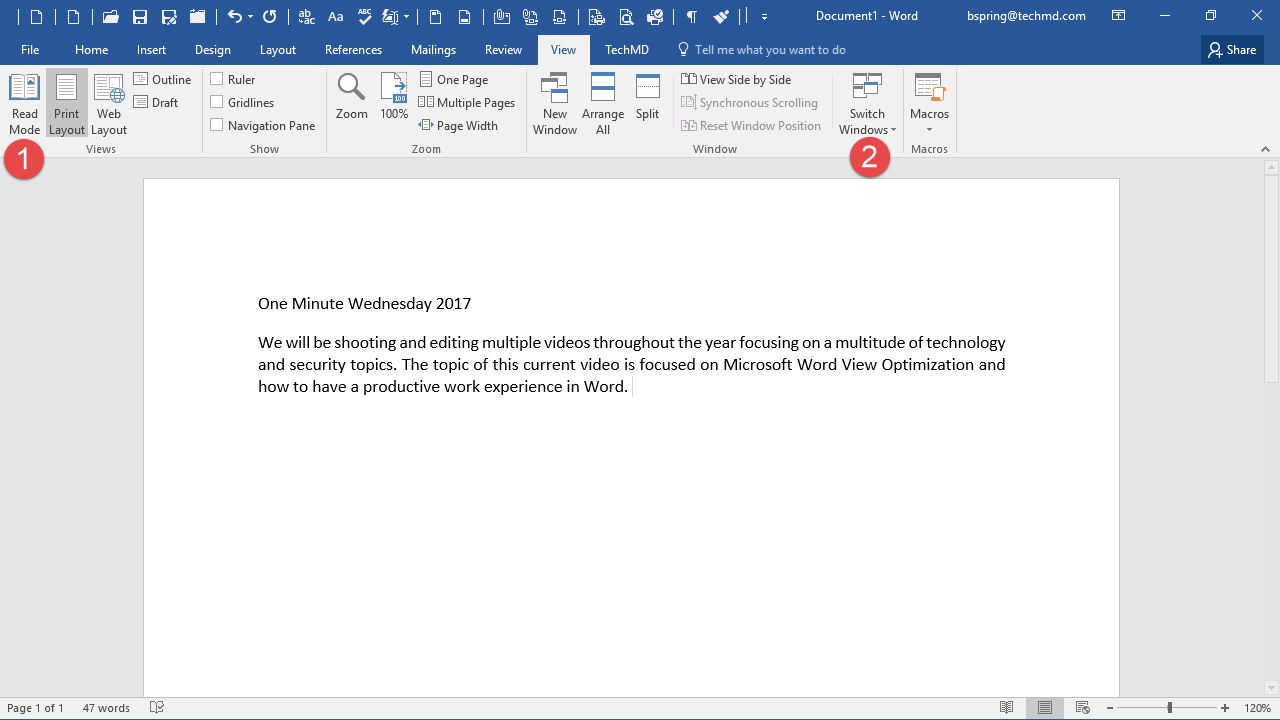
In Microsoft Word, you have a few options for changing your view and easily switching between documents. For example, if you’d like to read or present the document you’re working on without the distraction of the Ribbon bar, you can simply enter the keyboard shortcut “Alt + W + F”. Holding these keys together switches the document to Read Mode, hiding the ribbon bar and giving you a clean page. You can also access Read Mode by navigating to the View tab and selecting Read mode.
If you’re writing multiple documents at the same time, Word also gives you the ability to quickly and easily switch between Windows. Simply navigate to the Window bar under the View tab, and click on the Switch Windows drop-down menu. Select the document you’d like to switch to, and Word will transfer your view to that document.
Customizing the Ribbon
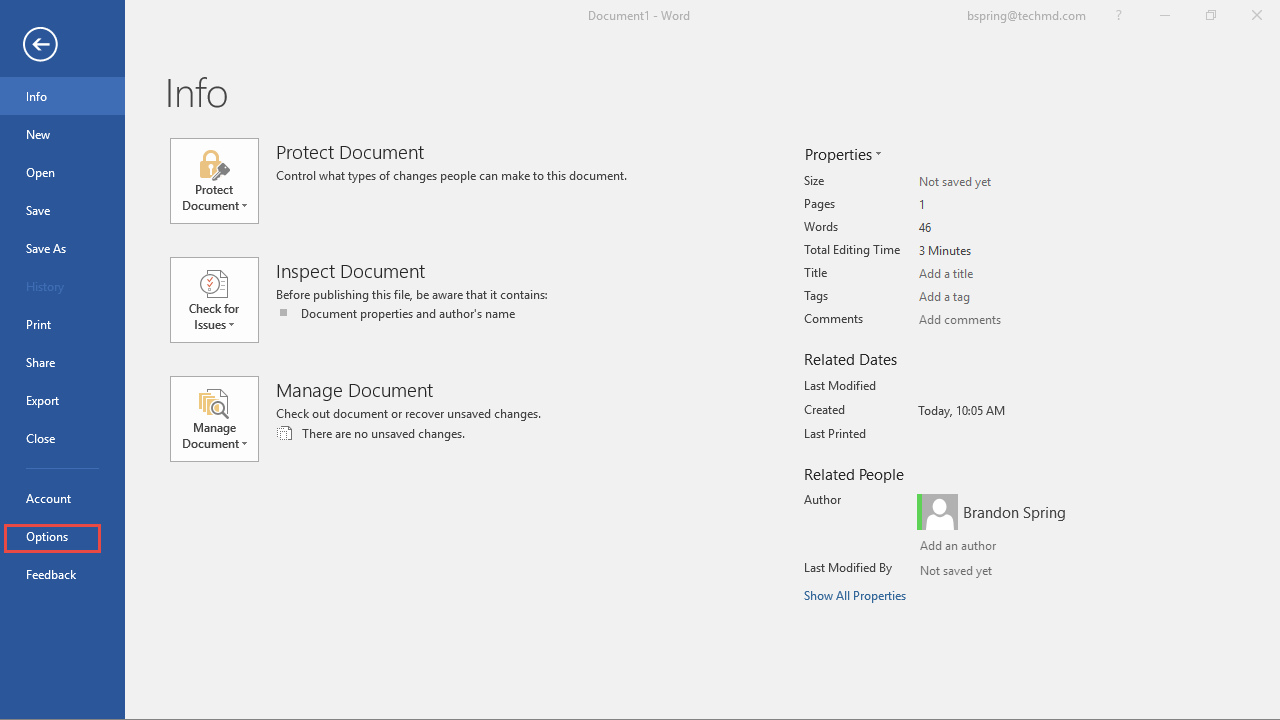
If you’d like to customize the icons that appear in the View tab, navigate to the File tab and then select Options.
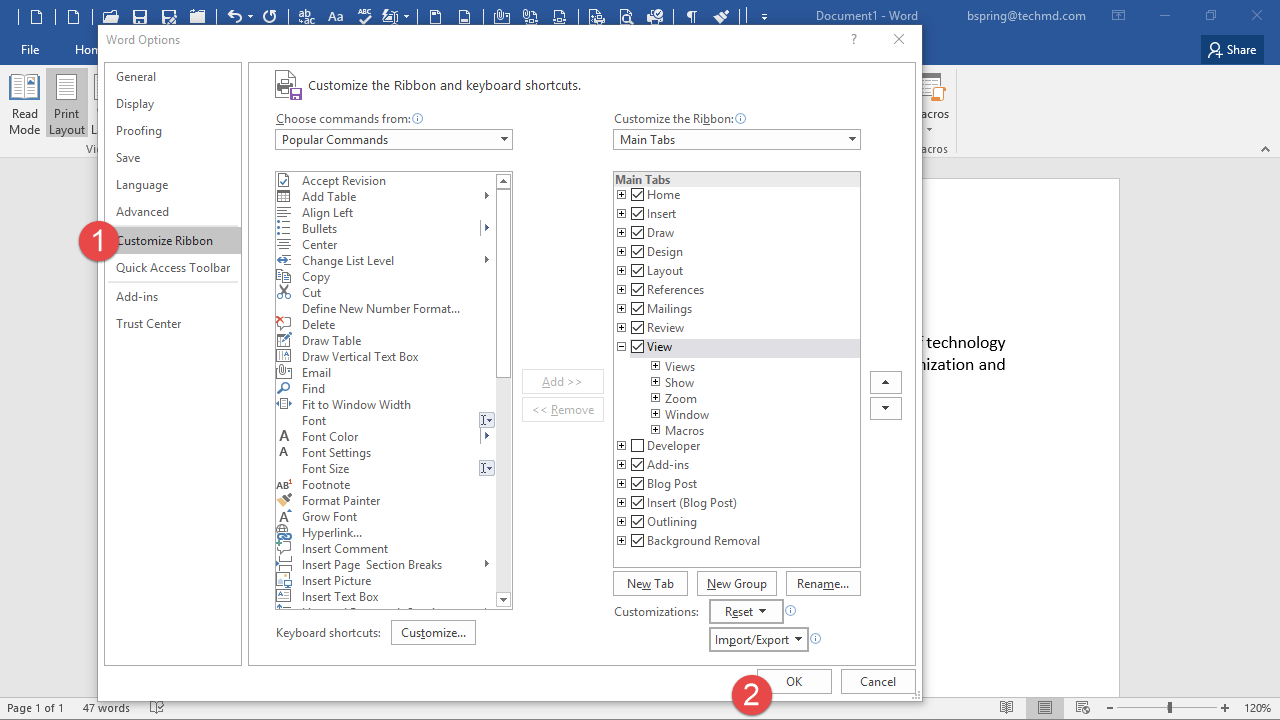
The Word Options window will appear, and from there you’ll want to click on Customize Ribbon in the sidebar. From there you can add or remove icons from the Ribbon—in this case from the View tab—in order to further customize your View options when working with documents.
If you’d like to learn more about customizing the ribbon, check out our One-Minute Wednesday episode on the subject by clicking here.


