
In today’s One-Minute Wednesday we’re looking at an app in Office 365 called Microsoft Forms. Forms lets you create custom surveys, order forms, questionnaires and more so that you can gather and utilize data relevant to your organization.
Creating Your First Form
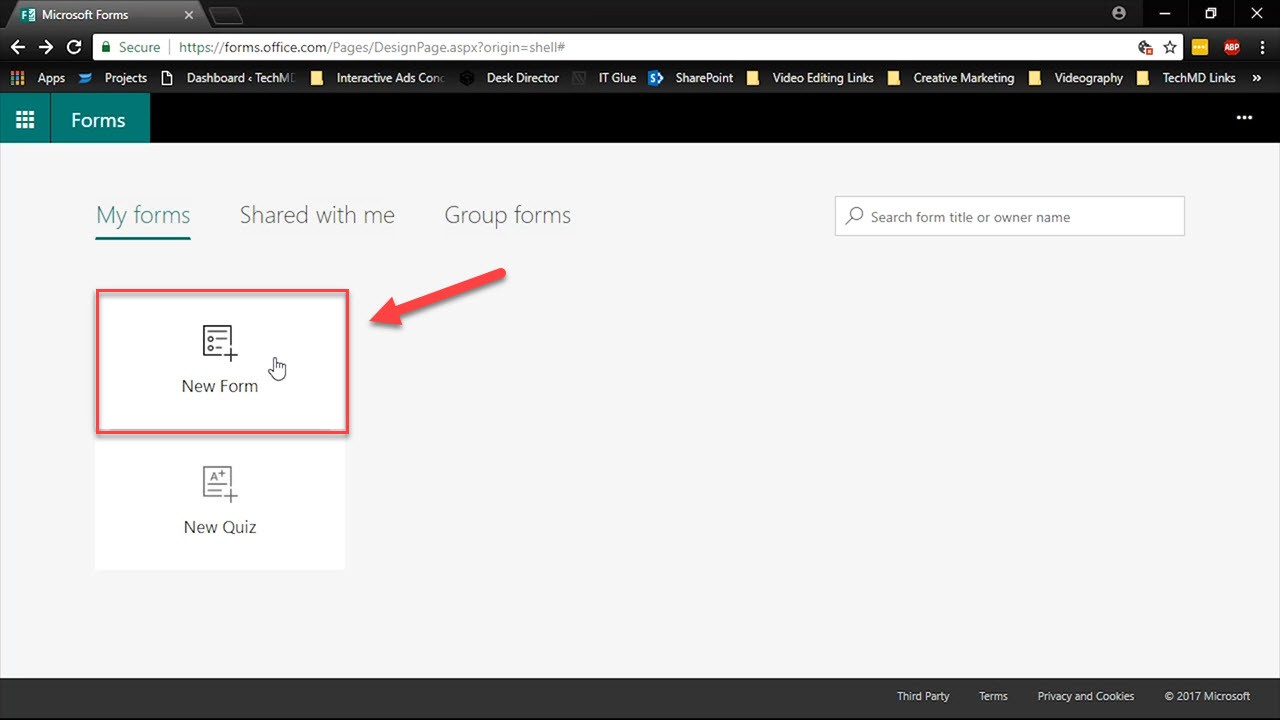
To get everything started, when you open Microsoft Forms hit “New Form”.
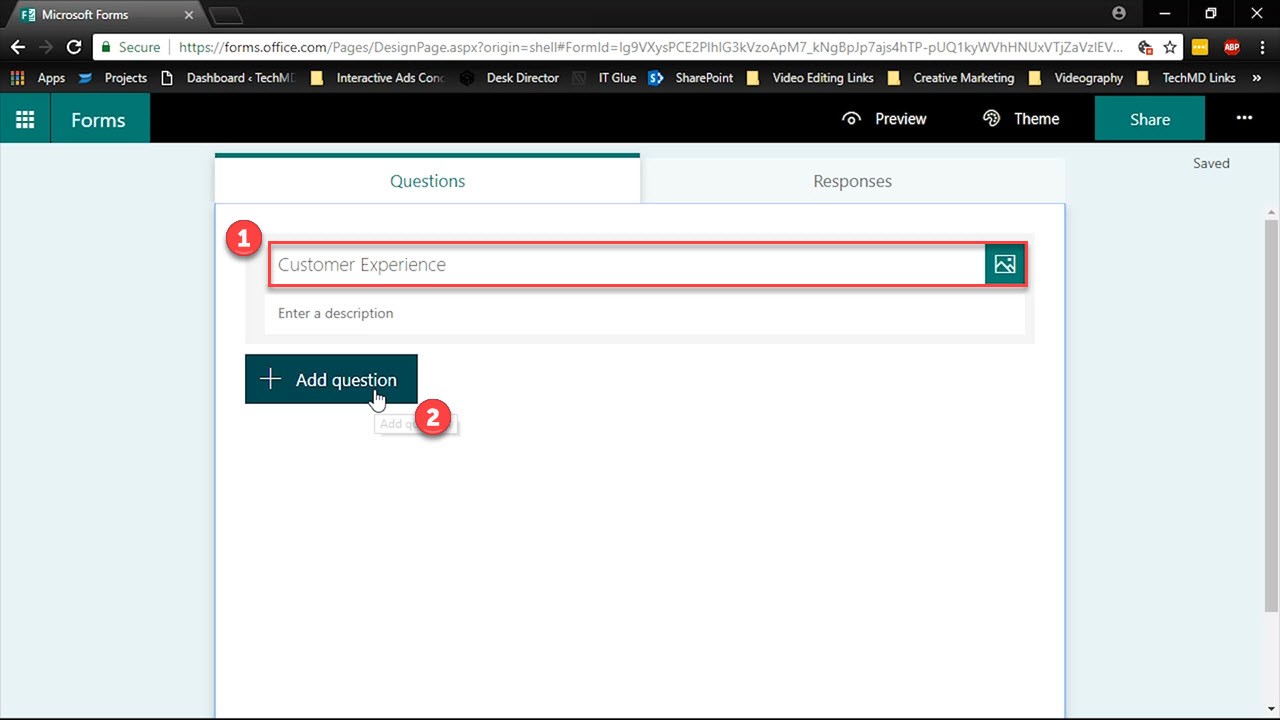
With the blank form template open, give the form a title. Then begin adding customized questions.
Microsoft Forms offers you a list of question types to choose from that include “Choice Based” where the recipient can respond in multiple ways; “Text” questions where they can enter general answers; “Score Ratings”; and finally “Date” selections.

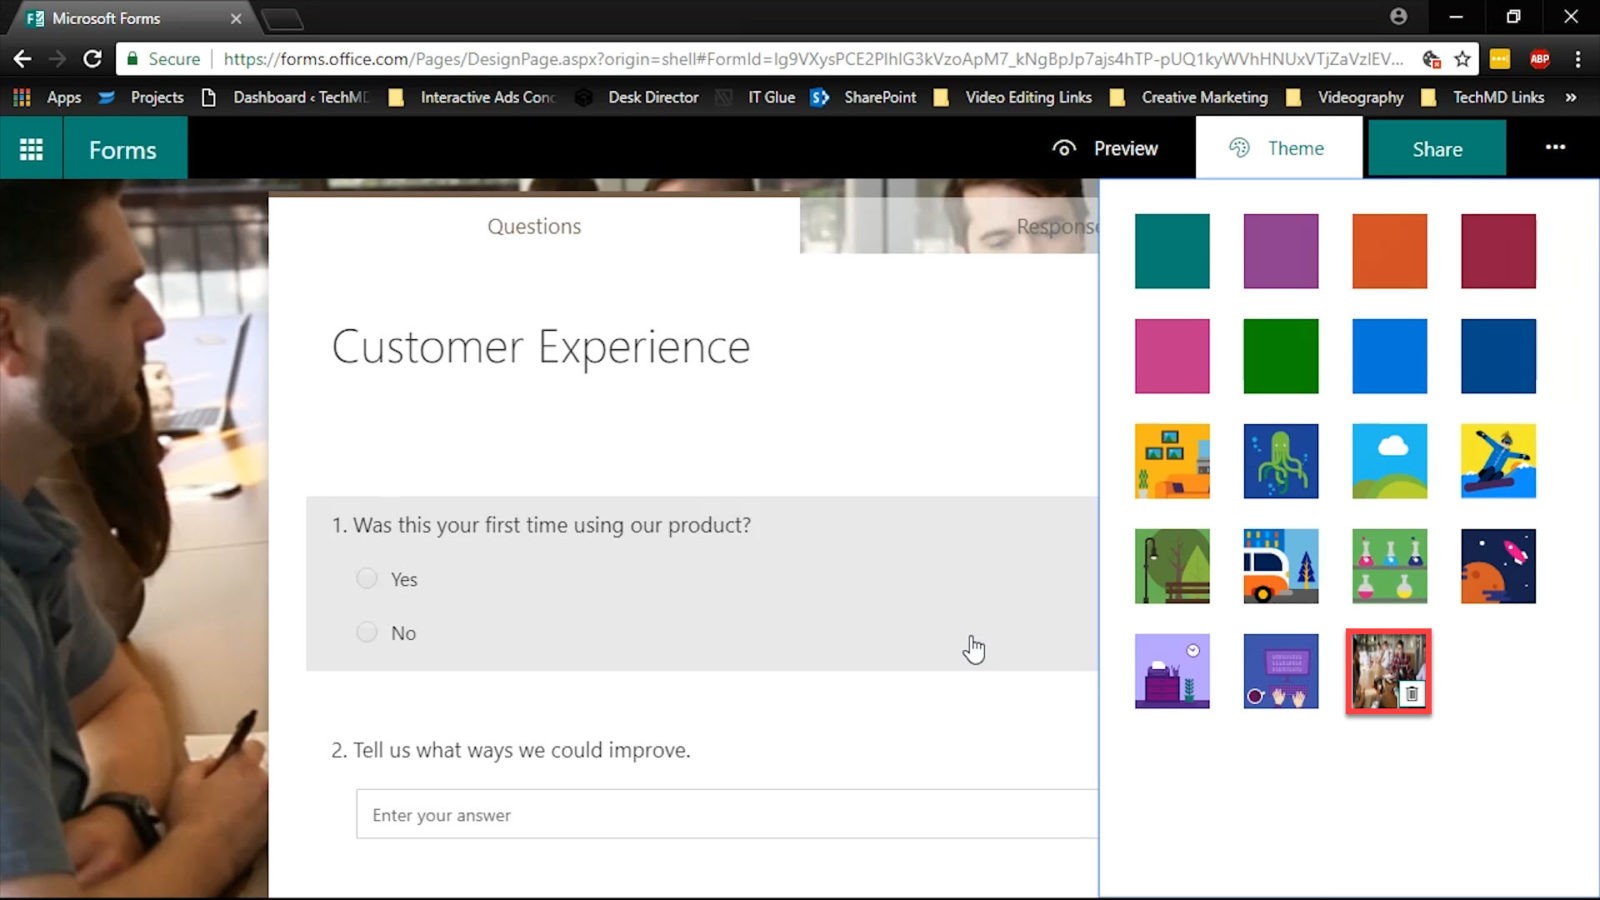
Once all the questions are laid out, head to the Theme tab to change the color and design to make the page more attractive and fit your survey.

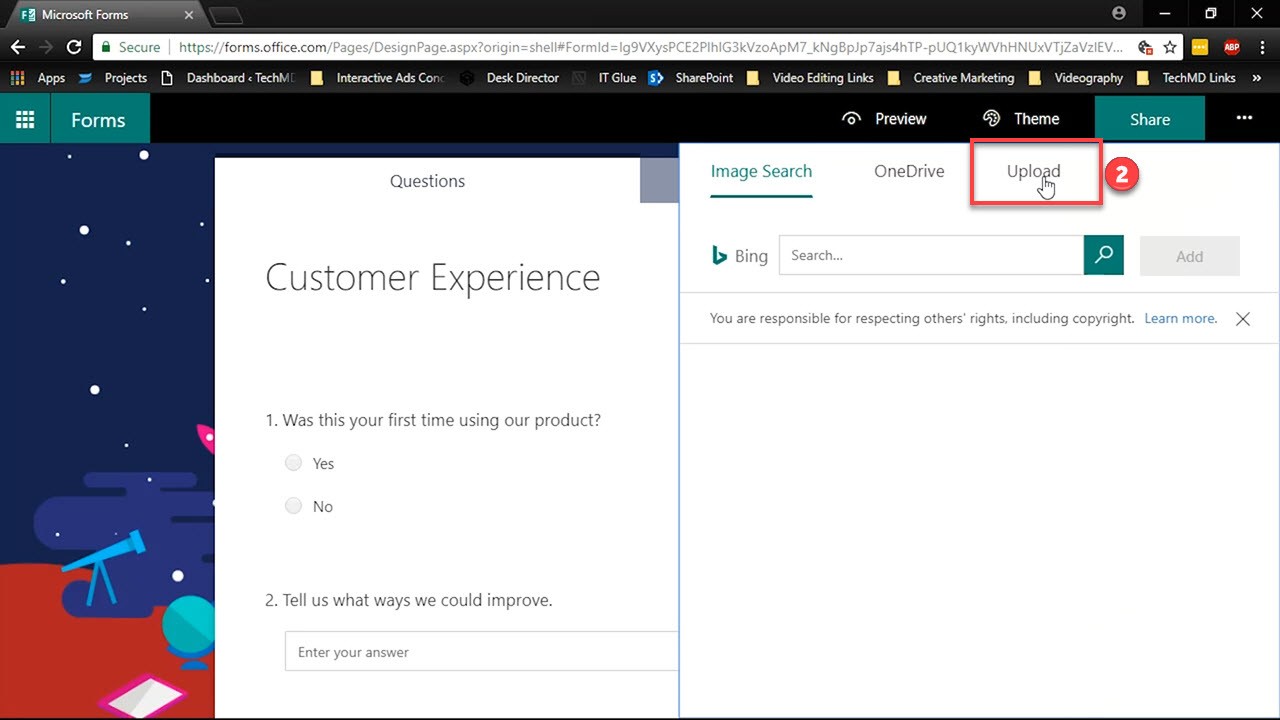
You’re also able to upload personalized images, such as a company logo or photo, to make the form look exactly how you’d like it to.

To upload an image, click on the Upload tab and locate the image you’d like to use.
Once uploaded, the new image will fill the background.
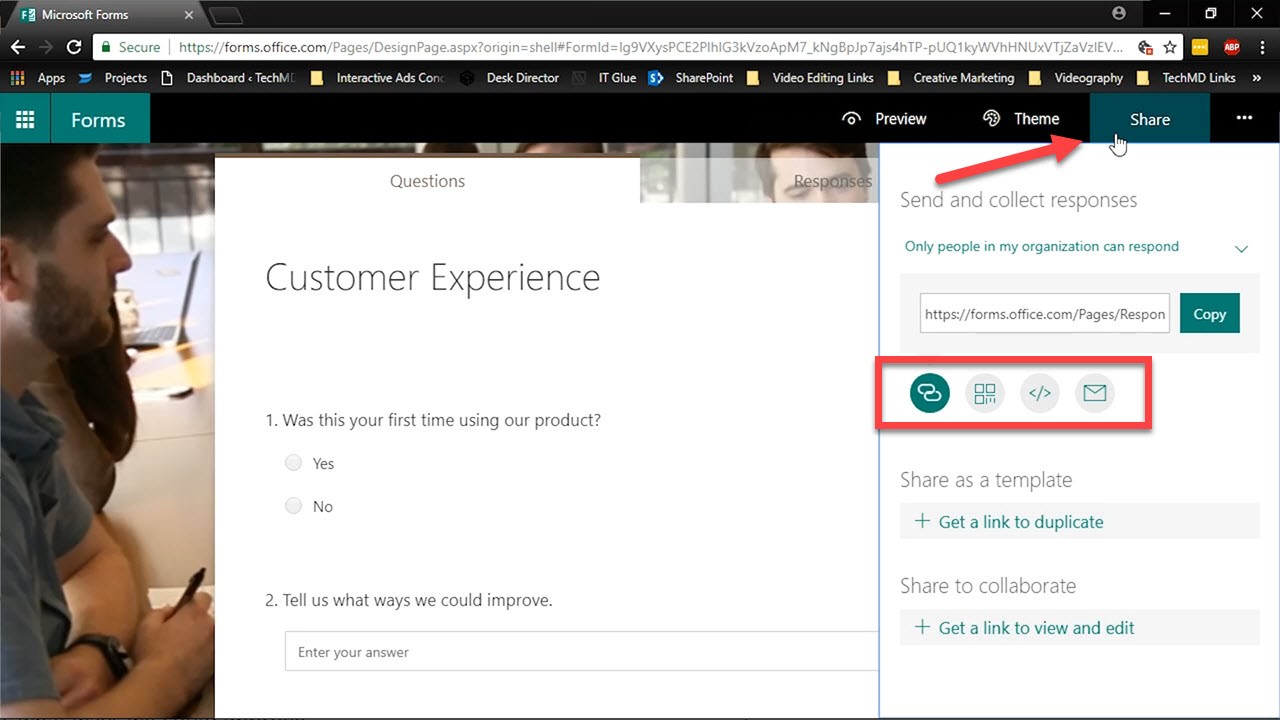
Now that all the customization is wrapped up, go ahead and share your form via the options under the share tab.
Once your recipients respond to the form, you can use the Response tab to review the data. You can see the number of responses, the average time it took to complete and the status of the form.
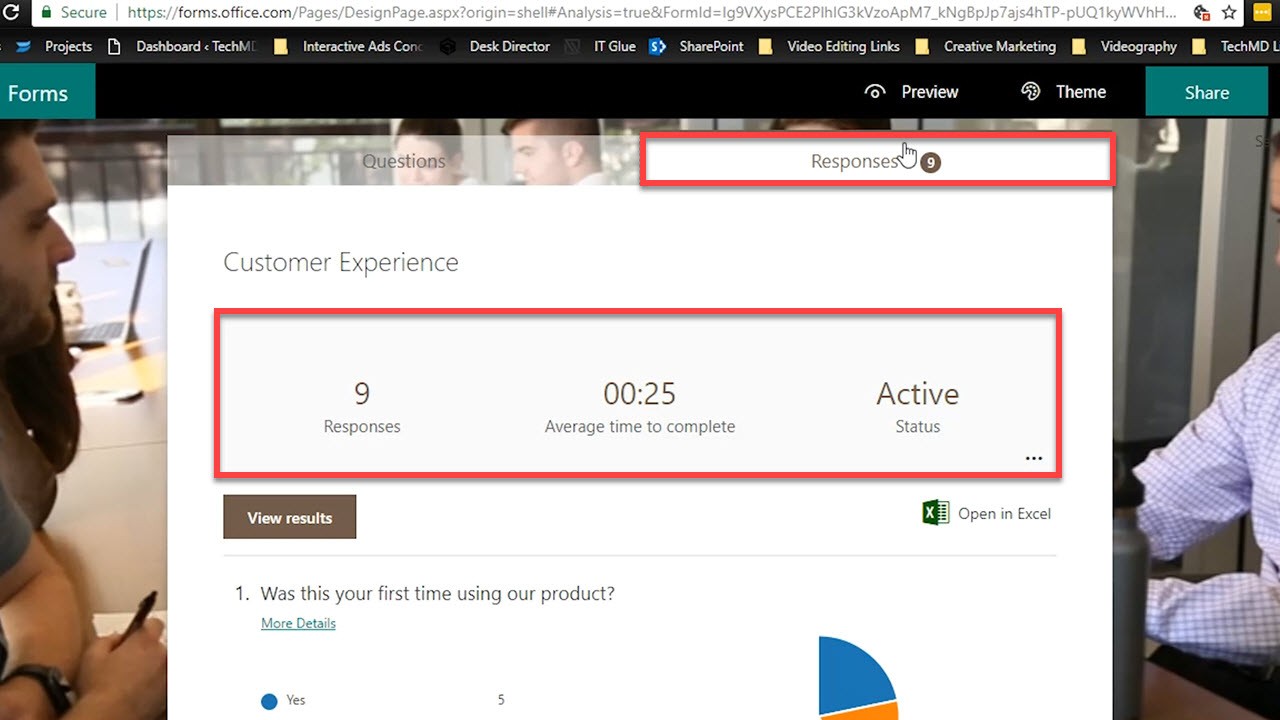
These analytics will show how your audience engaged with the questions you gave and give you results that you can then employ towards your goals.

So that’s how you can use Microsoft Forms to make customized surveys and questionnaires to obtain the data important to you. Be sure to come back next week for another One-Minute Wednesday!


