Today we’re checking out Microsoft Stream, a video hosting app in Office 365. It acts as a home for uploading, viewing and distributing internal videos across your organization, while giving you the security and storage power of the cloud.
Navigating Microsoft Stream
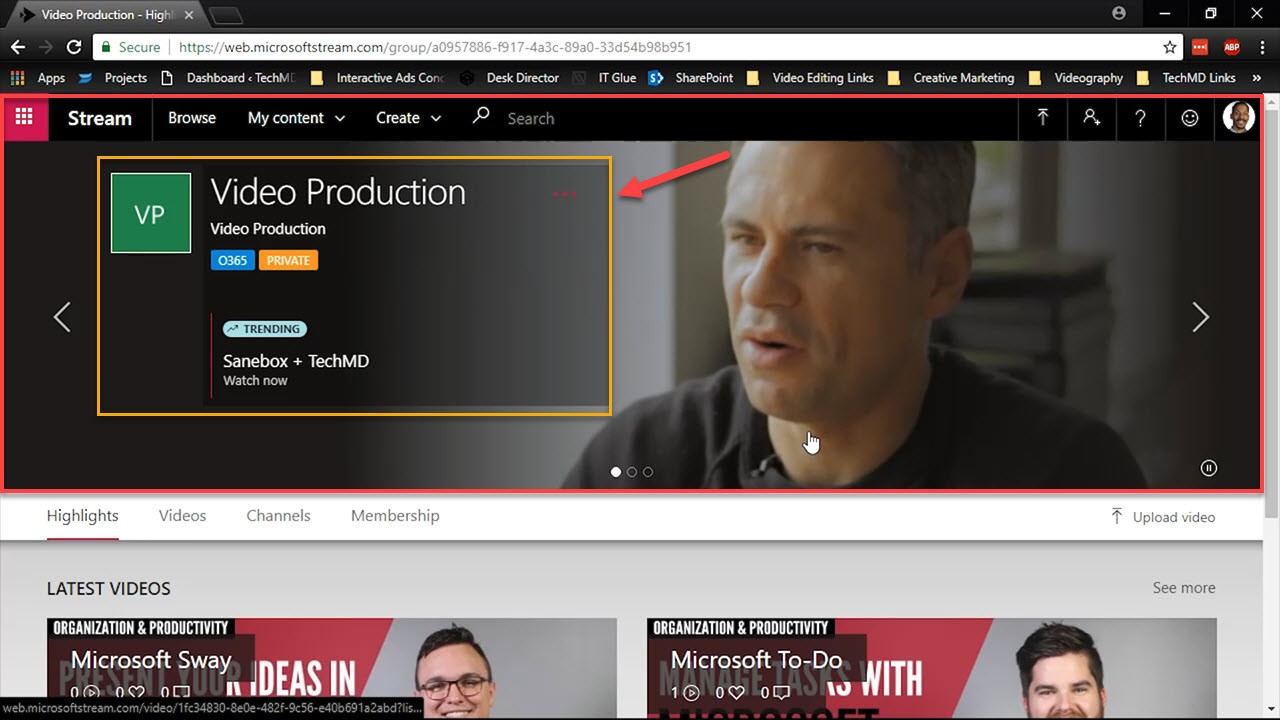
When you enter the home page, you’ll see videos that teach you how to utilize Stream’s features, any trending content and navigation tools for getting across Stream.
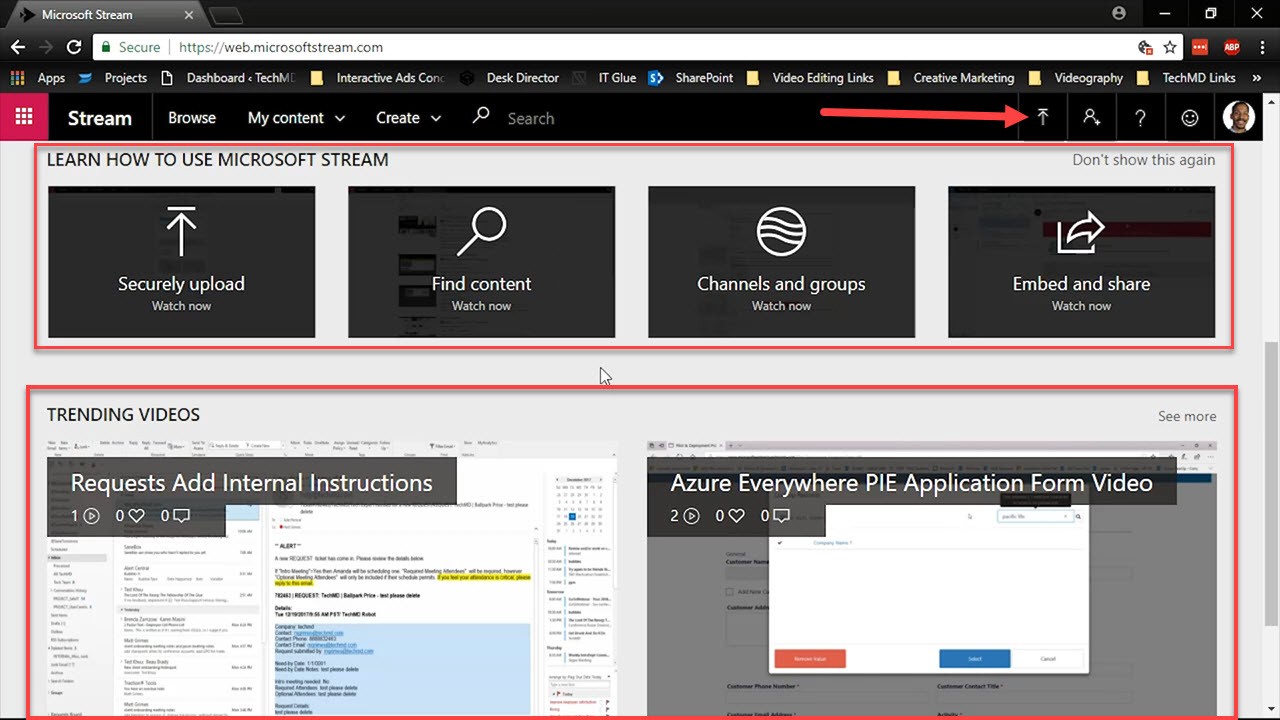
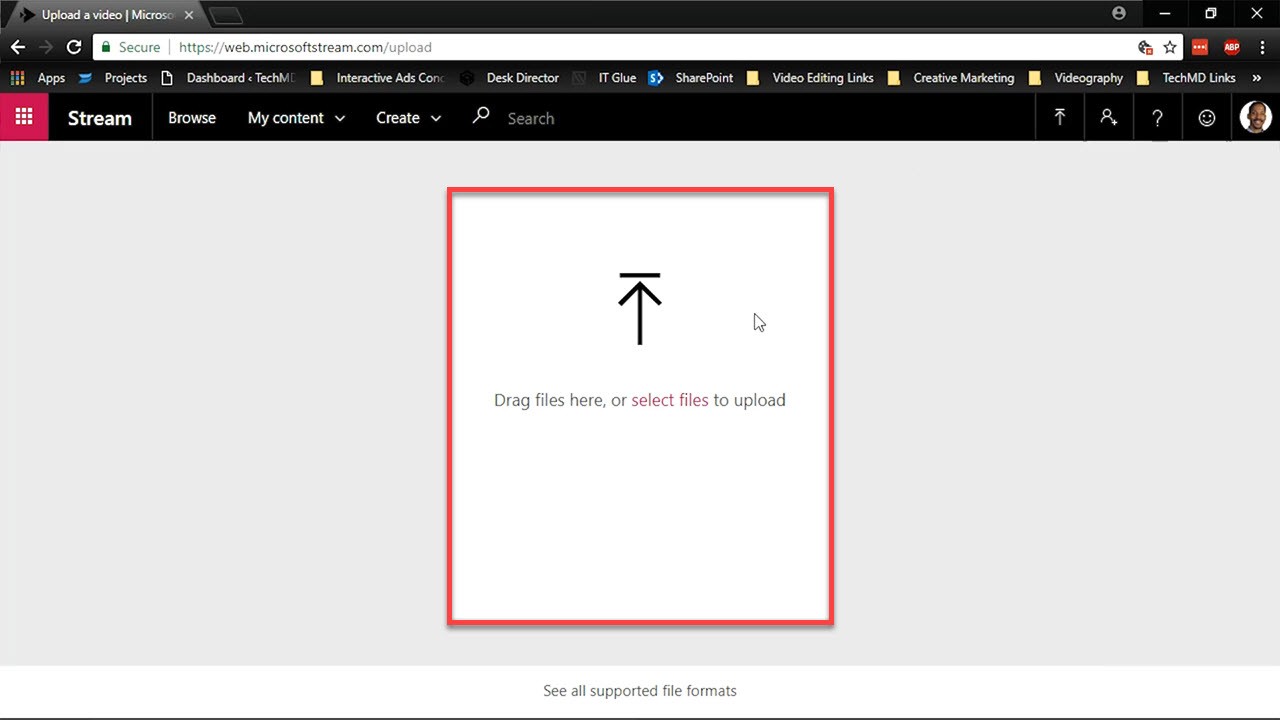
To start uploading videos, click the upload symbol in the top right corner. Then, choose the specific video you’d like to add.

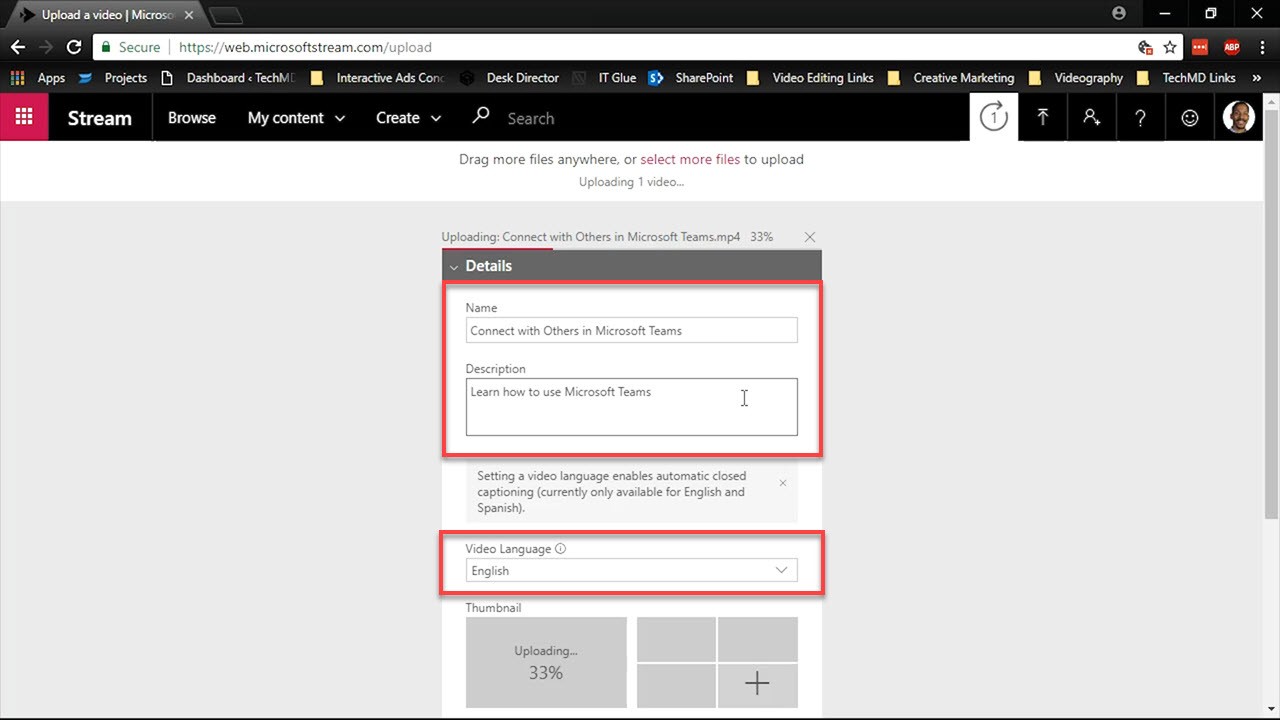
As the video loads, you can start giving the video a title and description along with other features like captions, thumbnails, adjusting viewer permissions and more.
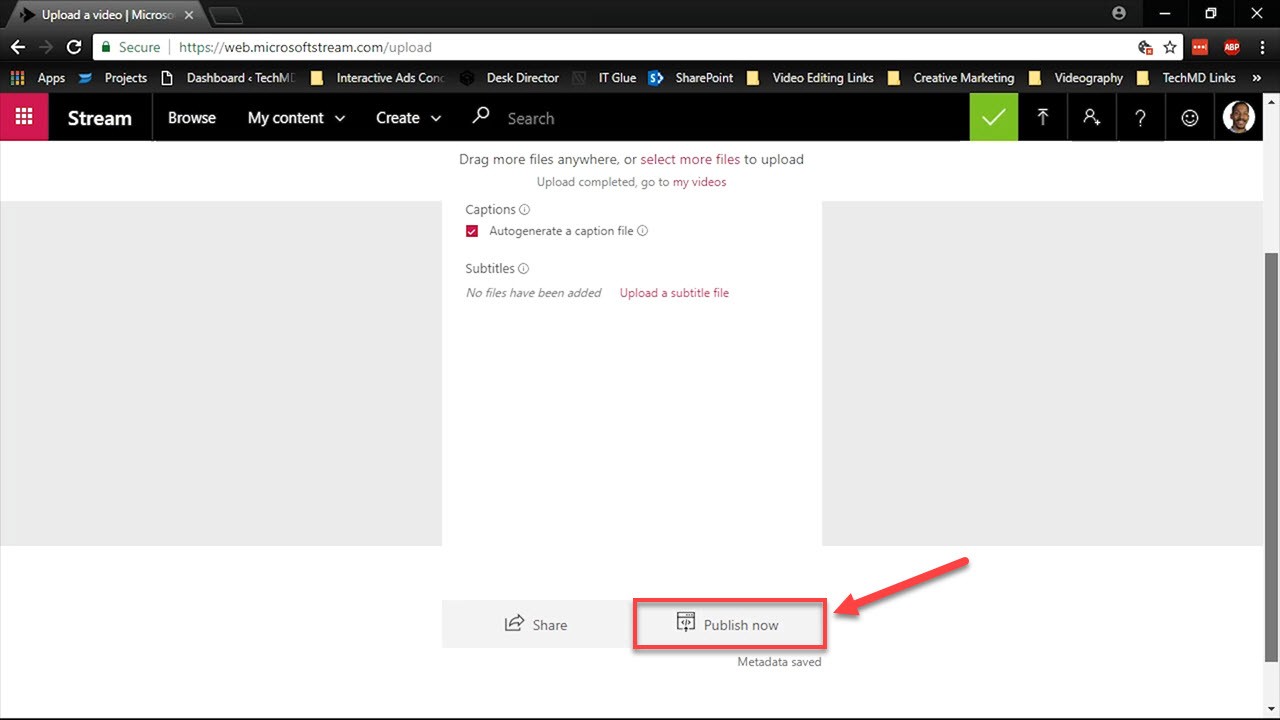
Once all of your settings are complete, hit the “Publish” button to finalize the video.
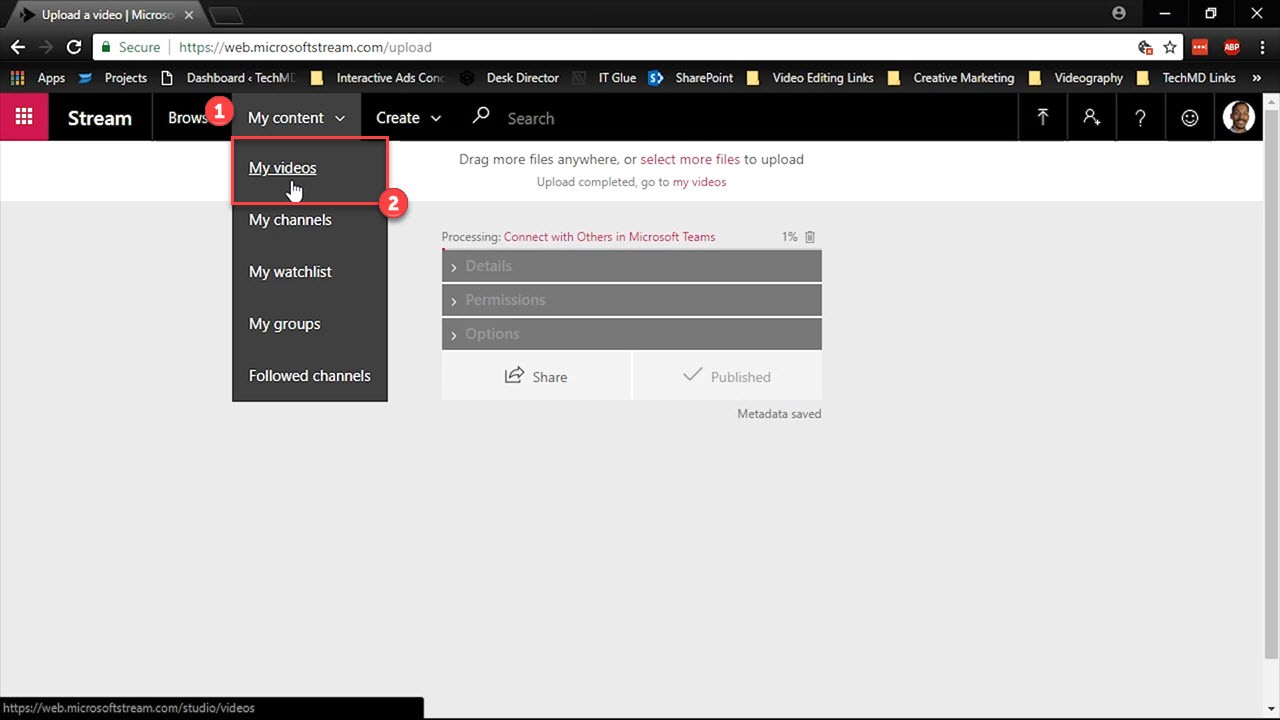
You can then find the video under “My Content” and then “My Videos”.
Channels and Groups
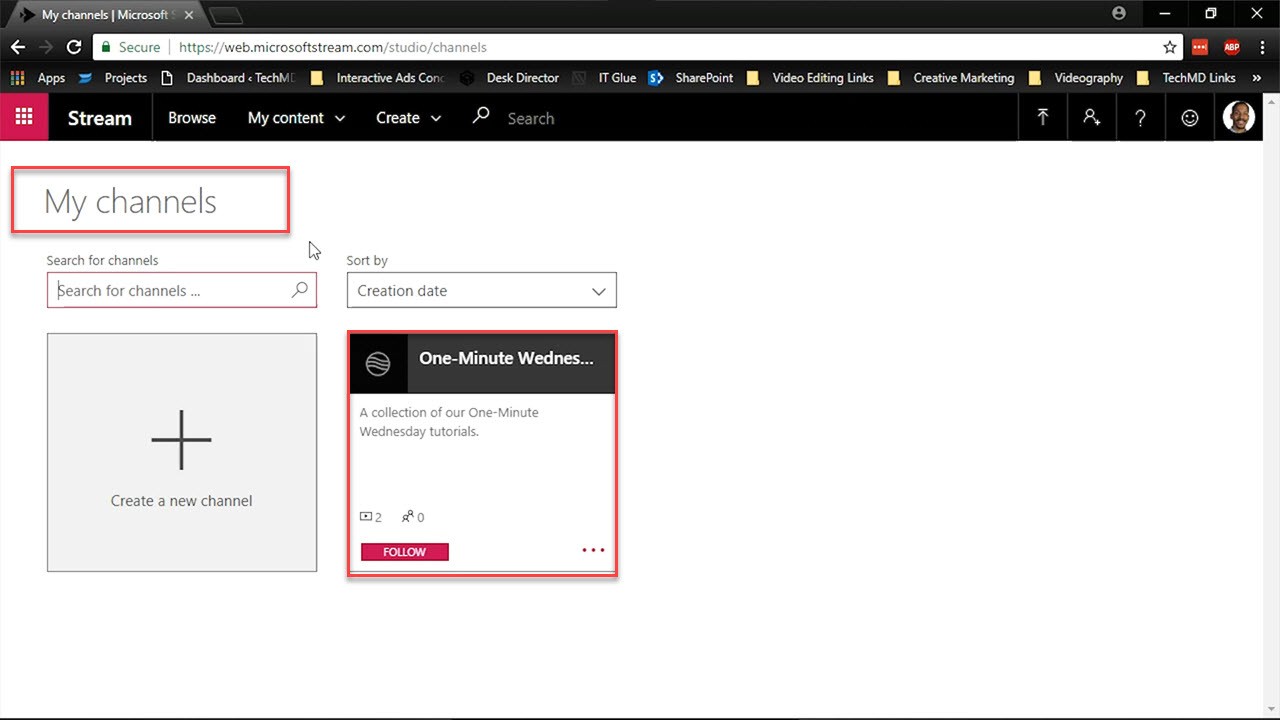
Microsoft Stream helps organize videos through Channels and Groups. Go to My content > My channels, where company-wide videos are categorized based on subject or topic.
To access groups, go to My content > My groups. Groups on the other hand are sites where specific teams and departments post and share their own videos. Here, you can regulate who can view or upload content which ensures your security.

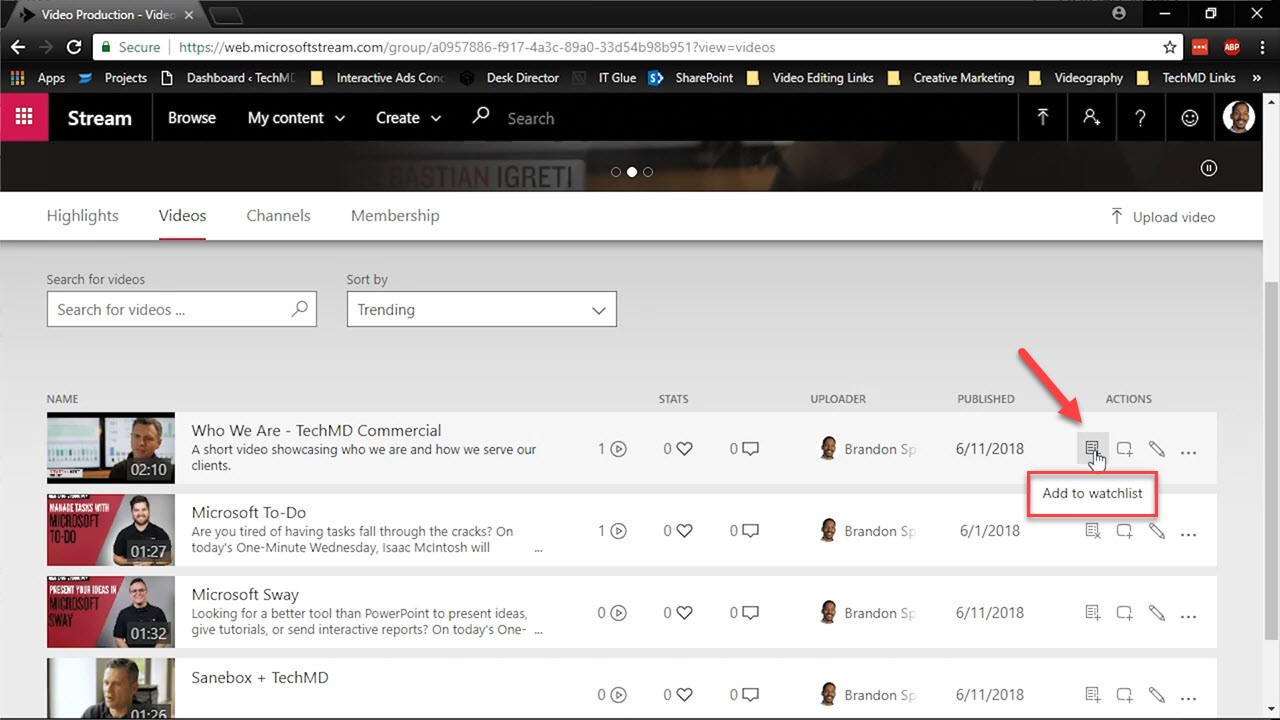
When a user in your group doesn’t have time to watch a video but they’d like to view it later, they can add it to a watchlist with the “Add to Watchlist” icon.
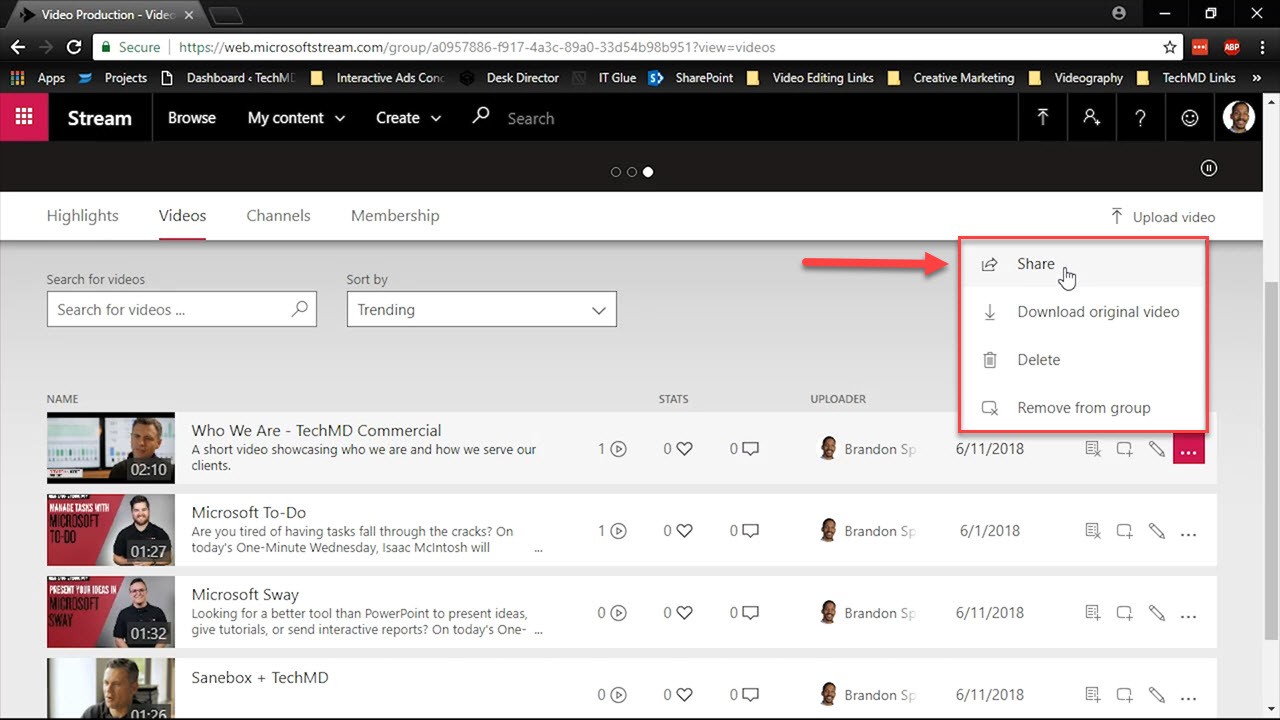
And when you’d like to share your content with others outside of your organization you can hit the “Share” icon to share via link, email or by embedding options.