Office 365 offers you a great app called Microsoft Sway, a tool where you can import content to create customized presentations and interactive reports. Let’s take an overview of how to create your first Sway.
Getting Started with Sway
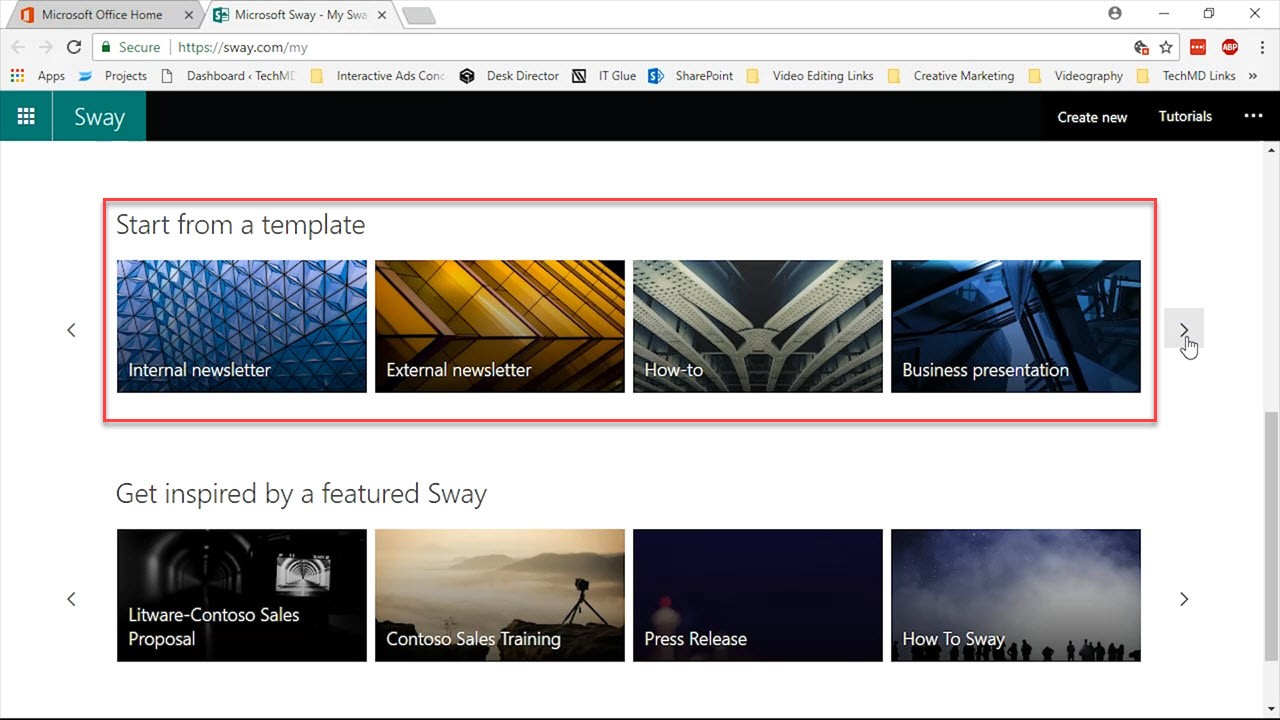
When you first open Sway, you are given a wide range of template designs to choose from that correspond with the message or idea you’re trying to convey to an audience. This makes it easy to jump right in.
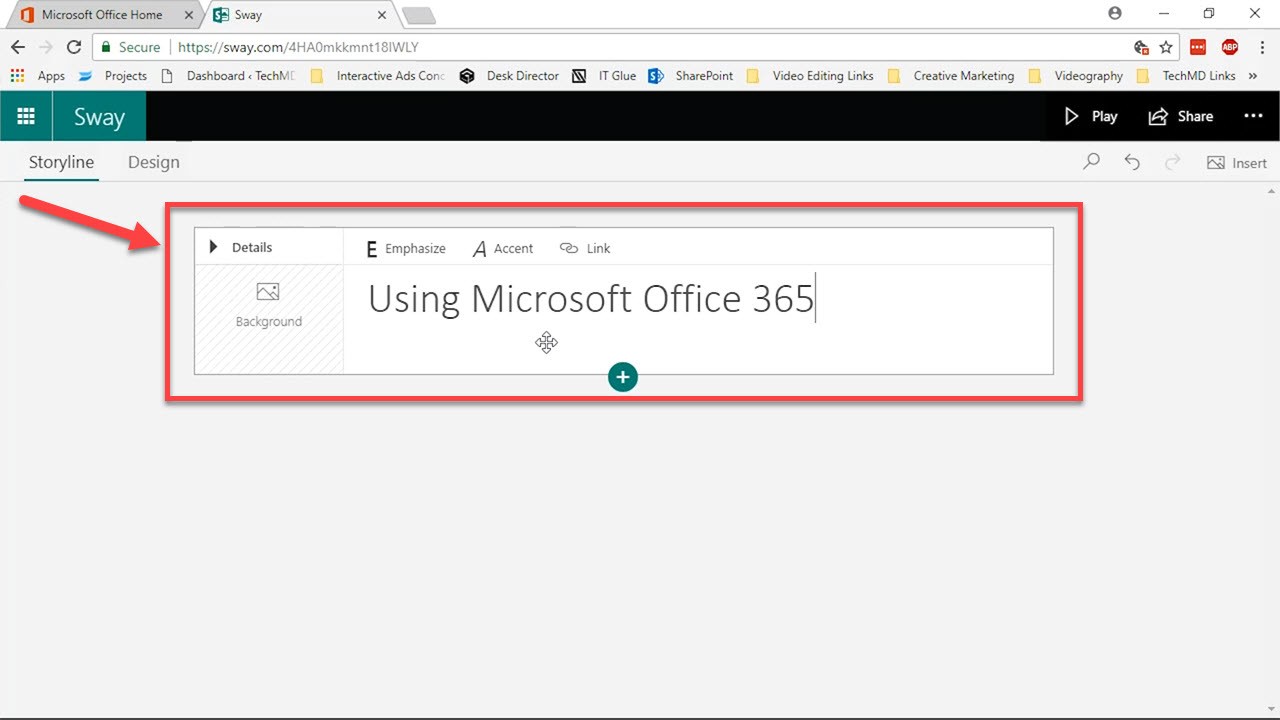
But today, let’s check out how to create a new Sway from a clean canvas. Go ahead and click the “Create New” button to begin.

Once the new window opens, give your Sway a main title. Then, hit the plus icon at the bottom of the card to add new content. You’re given the options to add in additional text or video/images.
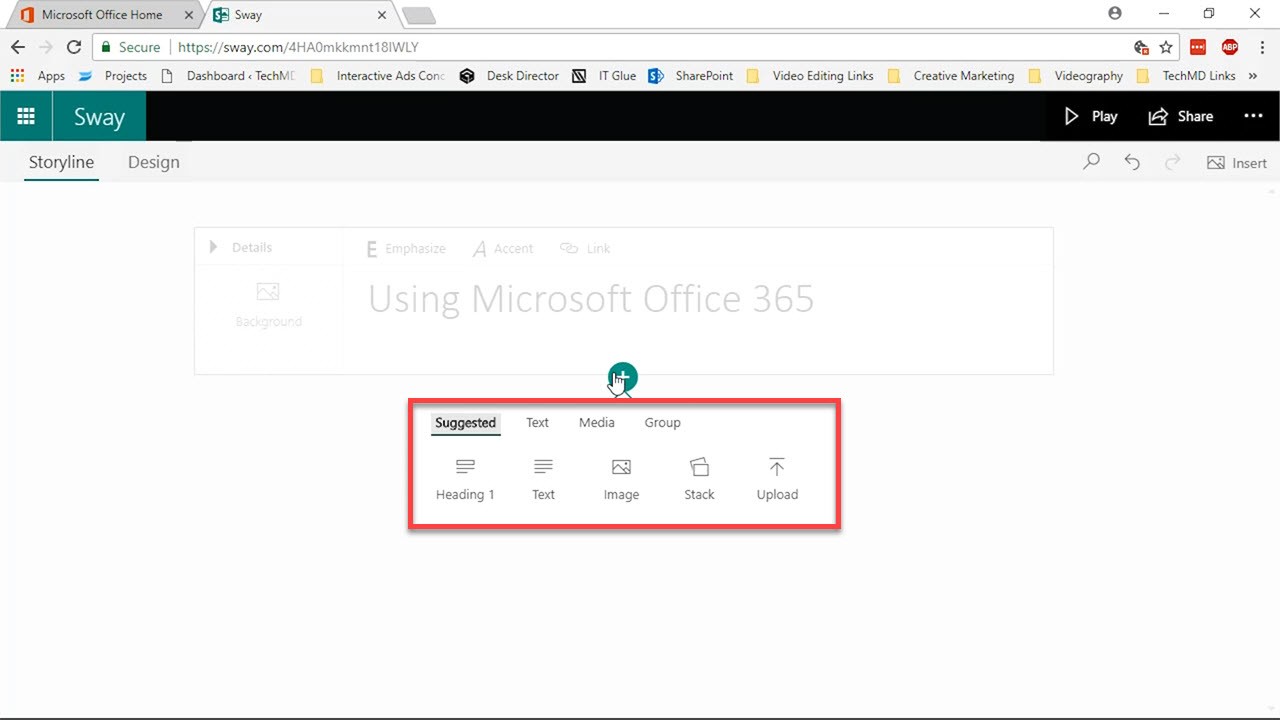
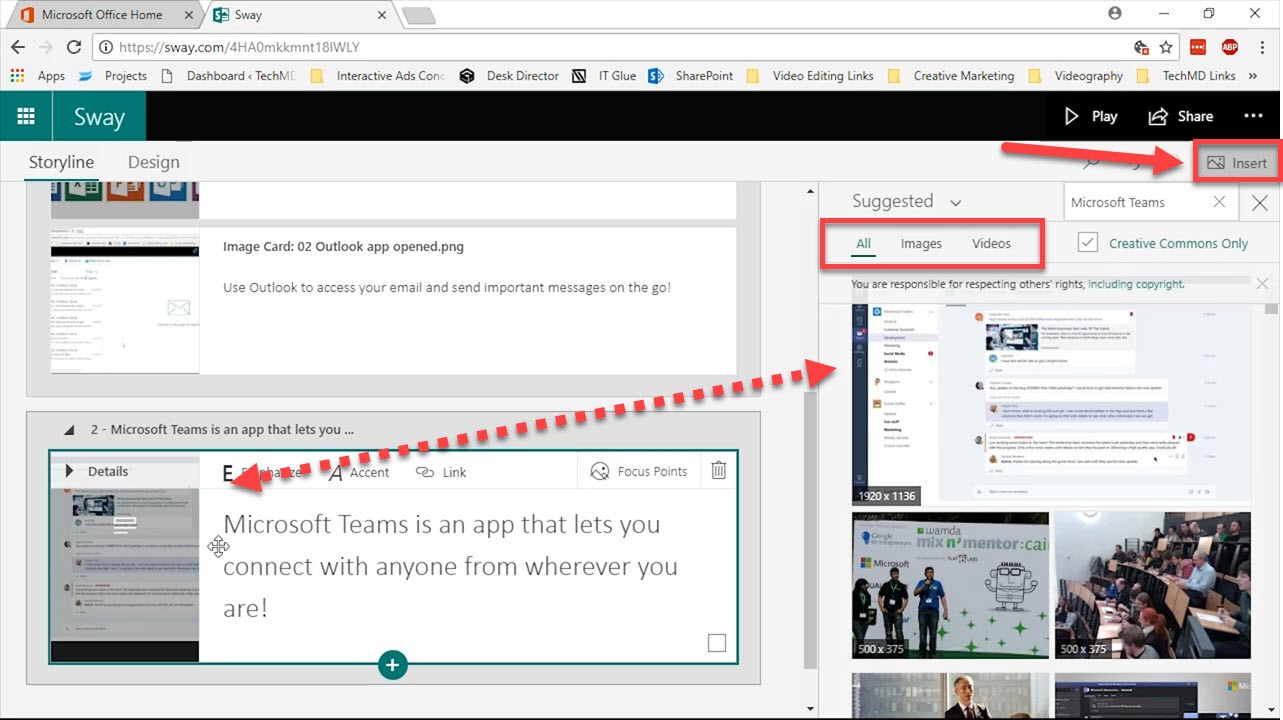
Use the “Insert” button in the top bar to the right to find photos and videos online or upload more content from your local computer. You can then drag and drop the images or videos right into your Sway.
Adjusting the Design
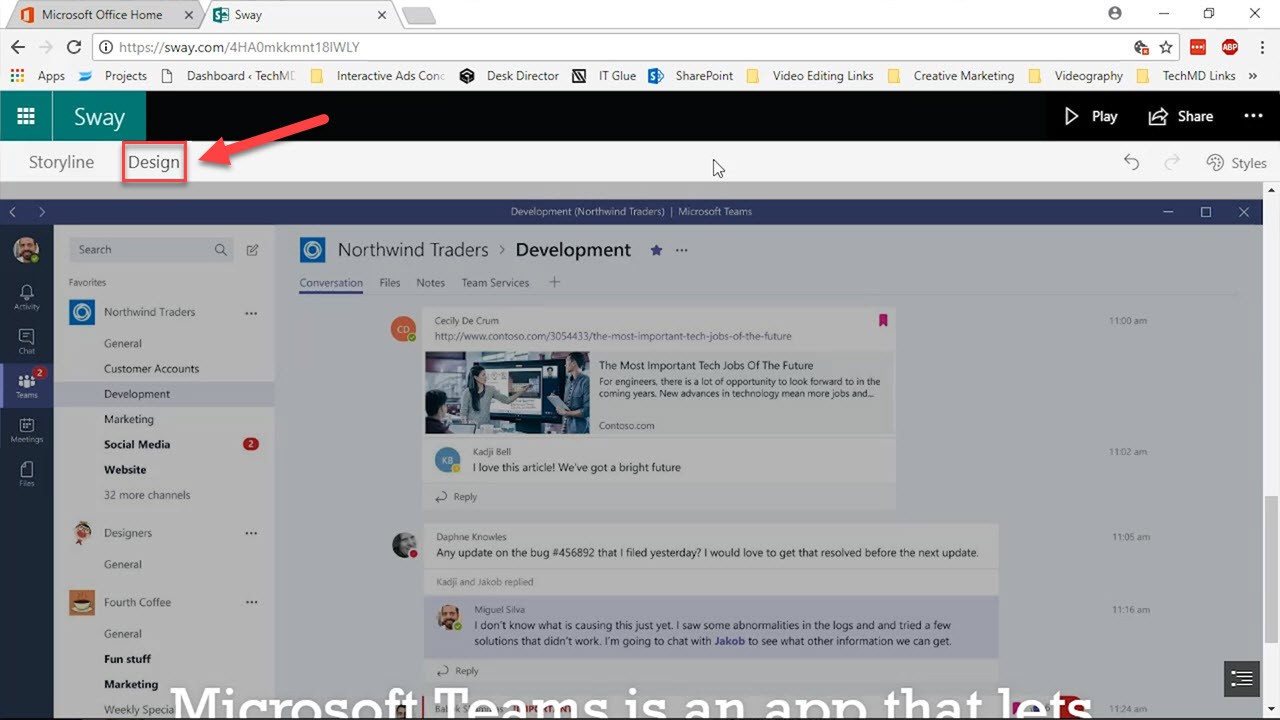
So the overall layout of your Sway can be adjusted by hitting the “Design” tab.
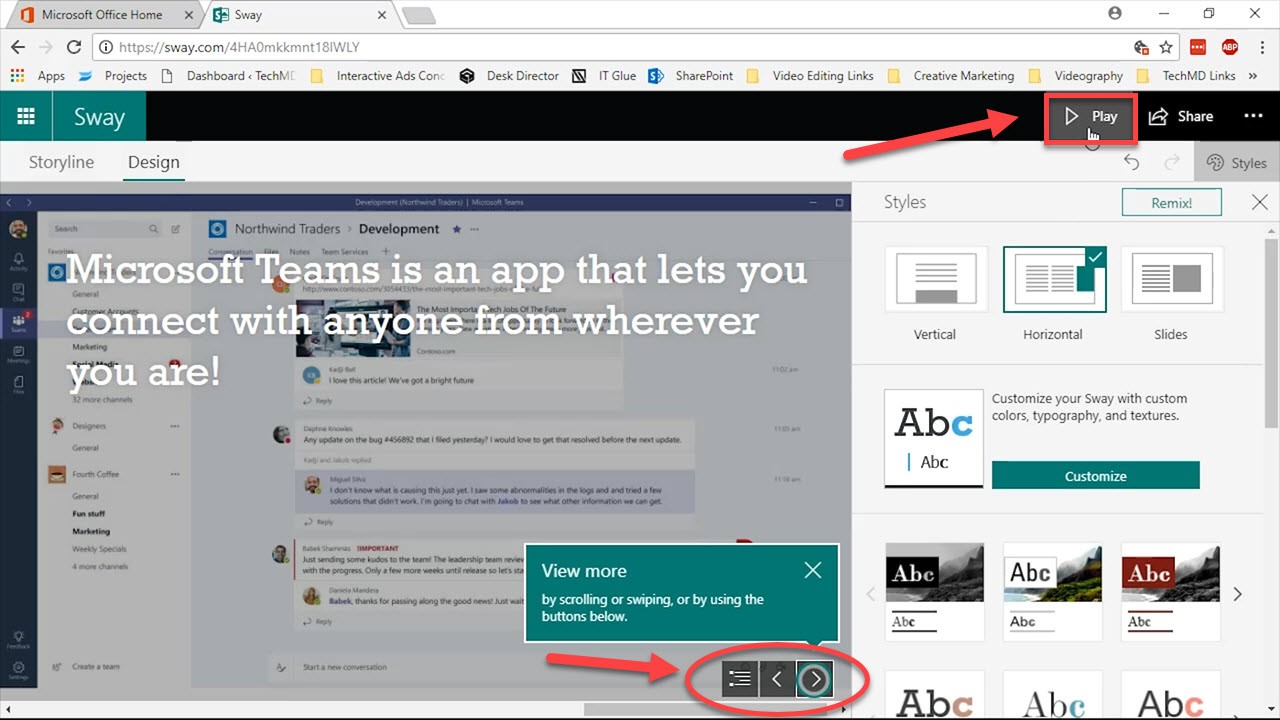
Once in the design tab, hit “Styles” in the top right corner to access a variety of presentation styles that will change the orientation of your Sway. This customization helps you control how your audience will navigate the Sway presentation and how your message is received. This lets you pick the design that works best way for your ideas.

You can preview your Sway by clicking the “Play” button. Scroll through to see every page and card.
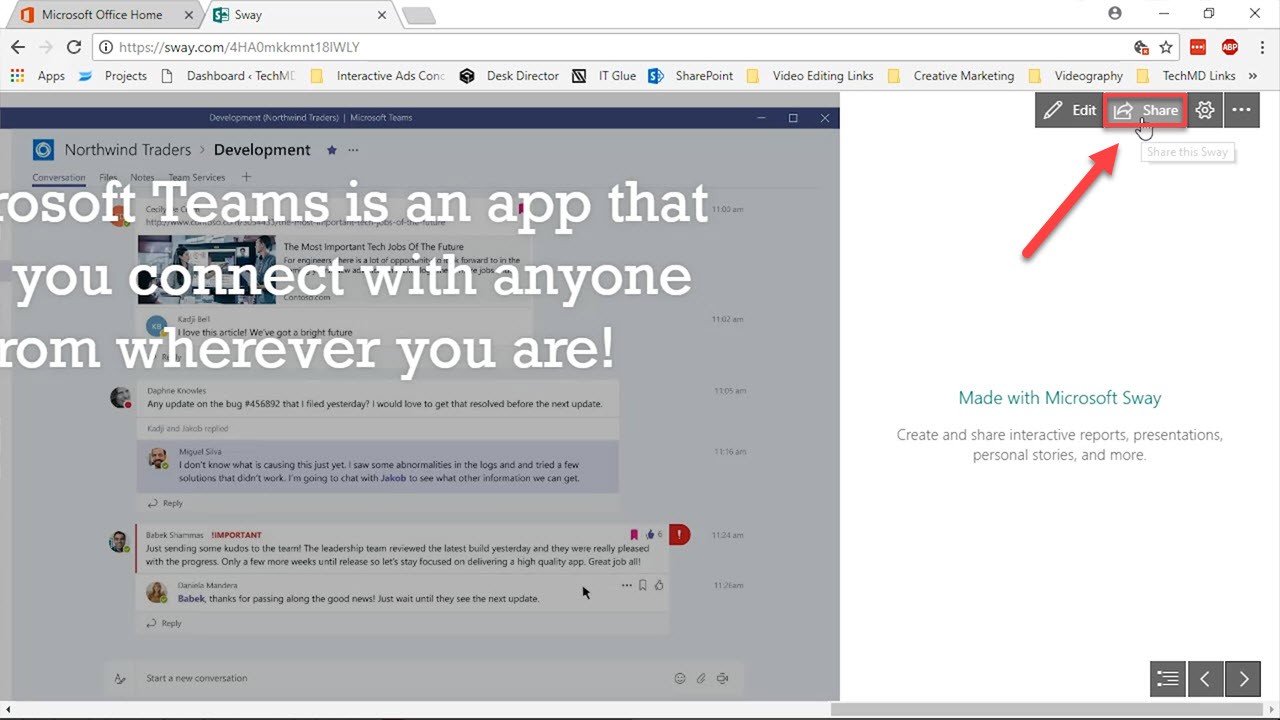
Finally, once you’re done with adding content and design, you can share your Sway with the “Share” button. Either copy the link that’s available or input a contact’s info and hit “Invite”.