As you start to use OneDrive, your documents, photos, and other files may begin to get a bit cluttered. When this happens, OneDrive’s organizational features will start to come in handy—on today’s One-Minute Wednesday, Pierre Gober will walk you through some of the tools that can help you organize and manage your OneDrive.
Creating Folders
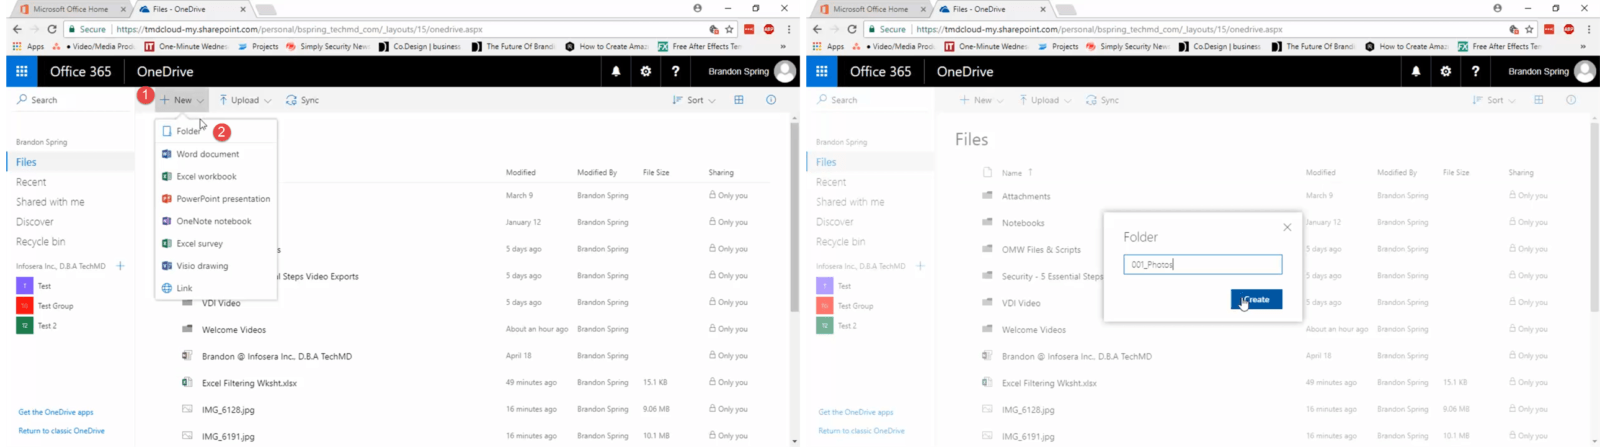
As OneDrive starts filling up with an entire library of important files, it’s imperative to know how to keep things clean and organized. The first thing we can do to clean up a OneDrive with a lot of files is to create and manage folders. To do this, simply click “New” in the Tool Bar and select “Folder”. A window appears where you can name the folder, and then click “Create”.
Individual files can be moved into these folders by clicking and dragging or by right-clicking the file and then choosing “Move To”. A folder selection panel will appear on the side where you can choose the folder you want to move the file to.

Changing your View
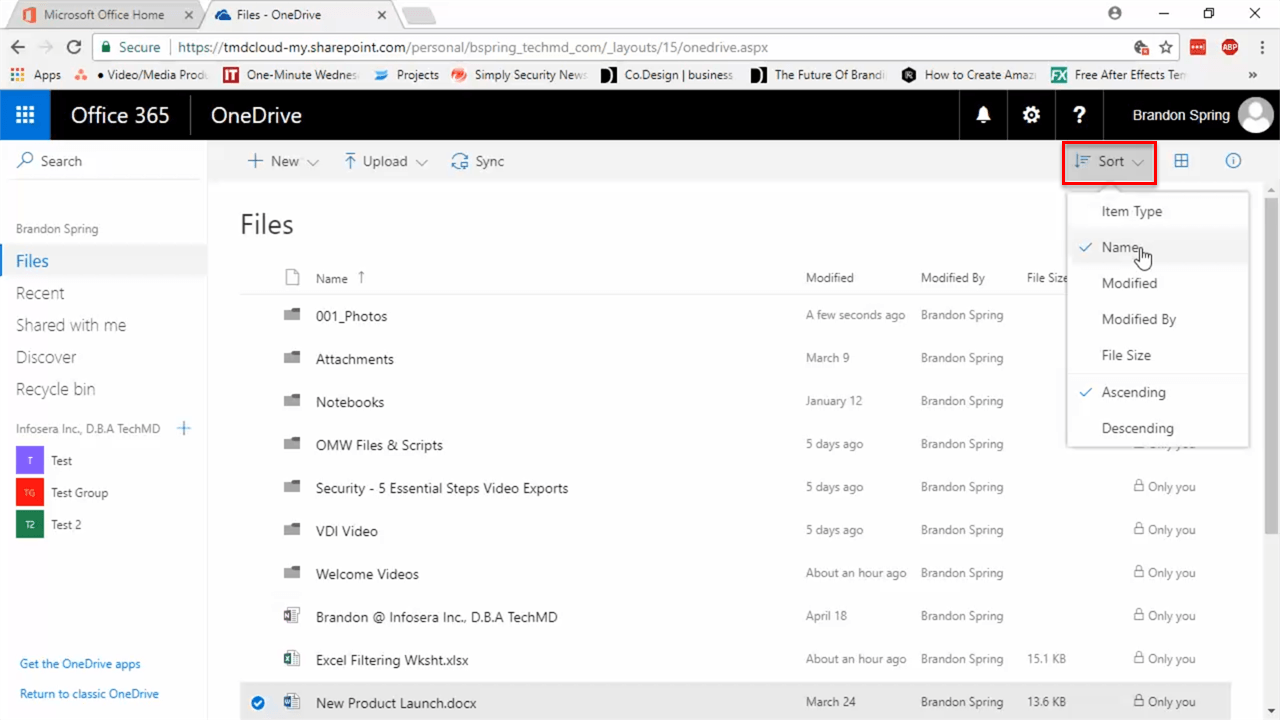
Just as important as storing files away in folders is how you see everything. OneDrive has a “Sort” button here in the top right that allows you to sort your files by name, date modified, file size, and so on.
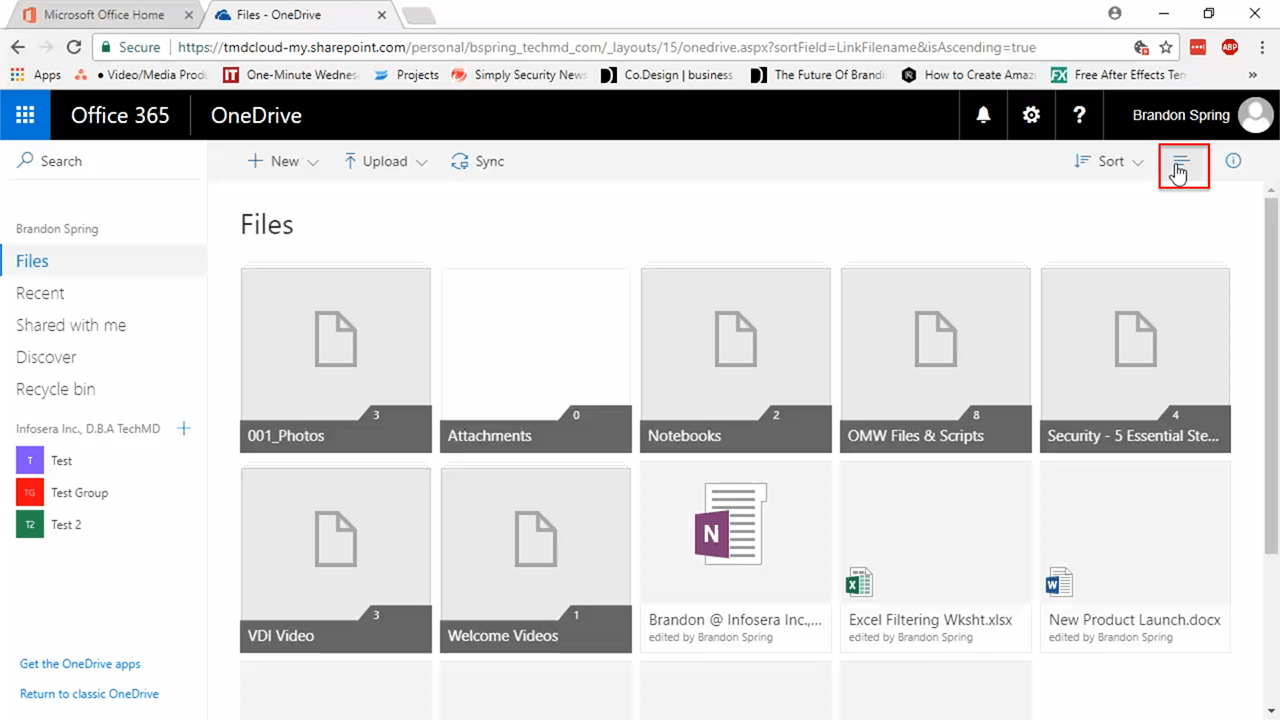
To the right you’ll find an icon that lets you switch between the “Tile View” and “List View”. OneDrive defaults to the list view, where everything is in an ordered, descending column, but the “Tile View” allows you to see files and folders as large tiles, allowing you to navigate through your documents in rows.
Sidebar Sections
Lastly, let’s take a look at the sidebar. Here, we have the “Files” section that shows the list of all of our uploaded and created files; “Recent” shows all of our recently created or modified files and “Shared With Me” lists the document and folders others have shared with you.

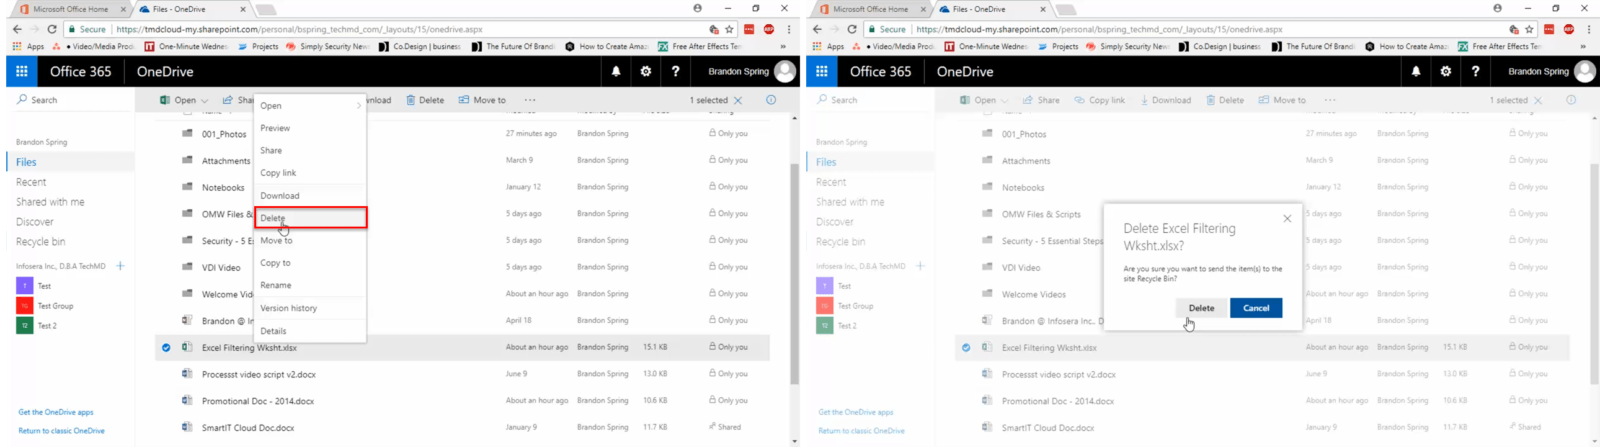
Finally, we have the Recycle Bin, which houses deleted files from your OneDrive. To move a file here you can simply right click on the file, hit “Delete” and then hit “Delete” once more when this dialog box appears.
Items here will only be available for 30 days, and will be permanently deleted once that time expires.

So those are some simple tips on staying organized in OneDrive. Don’t forget to tune in for next week’s episode of One-Minute Wednesday!


