The Microsoft Office 365 Junk Email folder is a powerful tool to keep spam out of your inbox. However, it’s not perfect, and important emails from people you trust can occasionally get caught in the spam filter. On this episode of One-Minute Wednesday, Greg Deleon will show you how to whitelist trusted senders, so that future messages from those senders will avoid the Junk Email folder.
Making the Junk Email Folder More Visible
Before we get into whitelisting trusted senders, we first want to make sure your Junk Email folder is visible. It’s easy for the folder to get buried, and then you may miss important emails that get caught by the spam filter.
You can make your Junk Email folder more visible by adding it to your Favorites list. To do so, right click on “Junk Email” and select “Show in Favorites”.
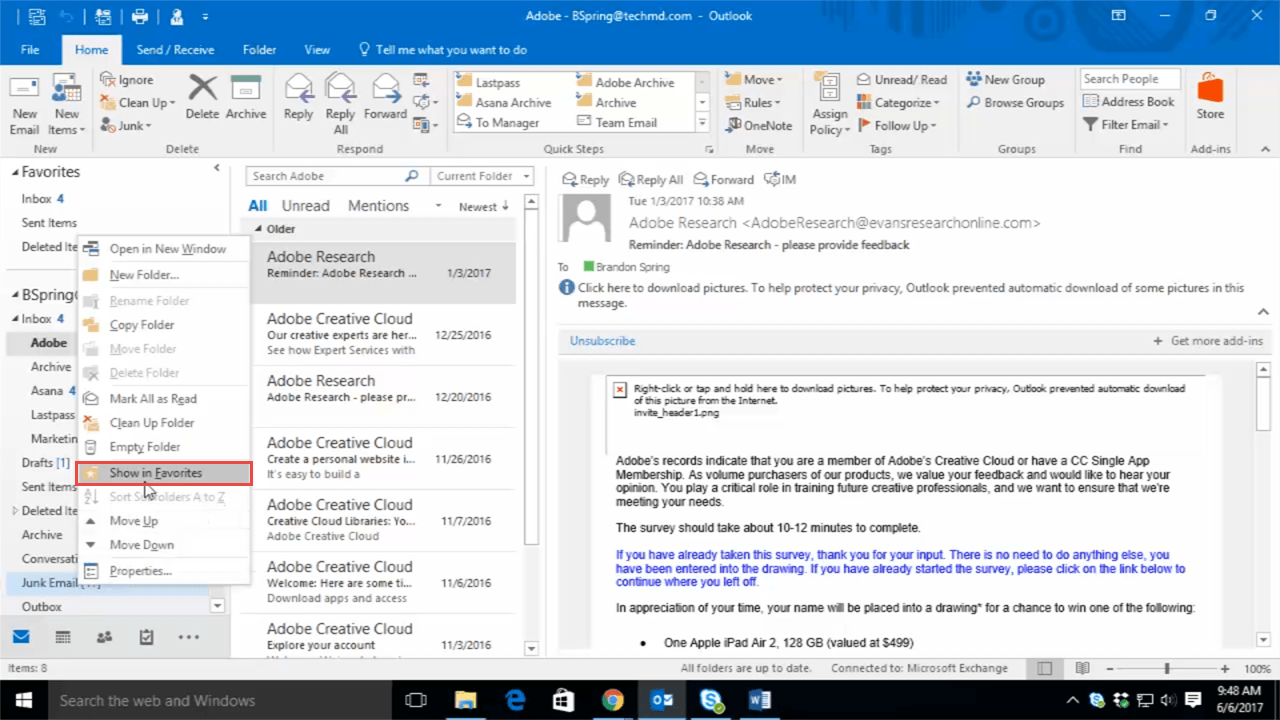
Now the folder will appear under the “Favorites” section on the left sidebar. This makes it much easier to glance at your junk email every day to see if there any new messages that should be recategorized.

Marking Legitimate Emails As “Not Junk”
Office 365 allows you to whitelist a sender and prevent their messages from getting filtered into your Junk Email folder. To do so, right click on a message in the Junk Email folder. Then navigate to “Junk” and click on “Not Junk”.

A dialogue box will appear with a checkbox that reads “Always trust email from” the sender’s email address. You’ll want to make sure the box is checked, and then hit “OK”.
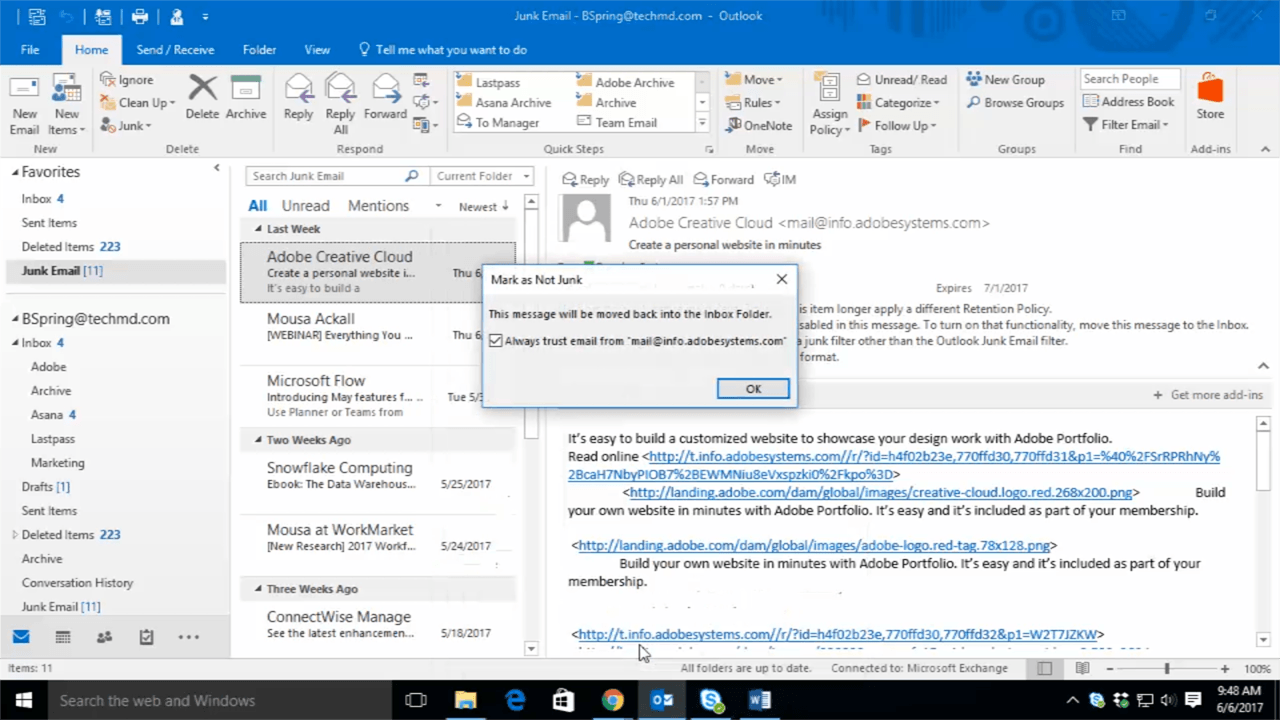
The email message will be automatically moved to your inbox and the sender will be whitelisted.

Thanks for checking out this week’s One-Minute Wednesday! We hope to see you next time.


