Trying to organize an Excel spreadsheet filled with multiple columns of data? On this week’s episode of One-Minute Wednesday, Joon Koh will be showing you how to use the Sorting tool, which gives you more control over data within your spreadsheet columns. There are multiple sorting options to work with, so tune in to learn more!
Sorting Gives you Control
Excel spreadsheets are useful tools for a variety of situations, but how do you navigate a sheet with hundreds or thousands of rows of data? The Sorting tool can be a huge help here, so let’s take a look at how to use it.
Here’s a list of data underneath separate headings that we’d like to see in alphabetical order. To begin, we’ll go to the “Data” tab at the top and then click the “Sort” button. A sorting window will appear where we can pick the categories we want to sort by.
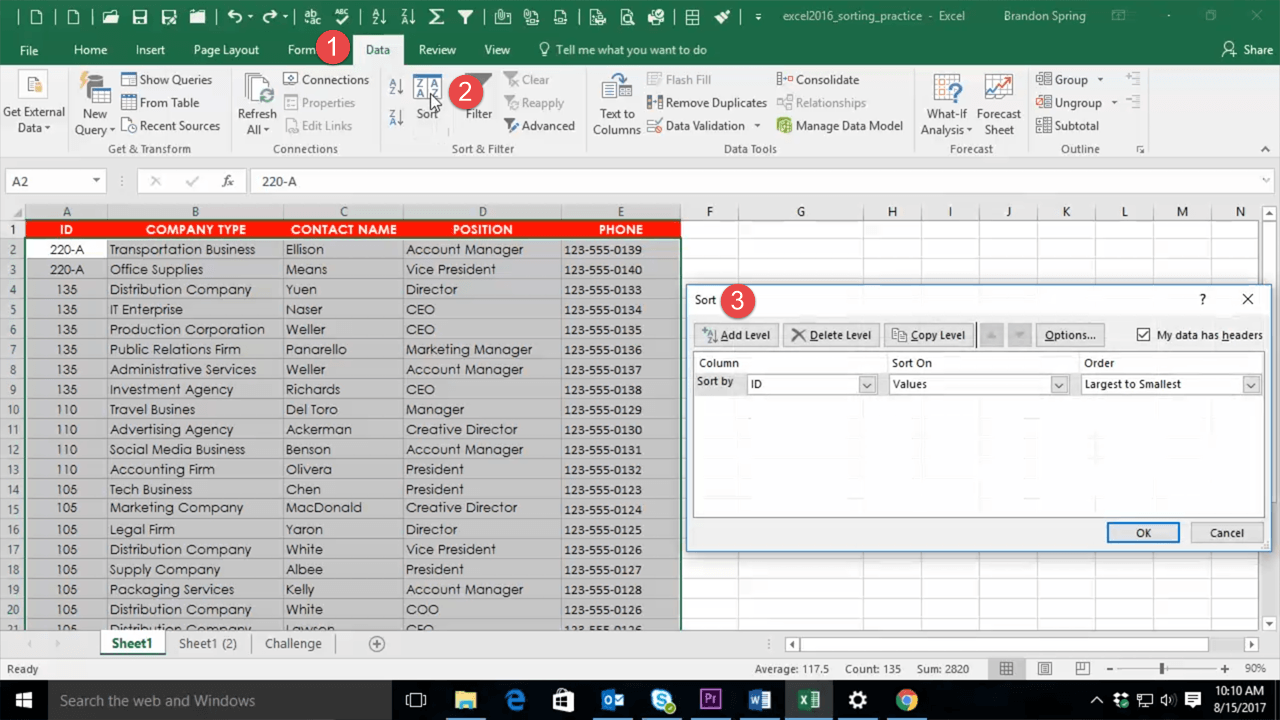
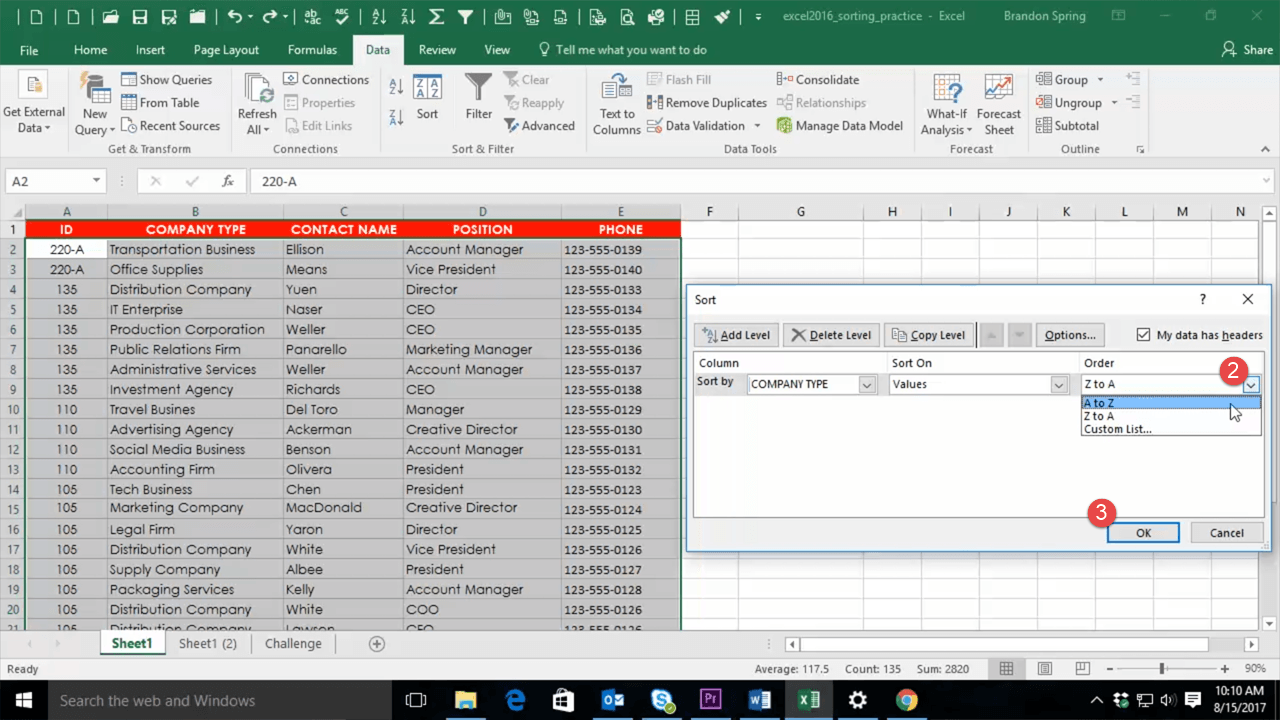
In the “Sort By” dropdown menu, choose “Company Name”.

Then, to the far right click the “Order” menu, choose the “A-Z” option and click “Ok”
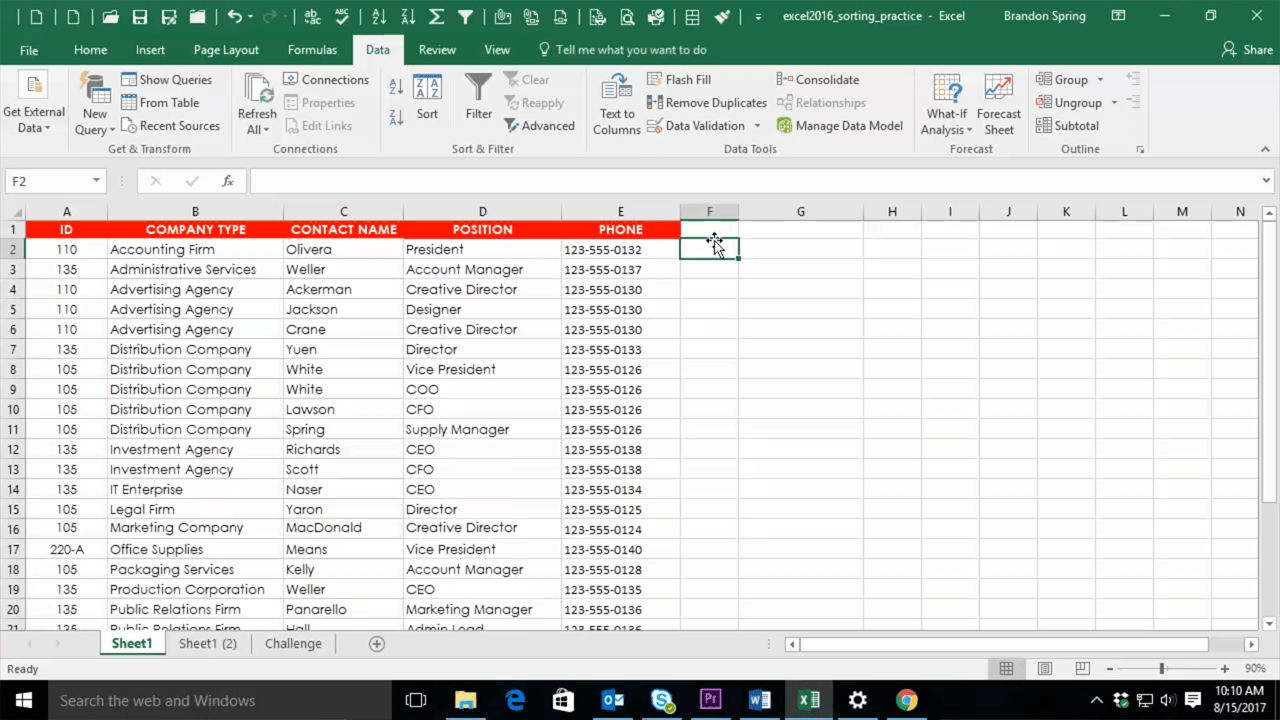
Now that we’ve set our sorting options, we can see that the sheet has reorganized itself based on company names in alphabetical order.
Sorting by Multiple Criteria
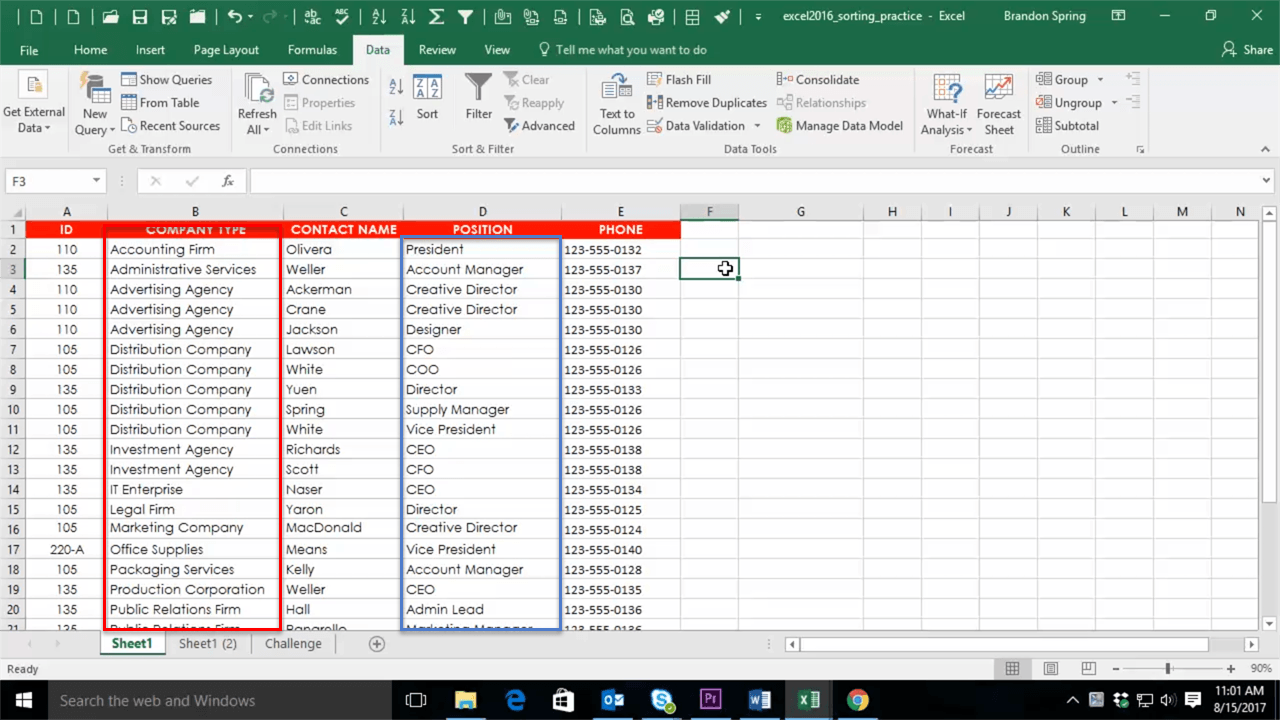
A second option is to add multiple categories to sort by. So in this example, not only can we have the “Company Types” sorted by alphabetical order, but we do so with titles in the “Position” column as well. To do this we, we choose our first category in the sort window as before, but we can also add a new level with an additional category. Hit the “Add Level” button and click “Ok”.

Once you hit “Ok”, both the “Company Type” category and the “Position” sub-category appear in alphabetical order together.
Custom Sorting
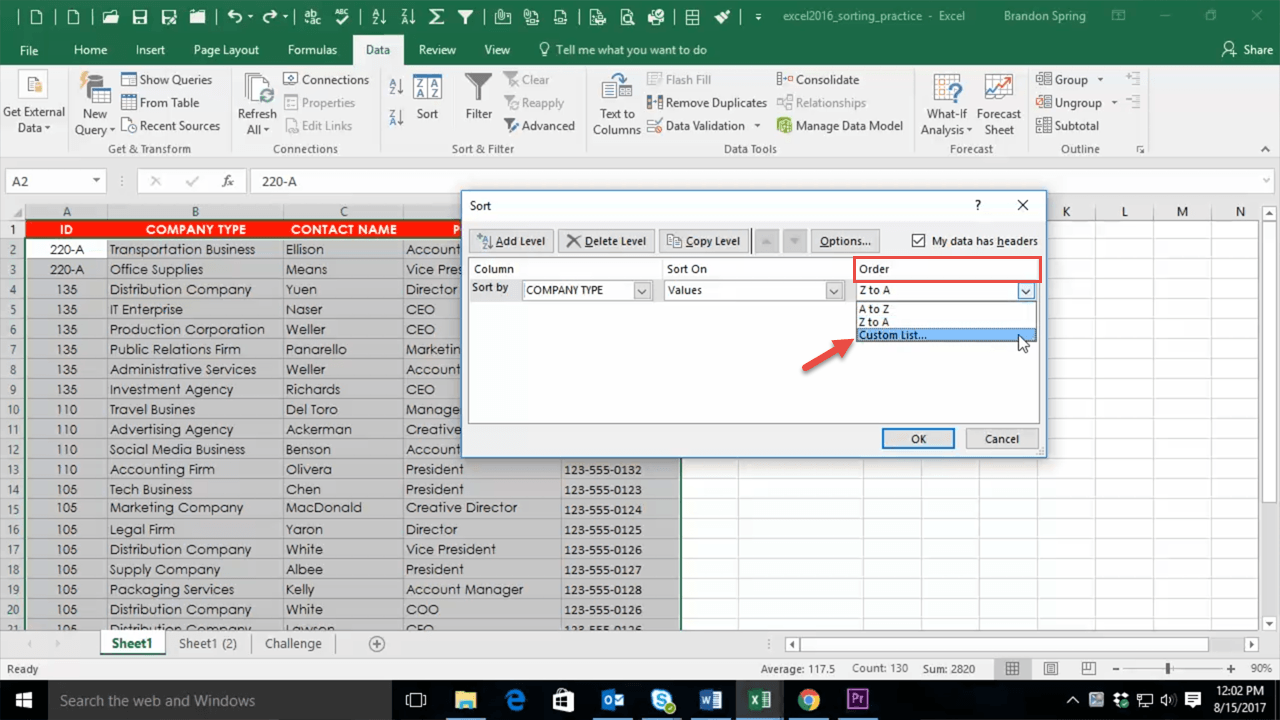
Lastly, we can make a customized list for even more control over sorting. We’ll follow the same process for opening the sort window, but in the “Order” menu click “Custom List.
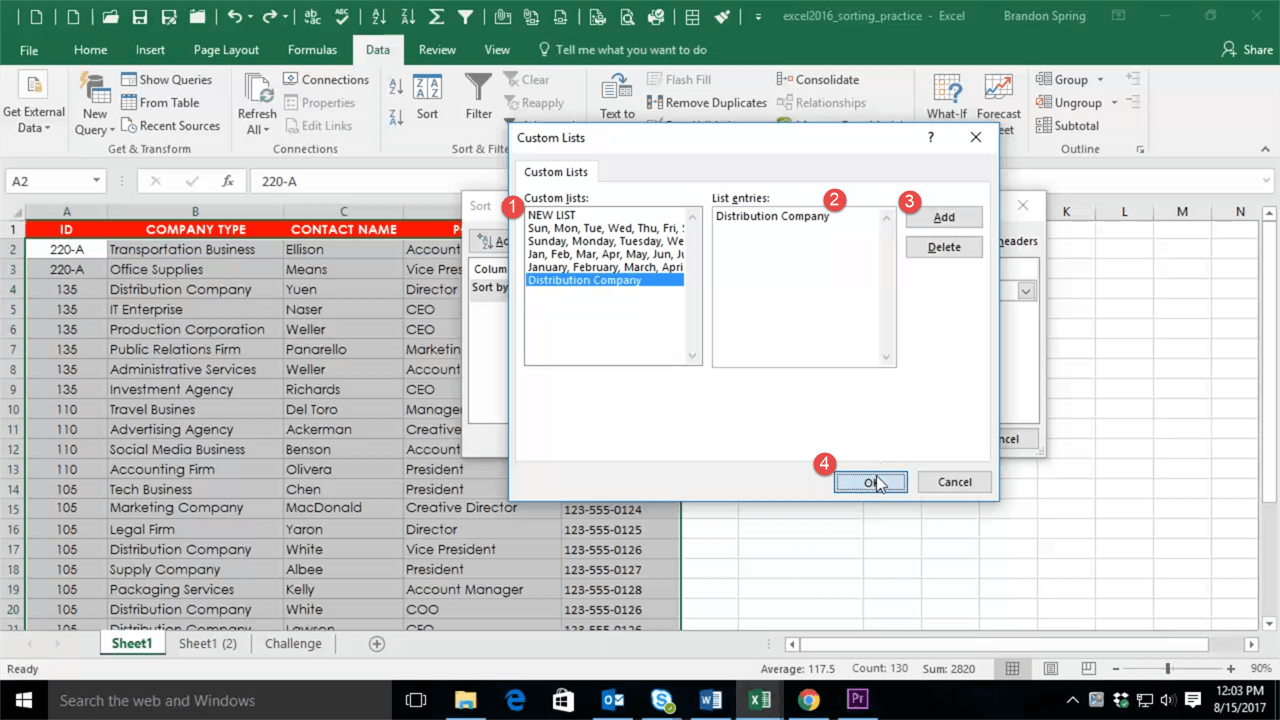
Another dialog box opens. Click “New List” and type in the new entry. We’ll input “Distribution Company”. Click “Add”, hit “Ok” and then click “Ok” once more.
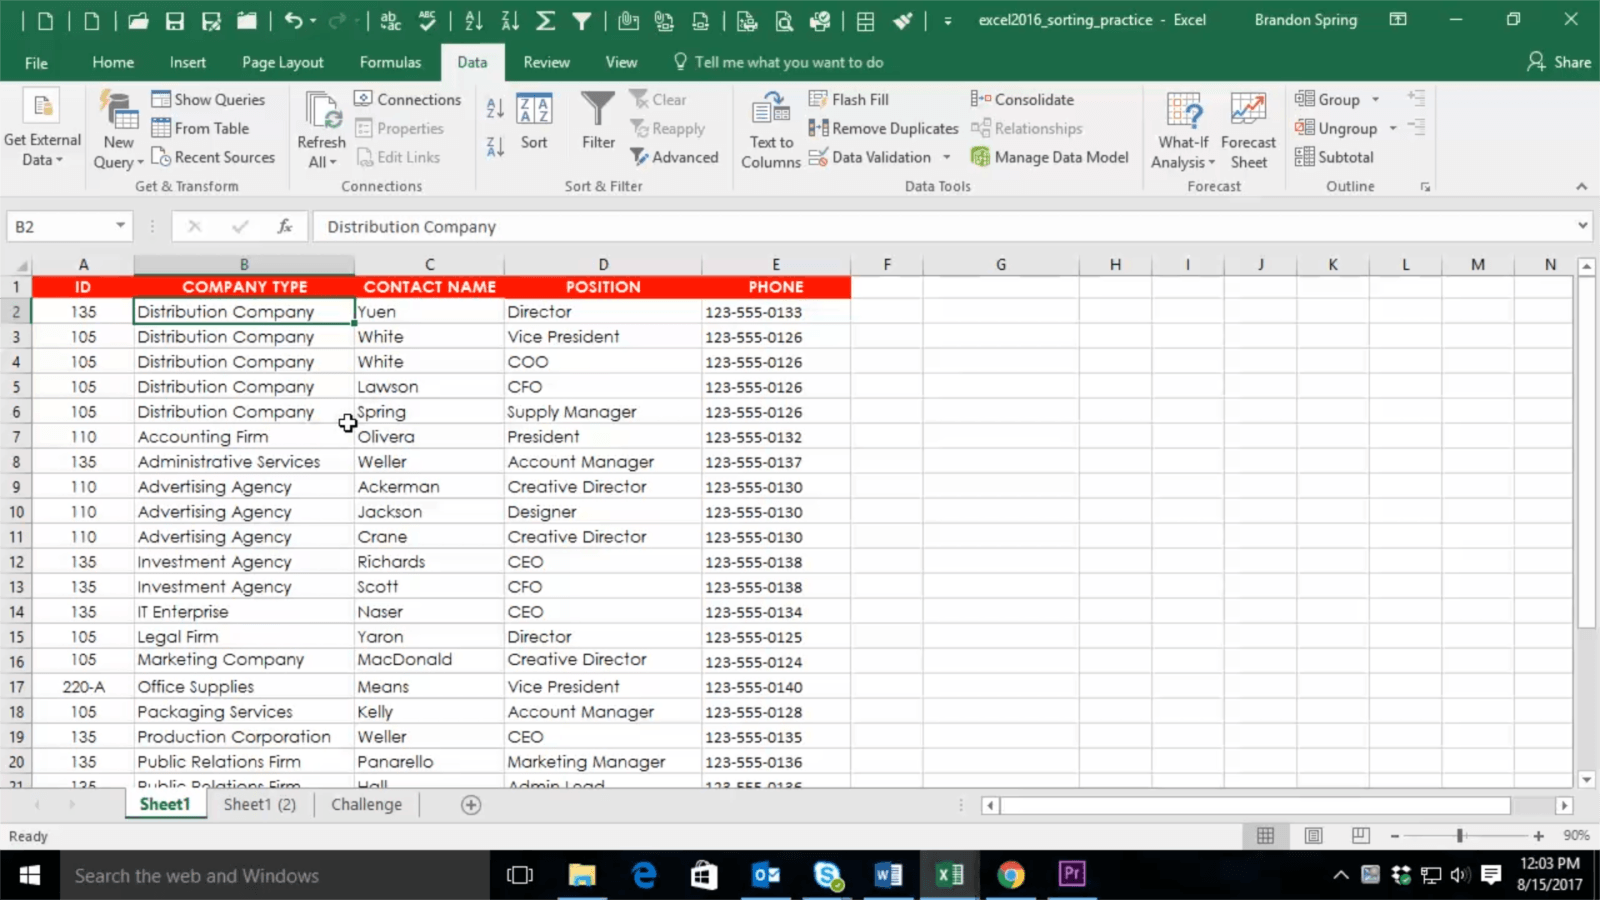
The sheet will now be customized by the order we chose, and distribution companies will be prioritized to appear at the top.
So that is how to master Excel’s Sorting Tool. Thanks for joining TechMD for this week’s One Minute Wednesday and be sure to check out next week’s episode!


