If you have documents that are private or contain sensitive information, then it’s imperative to know how to protect the document with encryption, a password, or editing rights. On today’s One Minute Wednesday, Andy Shin will show you how to customize your editing permissions and secure a document when sharing it with others.
Protection Options
Do you have private documents in Microsoft Word that you want to keep secure? Maybe you need to share the outline of a project but only want those with access to be readers, not editors. In any case, it’s important to understand how to protect documents that have sensitive information. There are a variety of options and levels of protect that we can select, so in today’s blog we’ll explore those options.
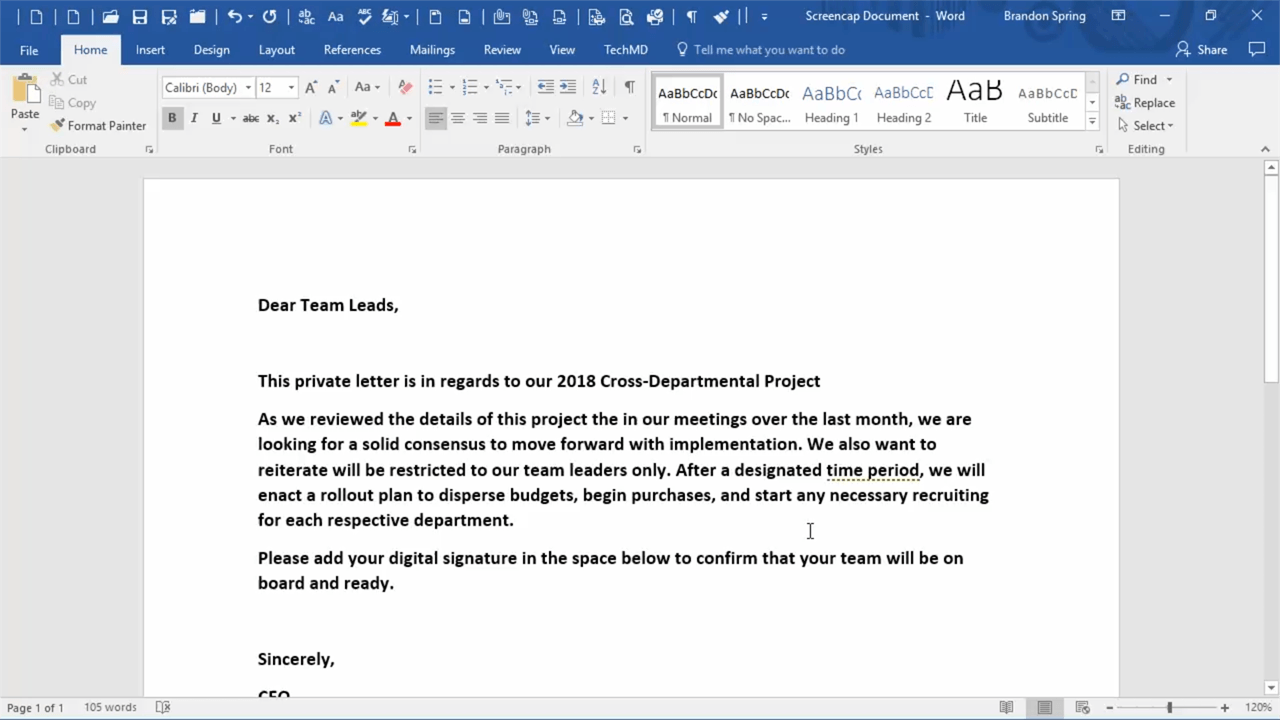
So here we have a Word document that we’d like to protect and manage editing permissions on.
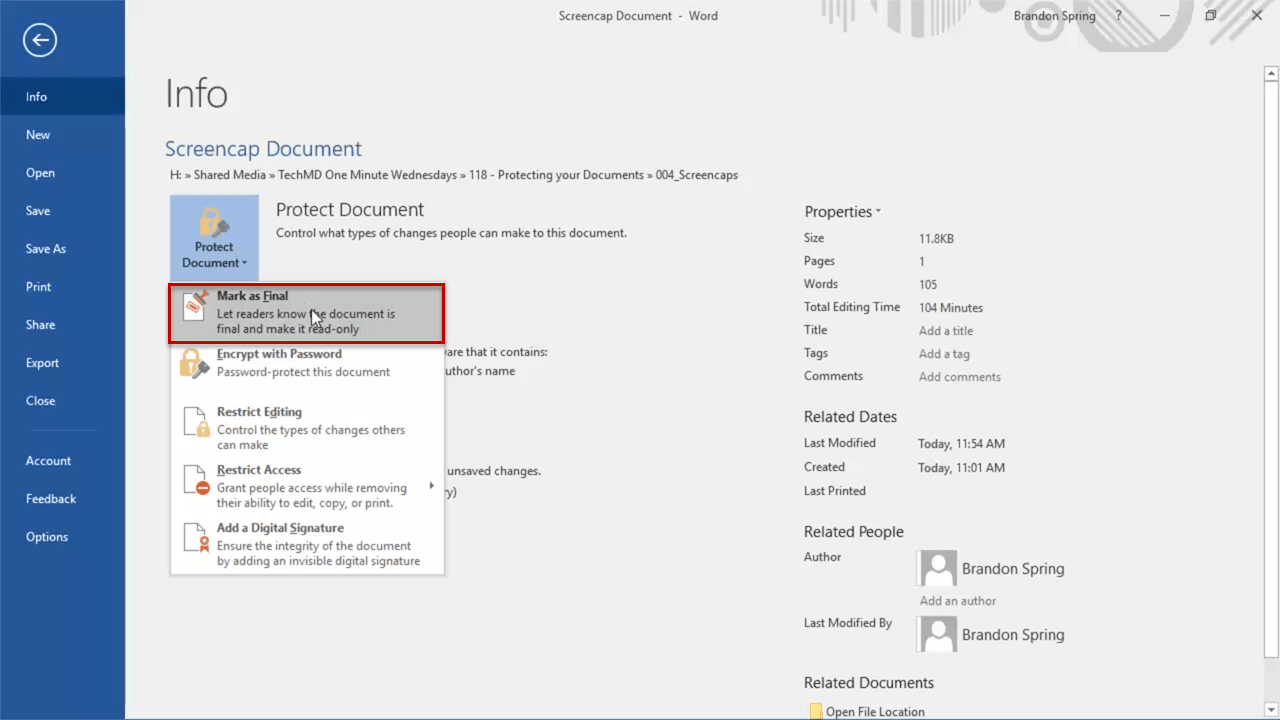
We’ll check out the first two protection choices available. The first step is to manage editing permissions. To do this, click “File”, “Info” and click the “Protect Document” menu. This will provide us with the list of available protection options.
The “Mark as Final” option totally prevents readers from making any changes, converting the file to a “Read Only” status. This will disable any typing, commands or proofing in the document.
Password Encryption
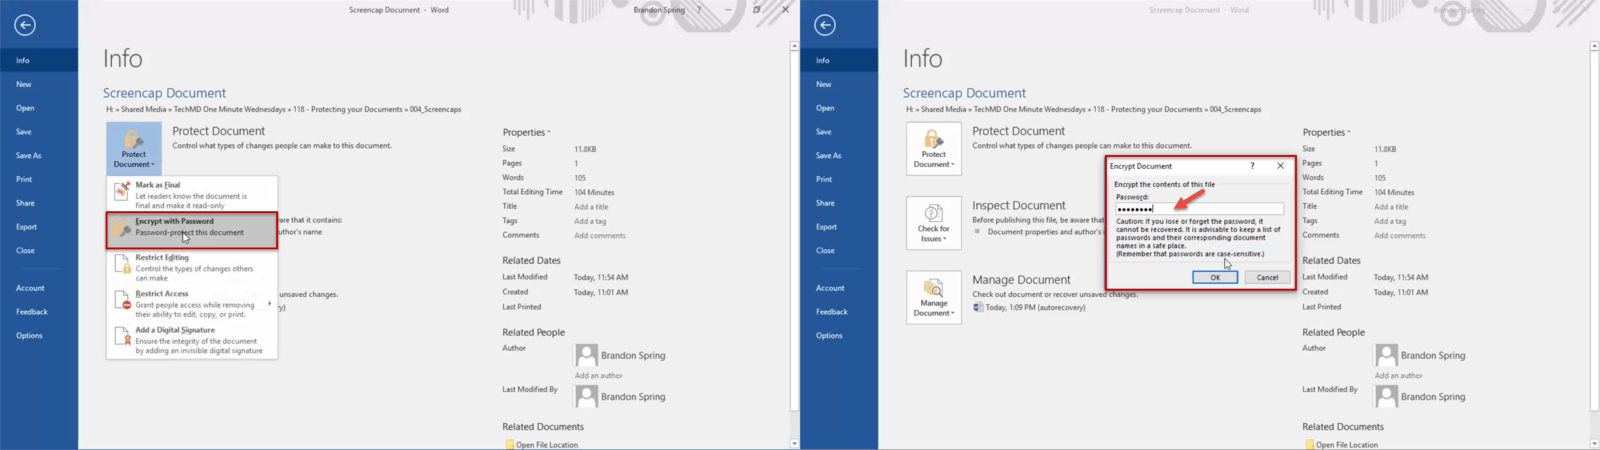
The “Encrypt with Password” option allows you to form a password for the document to be viewed. It is imperative that you store this encrypted password in a secure place because if it is lost, then it will be unrecoverable by Microsoft. Therefore, ensure that you will be able to easily retrieve the password you create.
Restrict Editing
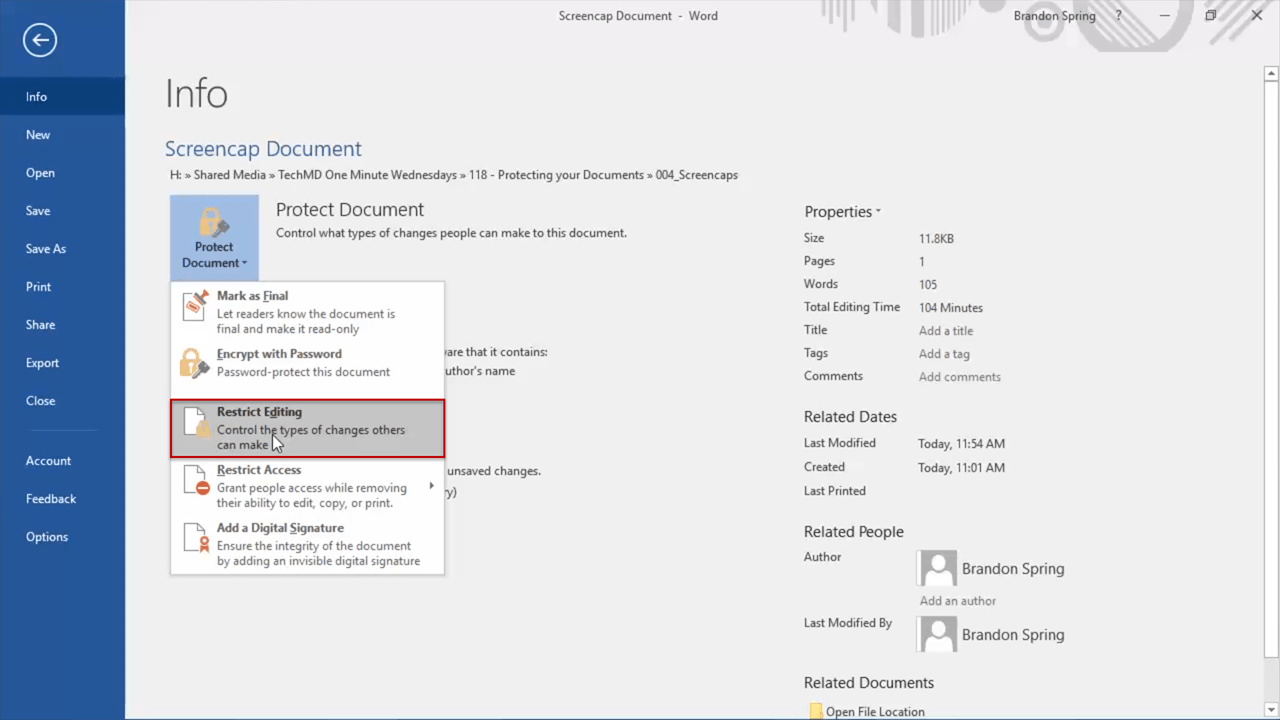
“Restrict Editing” lets you manage the kinds of changes that other users can make.
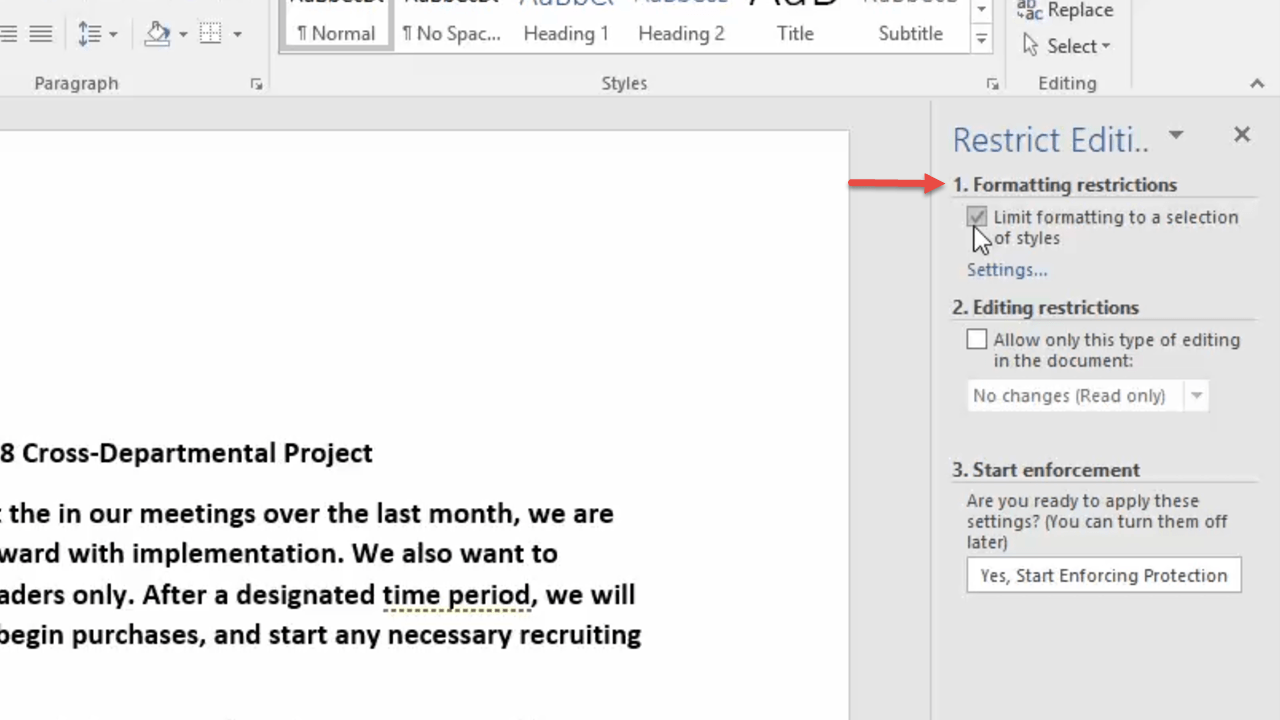
Once clicked, a few numbered steps will appear. The first is “Formatting restrictions”, which limit the formatting to a selection of styles so you can preserve the appearance of the document.
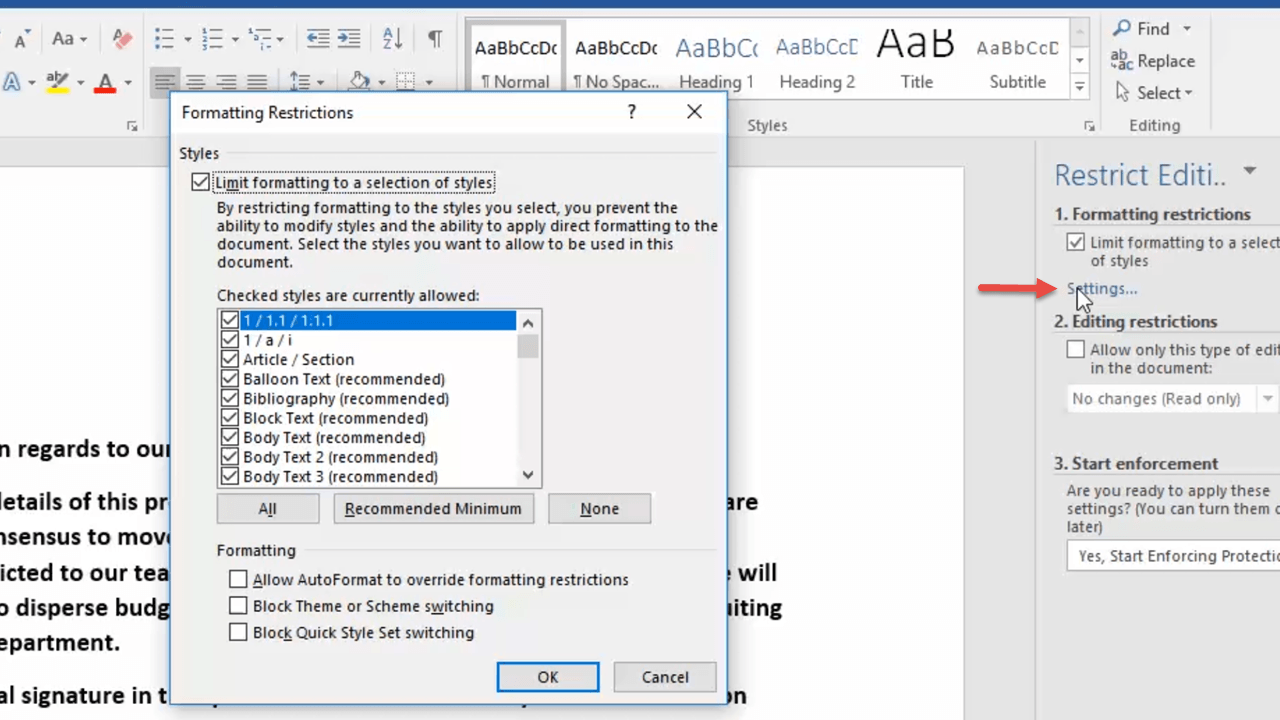
If you click “Settings”, a menu will pop up containing the available options for controlling specific modifications.
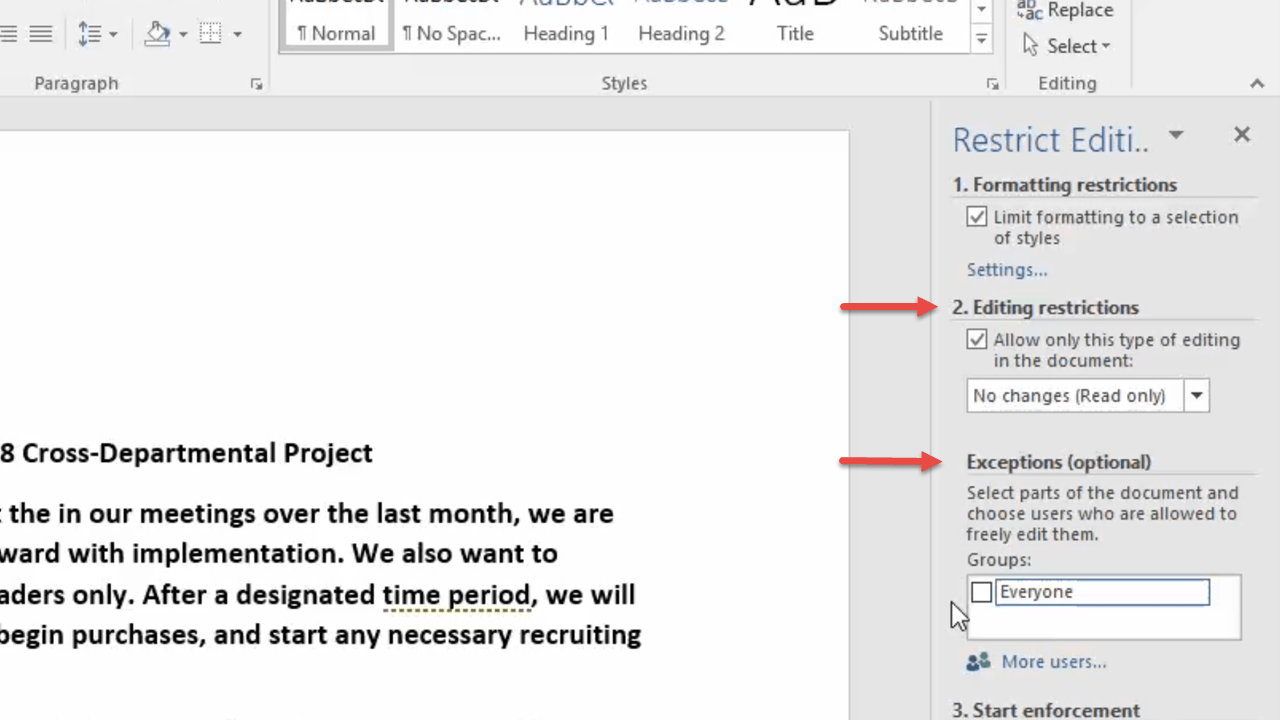
The second step is “Editing restrictions” which gives permission to make only certain customized edits. Below this option, you can click to choose to add users who are exempt from these restrictions.
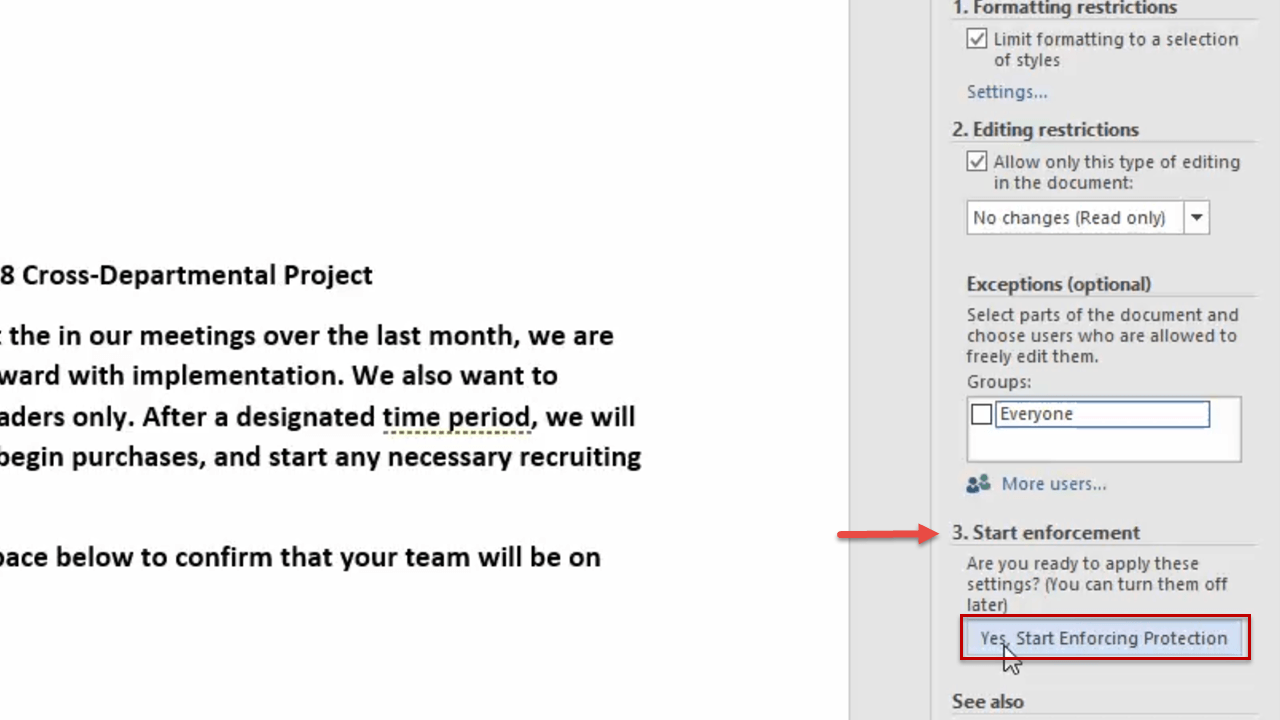
The final step is to hit “Start Enforcement”. This will put the permission and editing changes we made into effect.
So those are some of the options you have to keep your documents in Microsoft Office secure. Be sure to join us again for next week’s One Minute Wednesday!


