
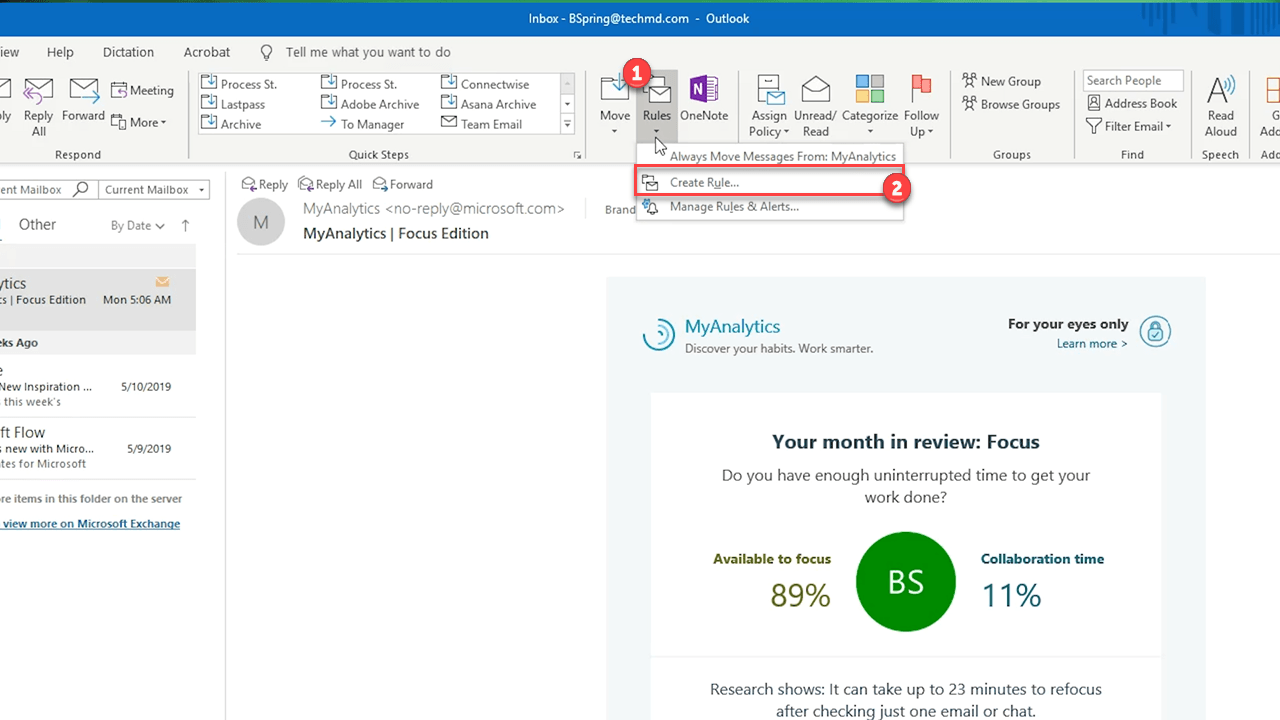
Last time, we looked at how to make a rule in Outlook that can automate a task in your inbox. Today, we’ll see how to delve deeper into rules with Advanced Options.
For this example, we’ll see how to make a rule that always forwards incoming emails from a sender to a chosen contact. Advanced Options can be accessed in the Rules menu under Create Rule.
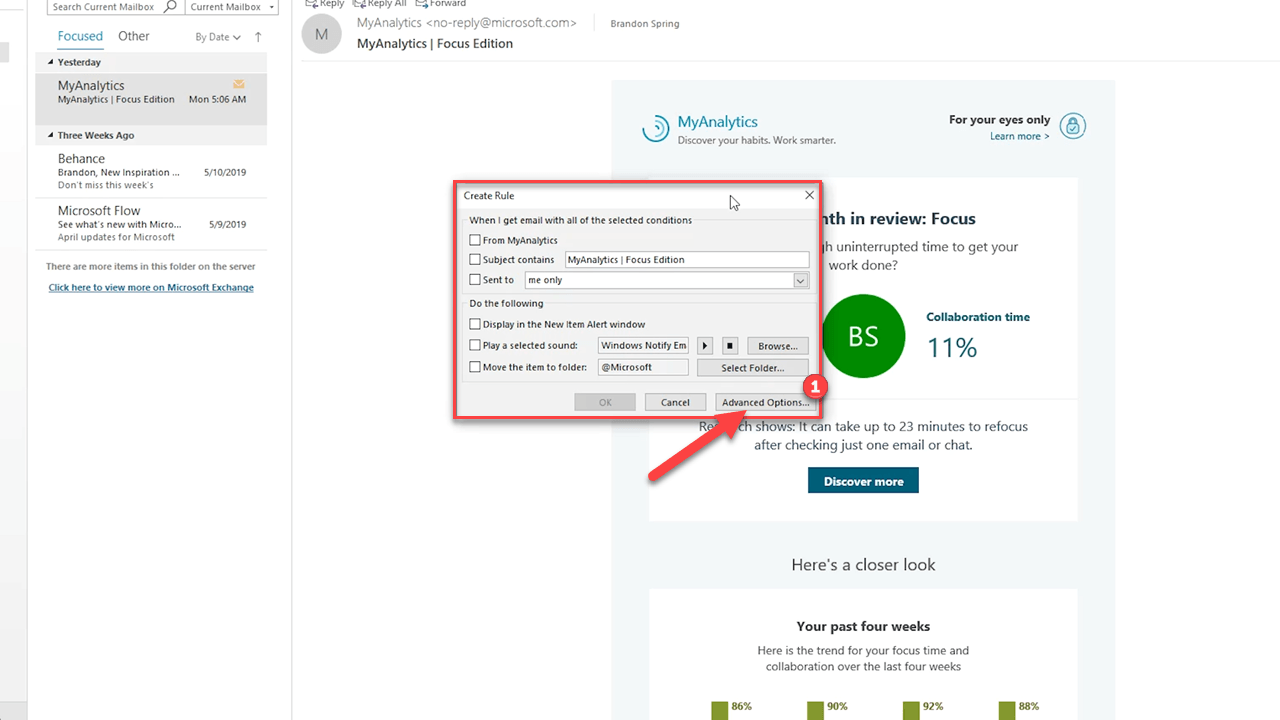
Once the menu is opened, the first thing to do is to select “Conditions”. These parameters will govern what message are chosen to apply the rule on. We’ll select “from (a sender)” and then “sent only to me”.

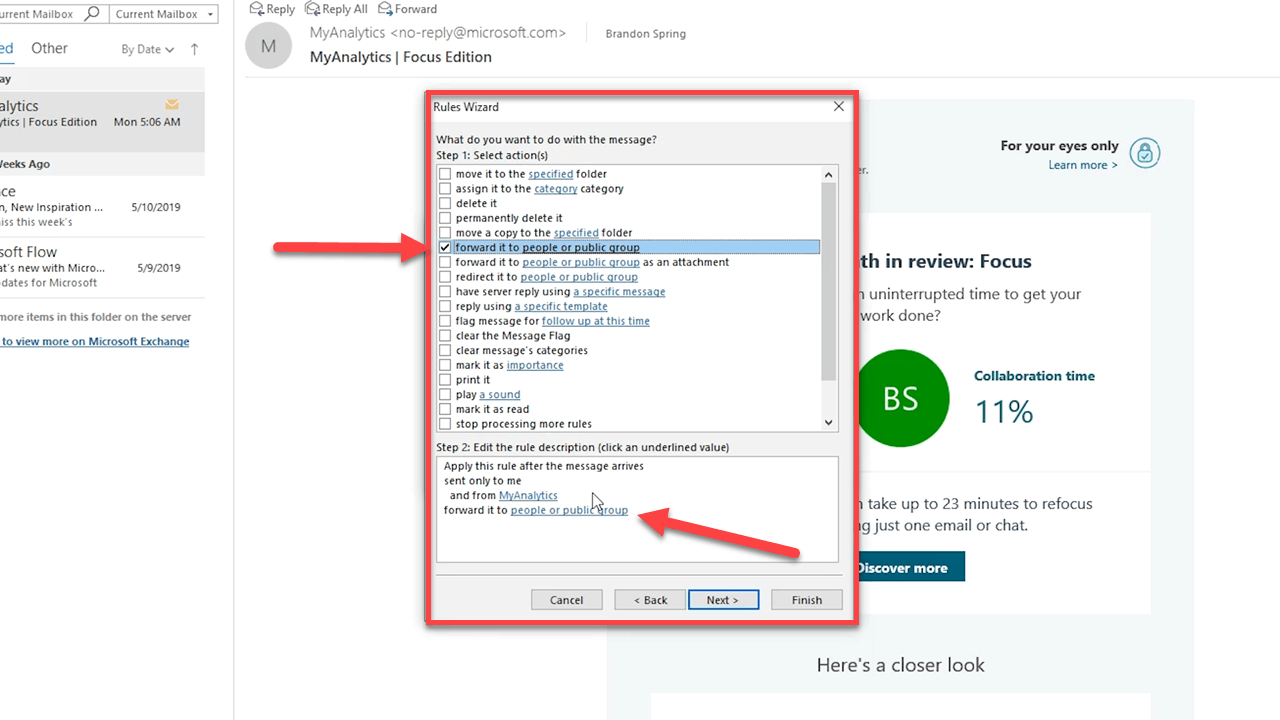
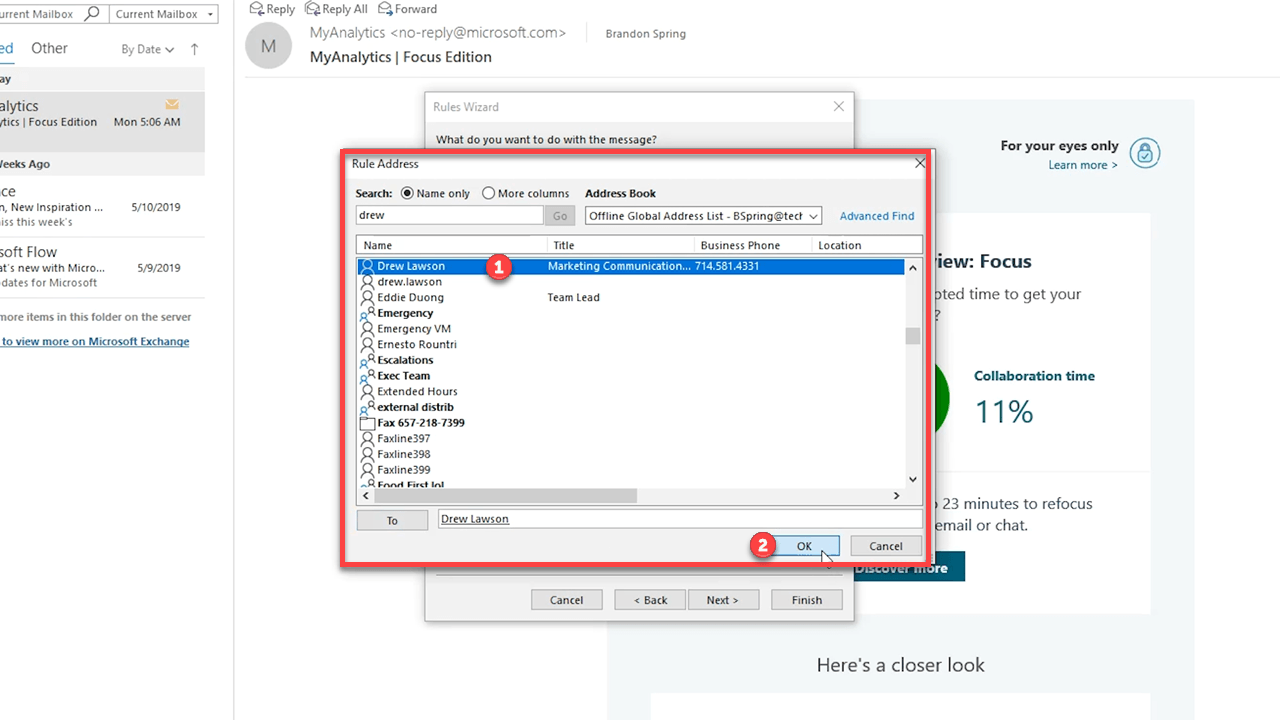
Hit Next and then you’ll select the “Actions” you want to take. You can delete it, move it to a folder, flag for follow up and a lot more, but for now let’s choose “forward it to people or public group”. You’ll then need to select what specific people you want the message to be sent to.
Click Next once again and then choose any Exceptions. These create boundaries to stop the rule from working in certain conditions.
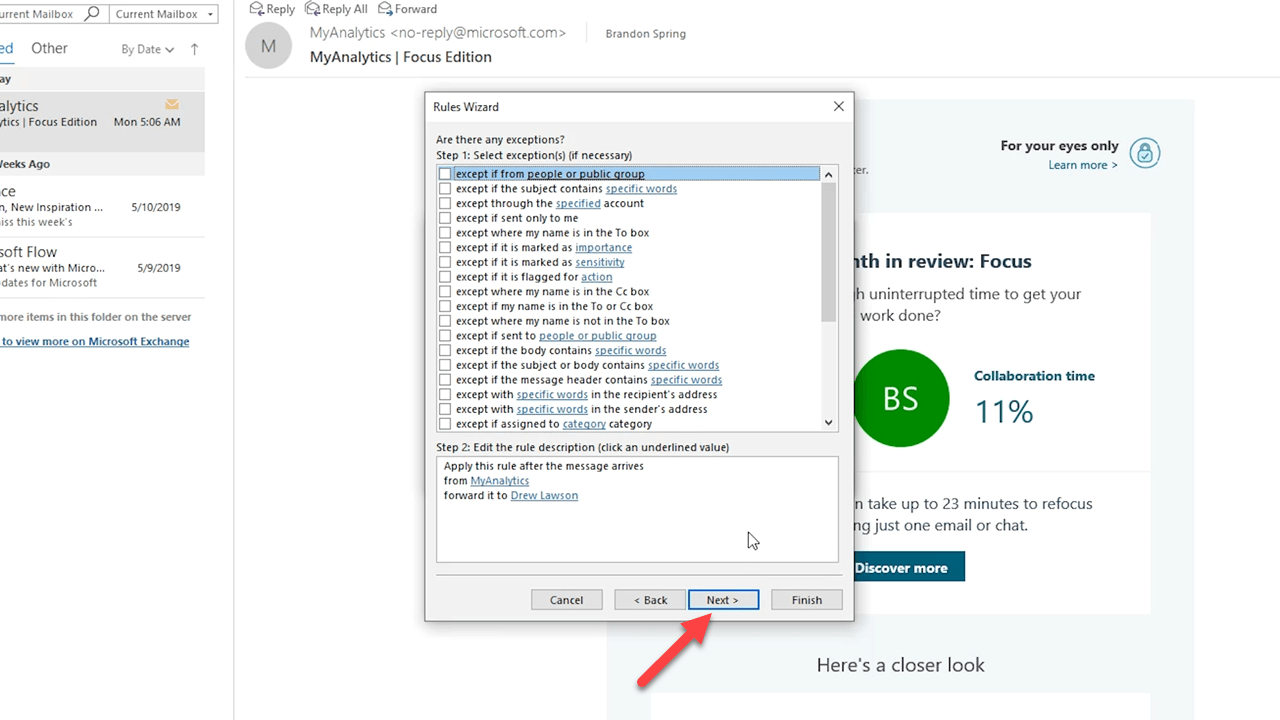
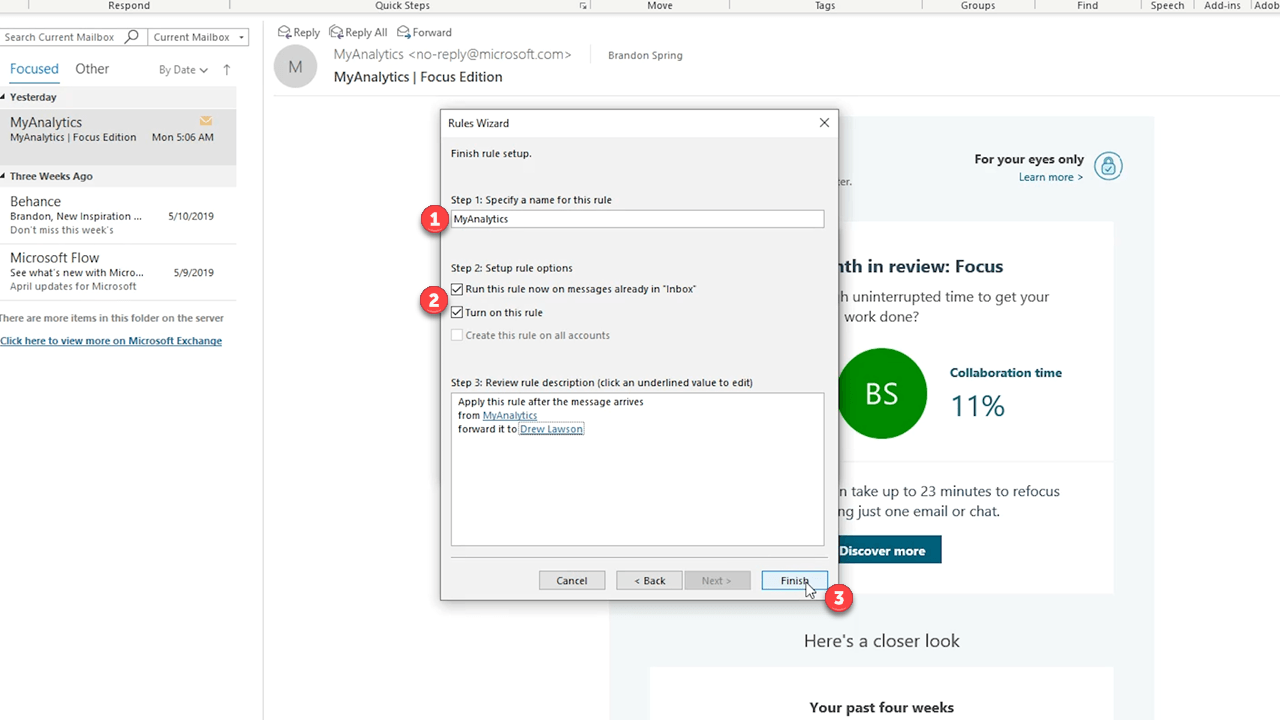
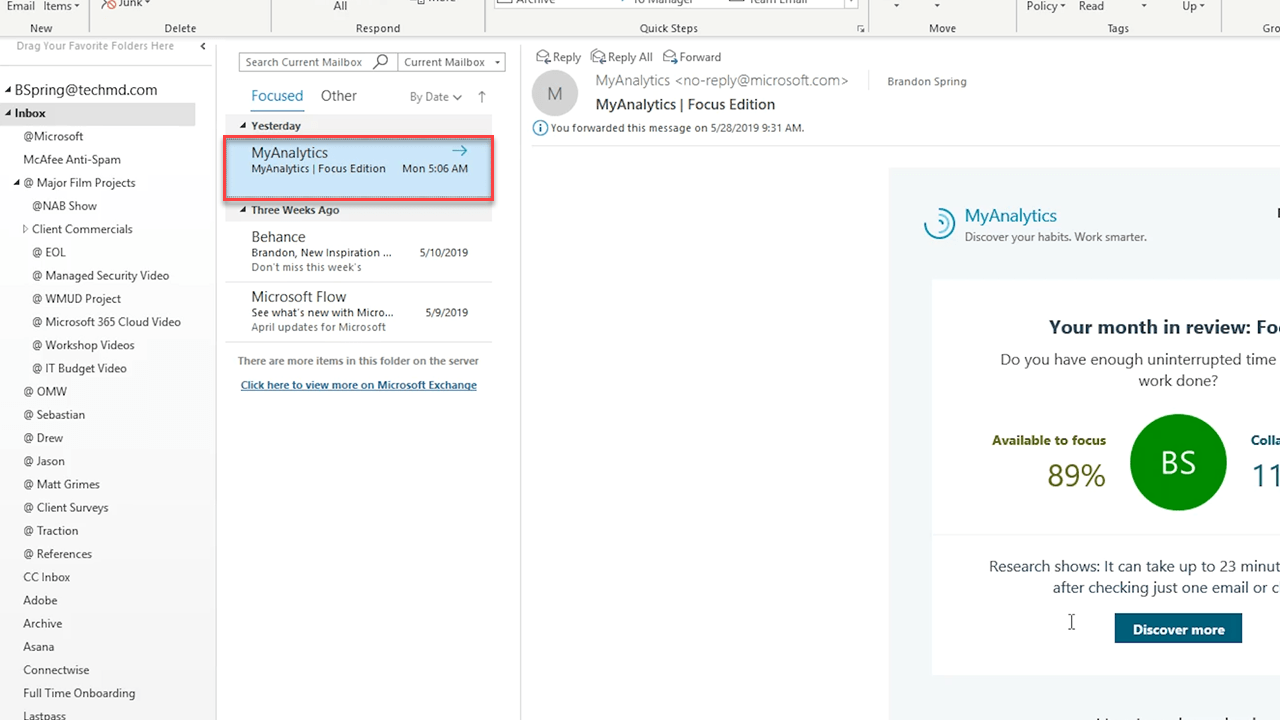
Now, hit Next one final time, give the rule a name, determine if you want it to run on messages currently in your inbox and then hit Finish. You’ll see the rule take effect and the emails from your chosen sender will from now on be forwarded to your selected contact.
So that’s how to access Advanced Rules in Outlook. Use these to your advantage to organize the messages in your inbox for the best work experience. Join us next time for more!
About TechMD
TechMD is an award-winning IT services firm that specializes in managed IT services in Orange County and Los Angeles, managed cybersecurity, cloud solutions, and strategic IT consulting. We are passionate about bringing enterprise-level productivity, scalability, and security to small and medium businesses.


